Get started with Padlet
Congratulations! You've signed up for Padlet -- one of the easiest ways to create and collaborate with others and share content.
This article will serve as a brief guide to help you understand how to use Padlet.
Prefer a video? Watch this.
*For educators and their colleagues - Take our Padlet 101 course here!
*Quick 'how-to' video snippets are available on the Learn dashboard.
*View our entire video library on our YouTube page.
*Visit our Knowledge Base to search helpful articles.
Start from the dashboard
The dashboard is the first screen you will see after signing in. From here, you can access everything Padlet has to offer:
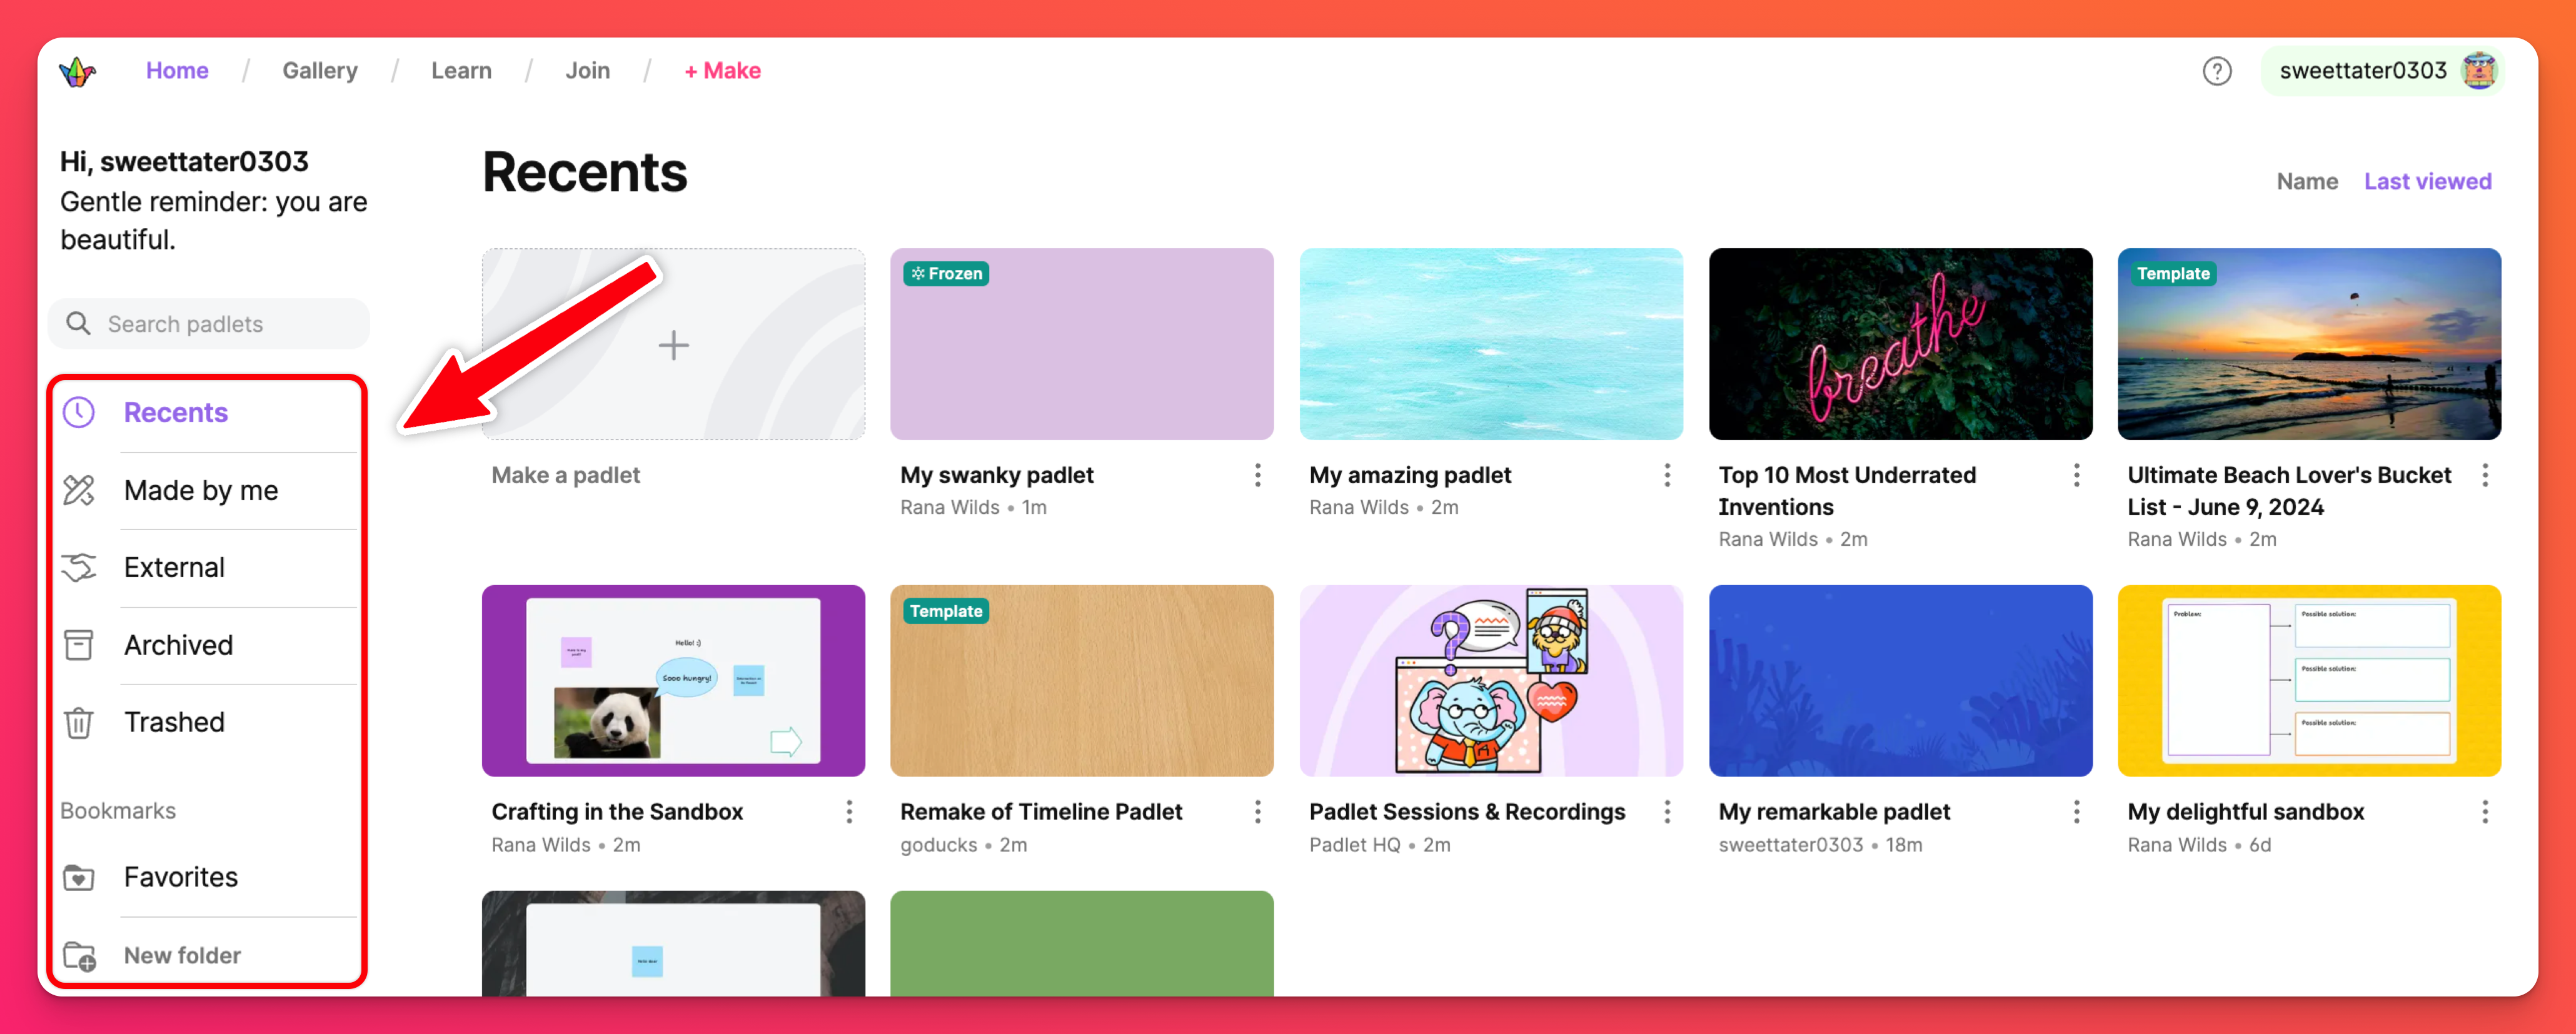
Folders
You can find padlets within various folders on your dashboard.
- Recents - All padlets you've visited in the past 30 days.
- Made by me - All padlets you've created within your account.
- External - All padlets you've been invited/added to as a collaborator.
- Trashed - Where all deleted padlets will live for up to 30 days.
- Bookmarks - Manage and organize the padlets you want to keep track of.
Header
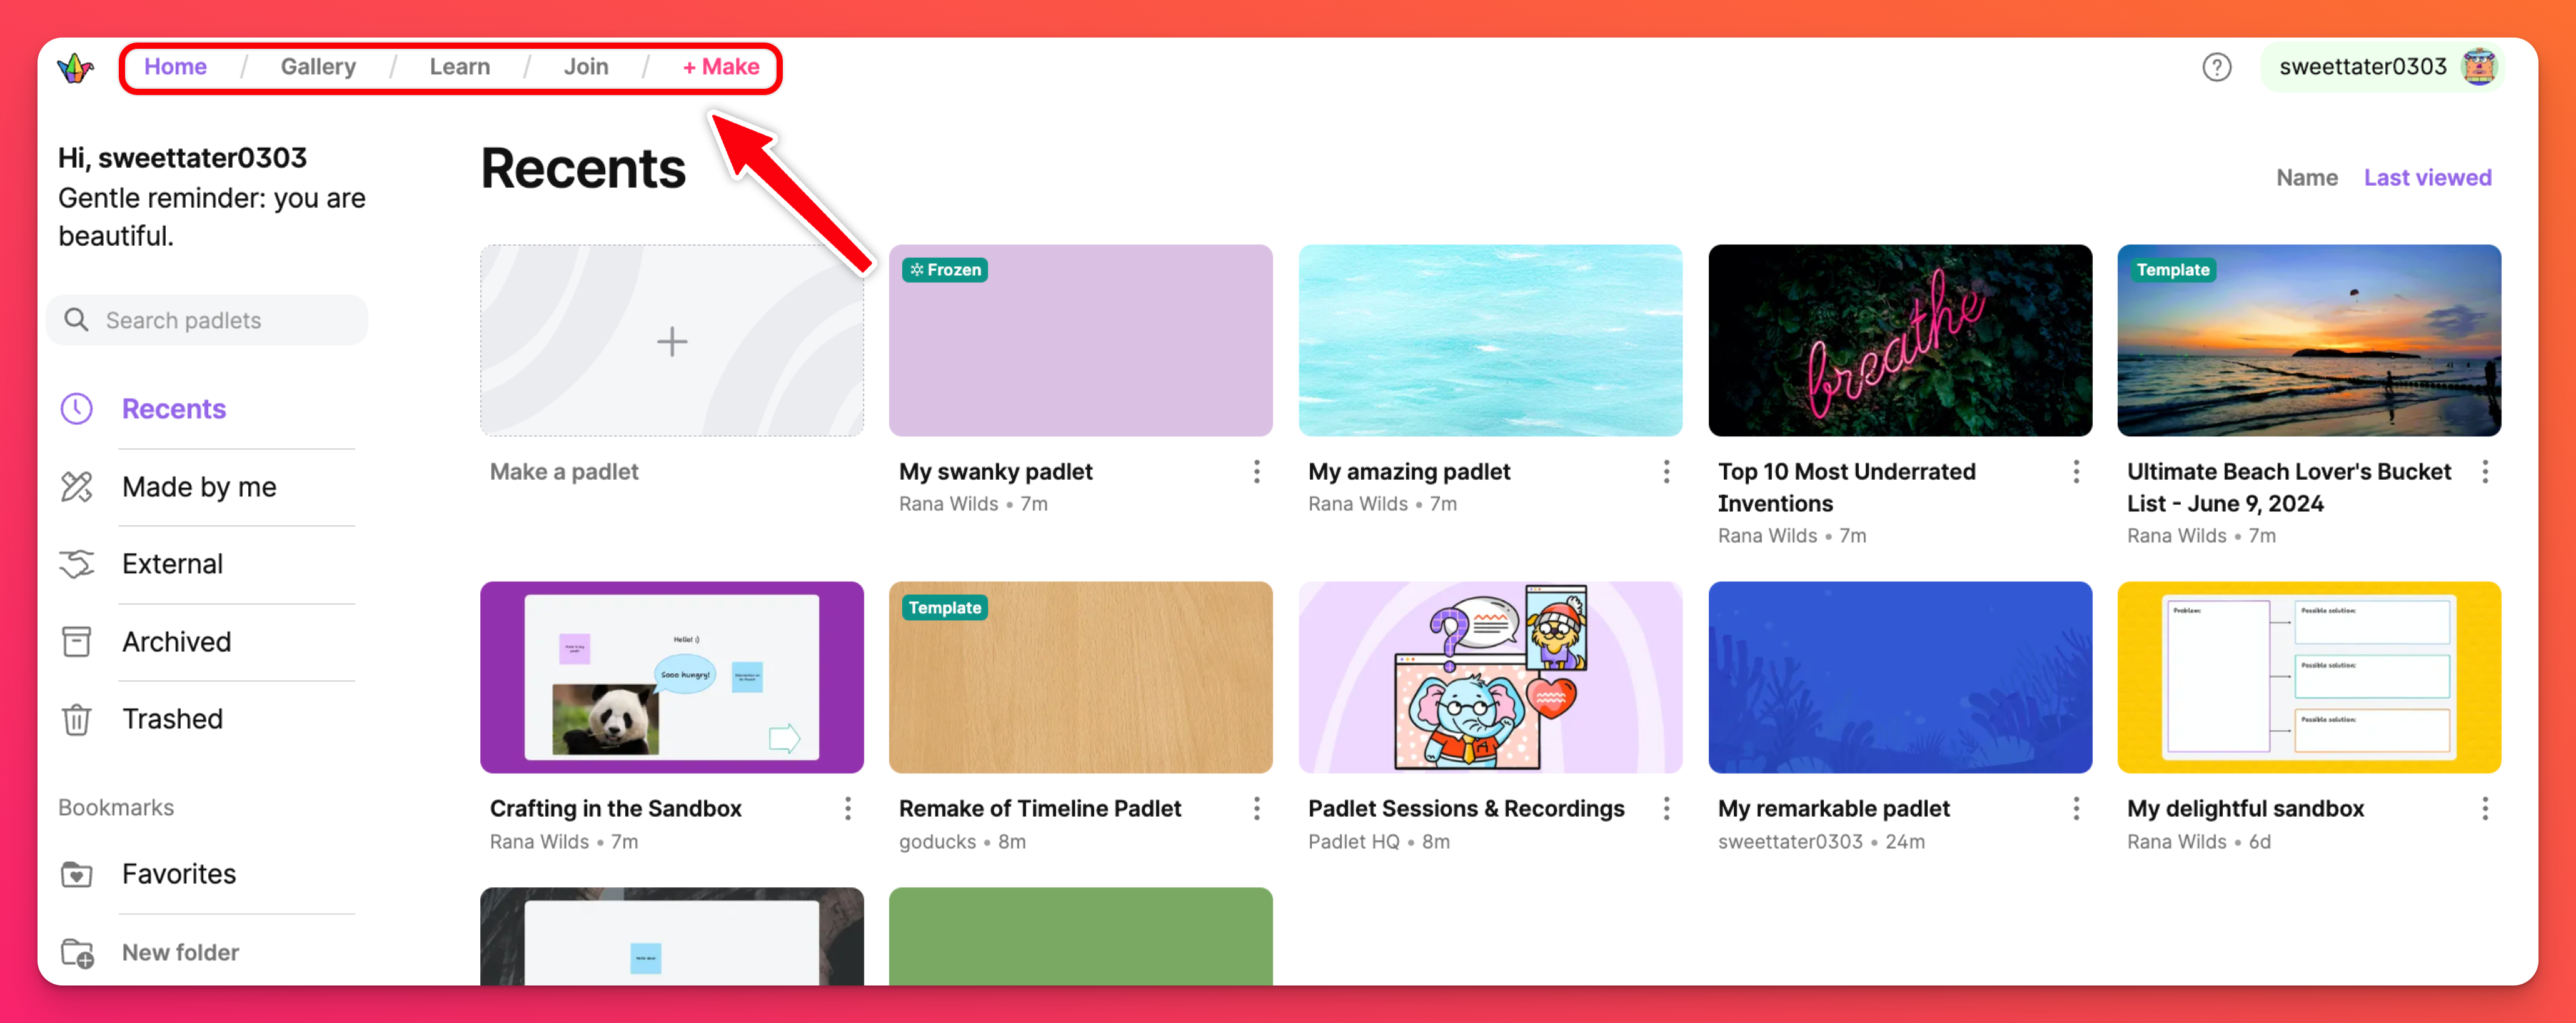
At the top of your dashboard, locate the header to find different areas where you can learn, get inspiration and when you're ready -- get started!
- Gallery - Contains 200+ templates created for your use.
- Learn - Helpful videos that teach you how to use Padlet
- Join - Click the Join button to search for a padlet with the URL.
- + Make - Start your own Padlet creation!
Account menu
Your account menu is used to switch between multiple workspaces. Visit the account menu in the upper-left corner of your dashboard.
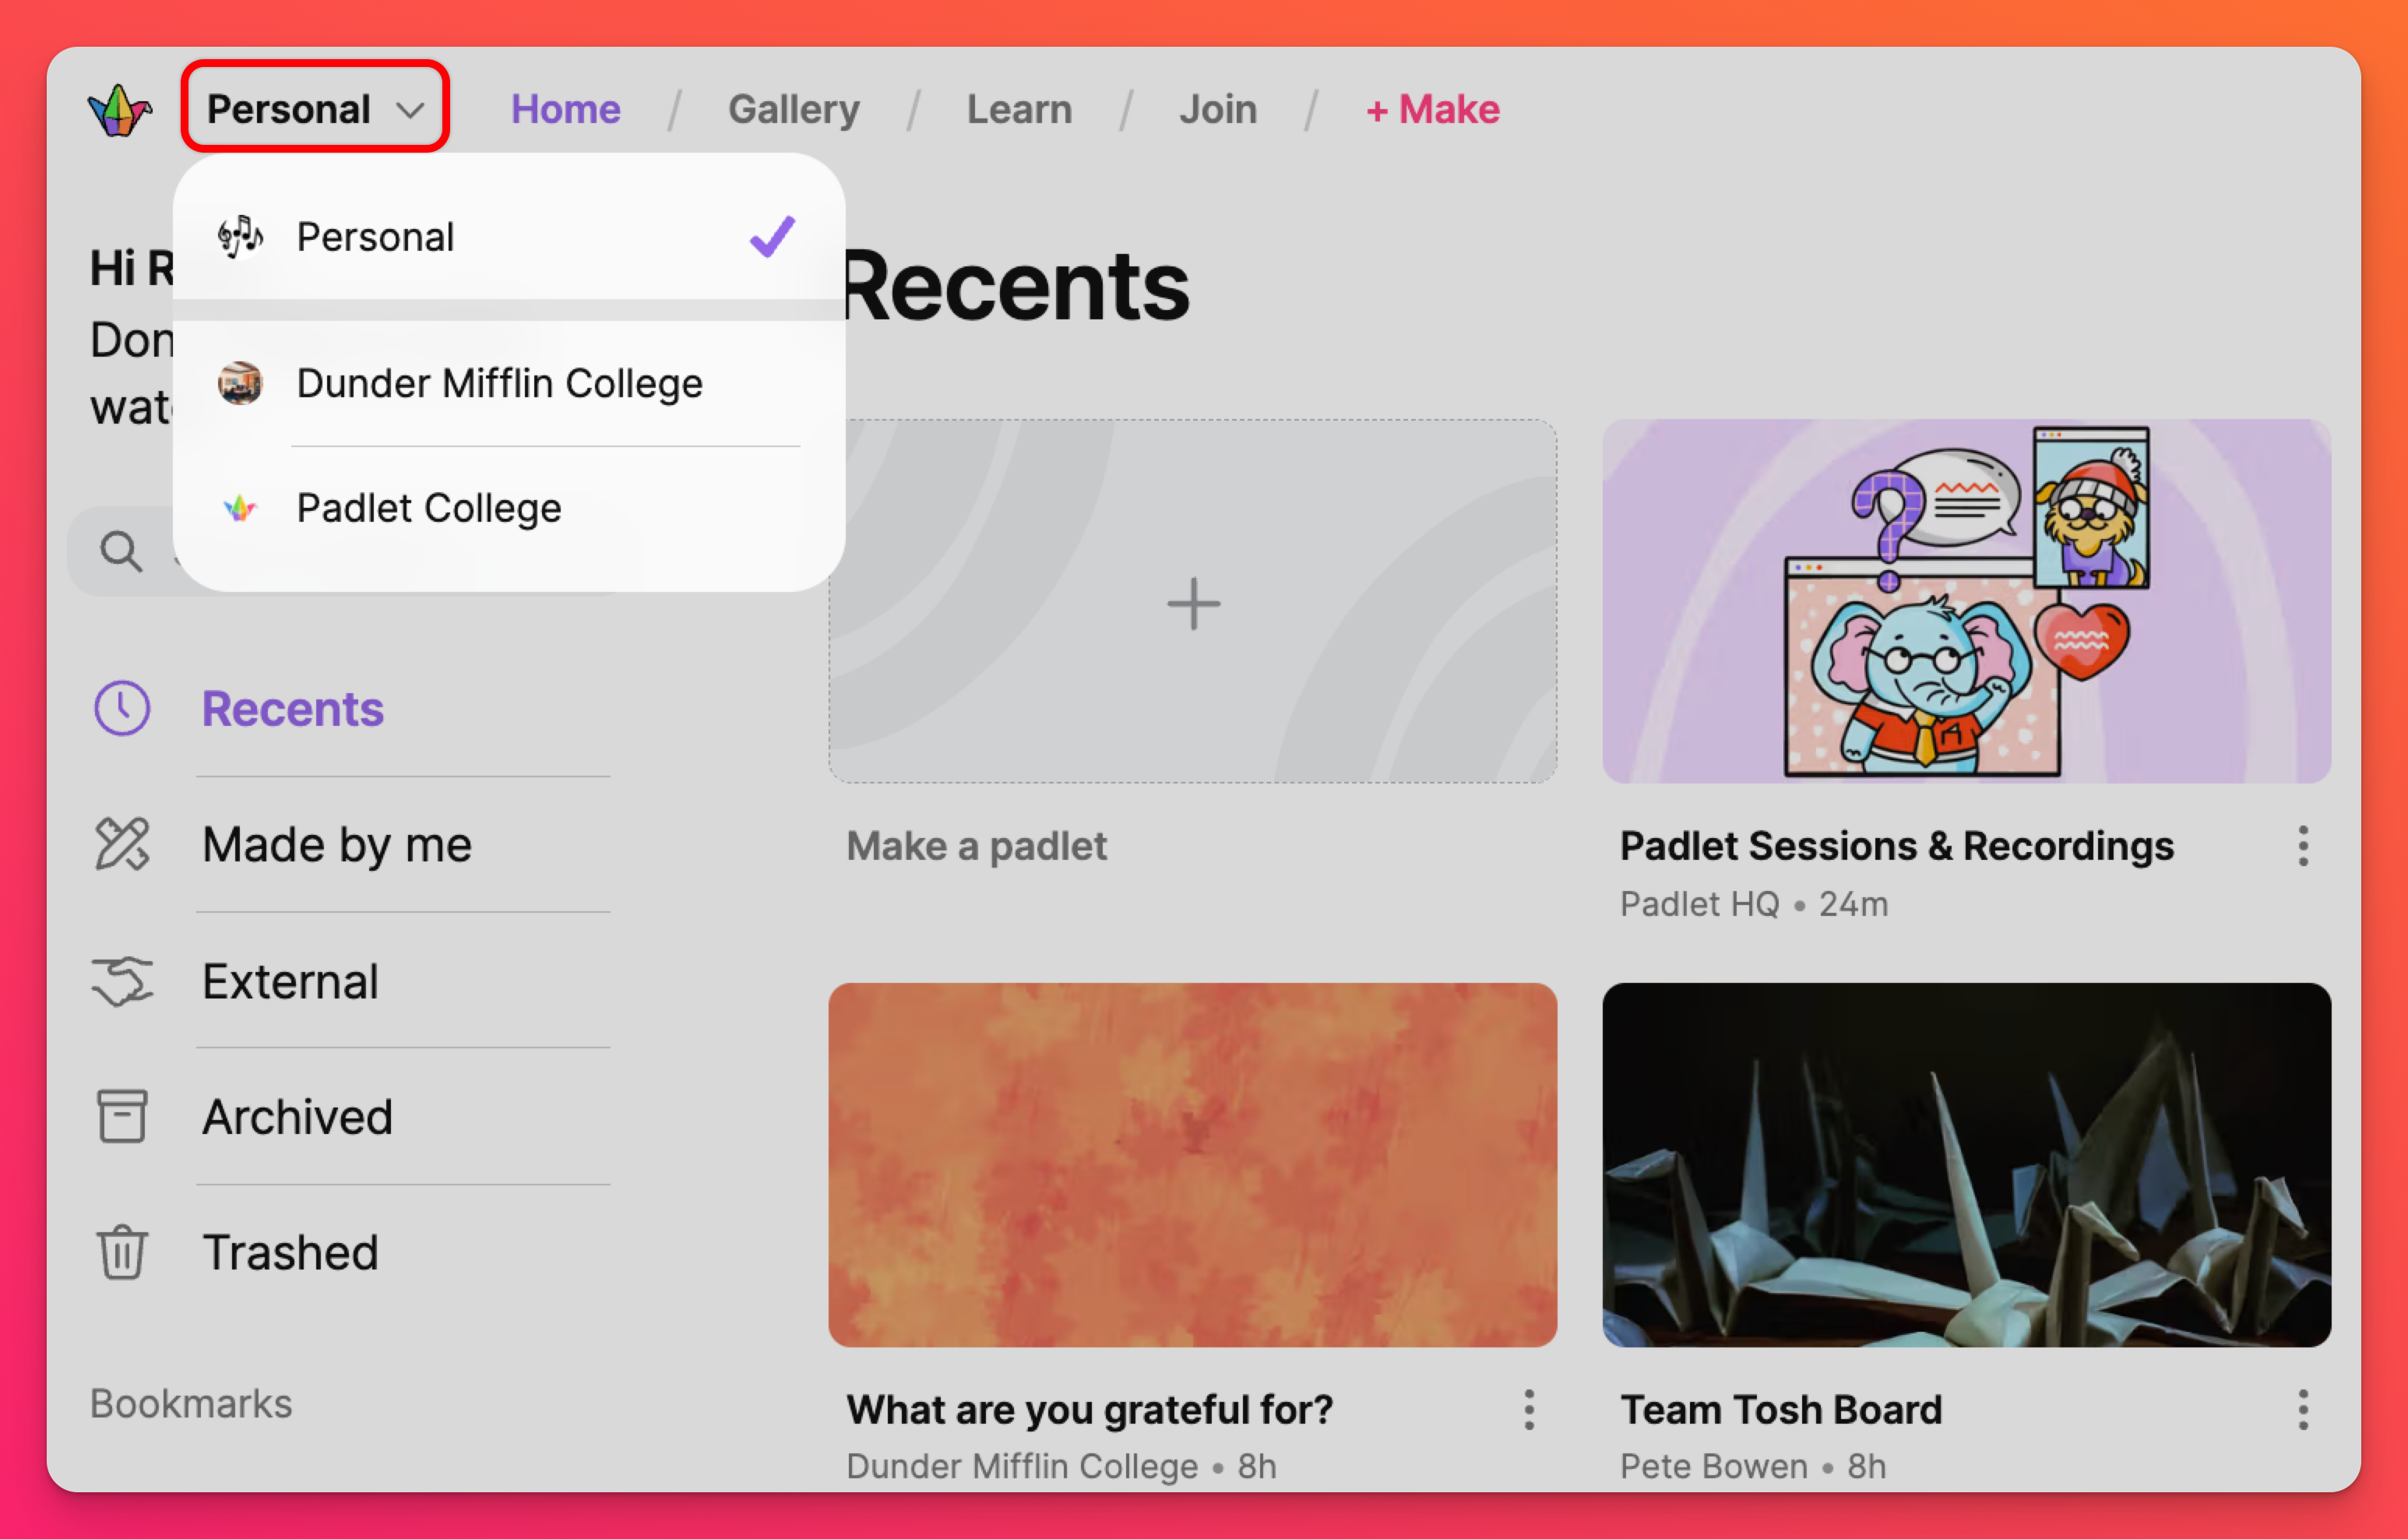
Click on the account menu to display the different workspaces within the account. The workspace with the check mark is the one you are currently viewing. Navigate between the different workspaces by clicking on them within this menu.
- Switch accounts - If you have a personal account and are part of a Team Gold account linked to the same email (for example), switch between accounts in the user menu.
User menu
For all admin duties and upkeep of your account, visit the user menu in the upper-right corner of your dashboard. Some of the options to choose from are listed below:
- Settings - Update your username, email, password and subscription.
- My profile - See your profile page that includes all of your public padlets.
- What's new - View announcements about new releases.

Padlets
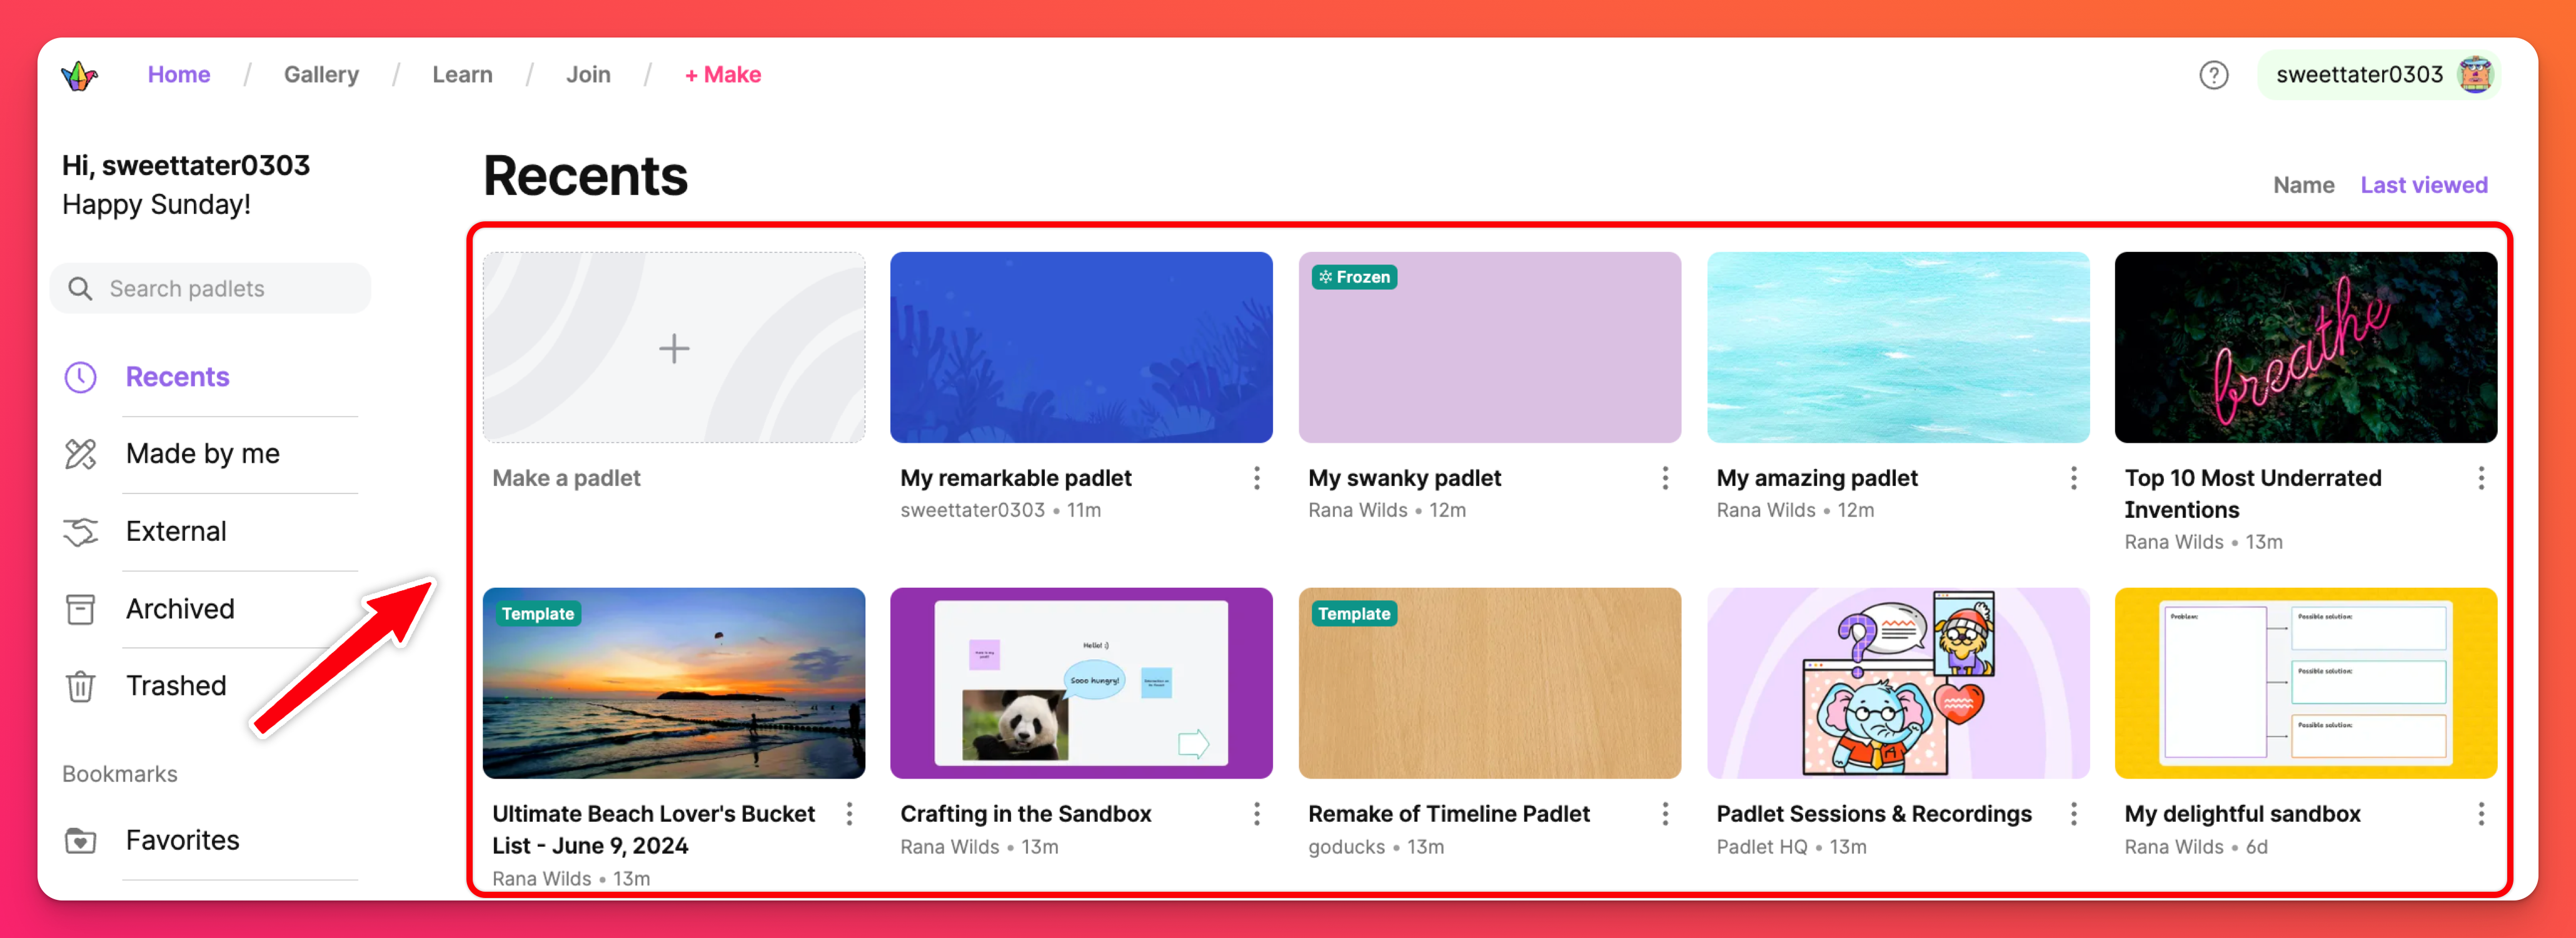
The thumbnails in the center of the screen are padlets. The bold font displays the padlet's title and the grey font shows the owner. As you create, like and contribute to padlets, they will appear here, organized by the folders on the left.
Create a padlet
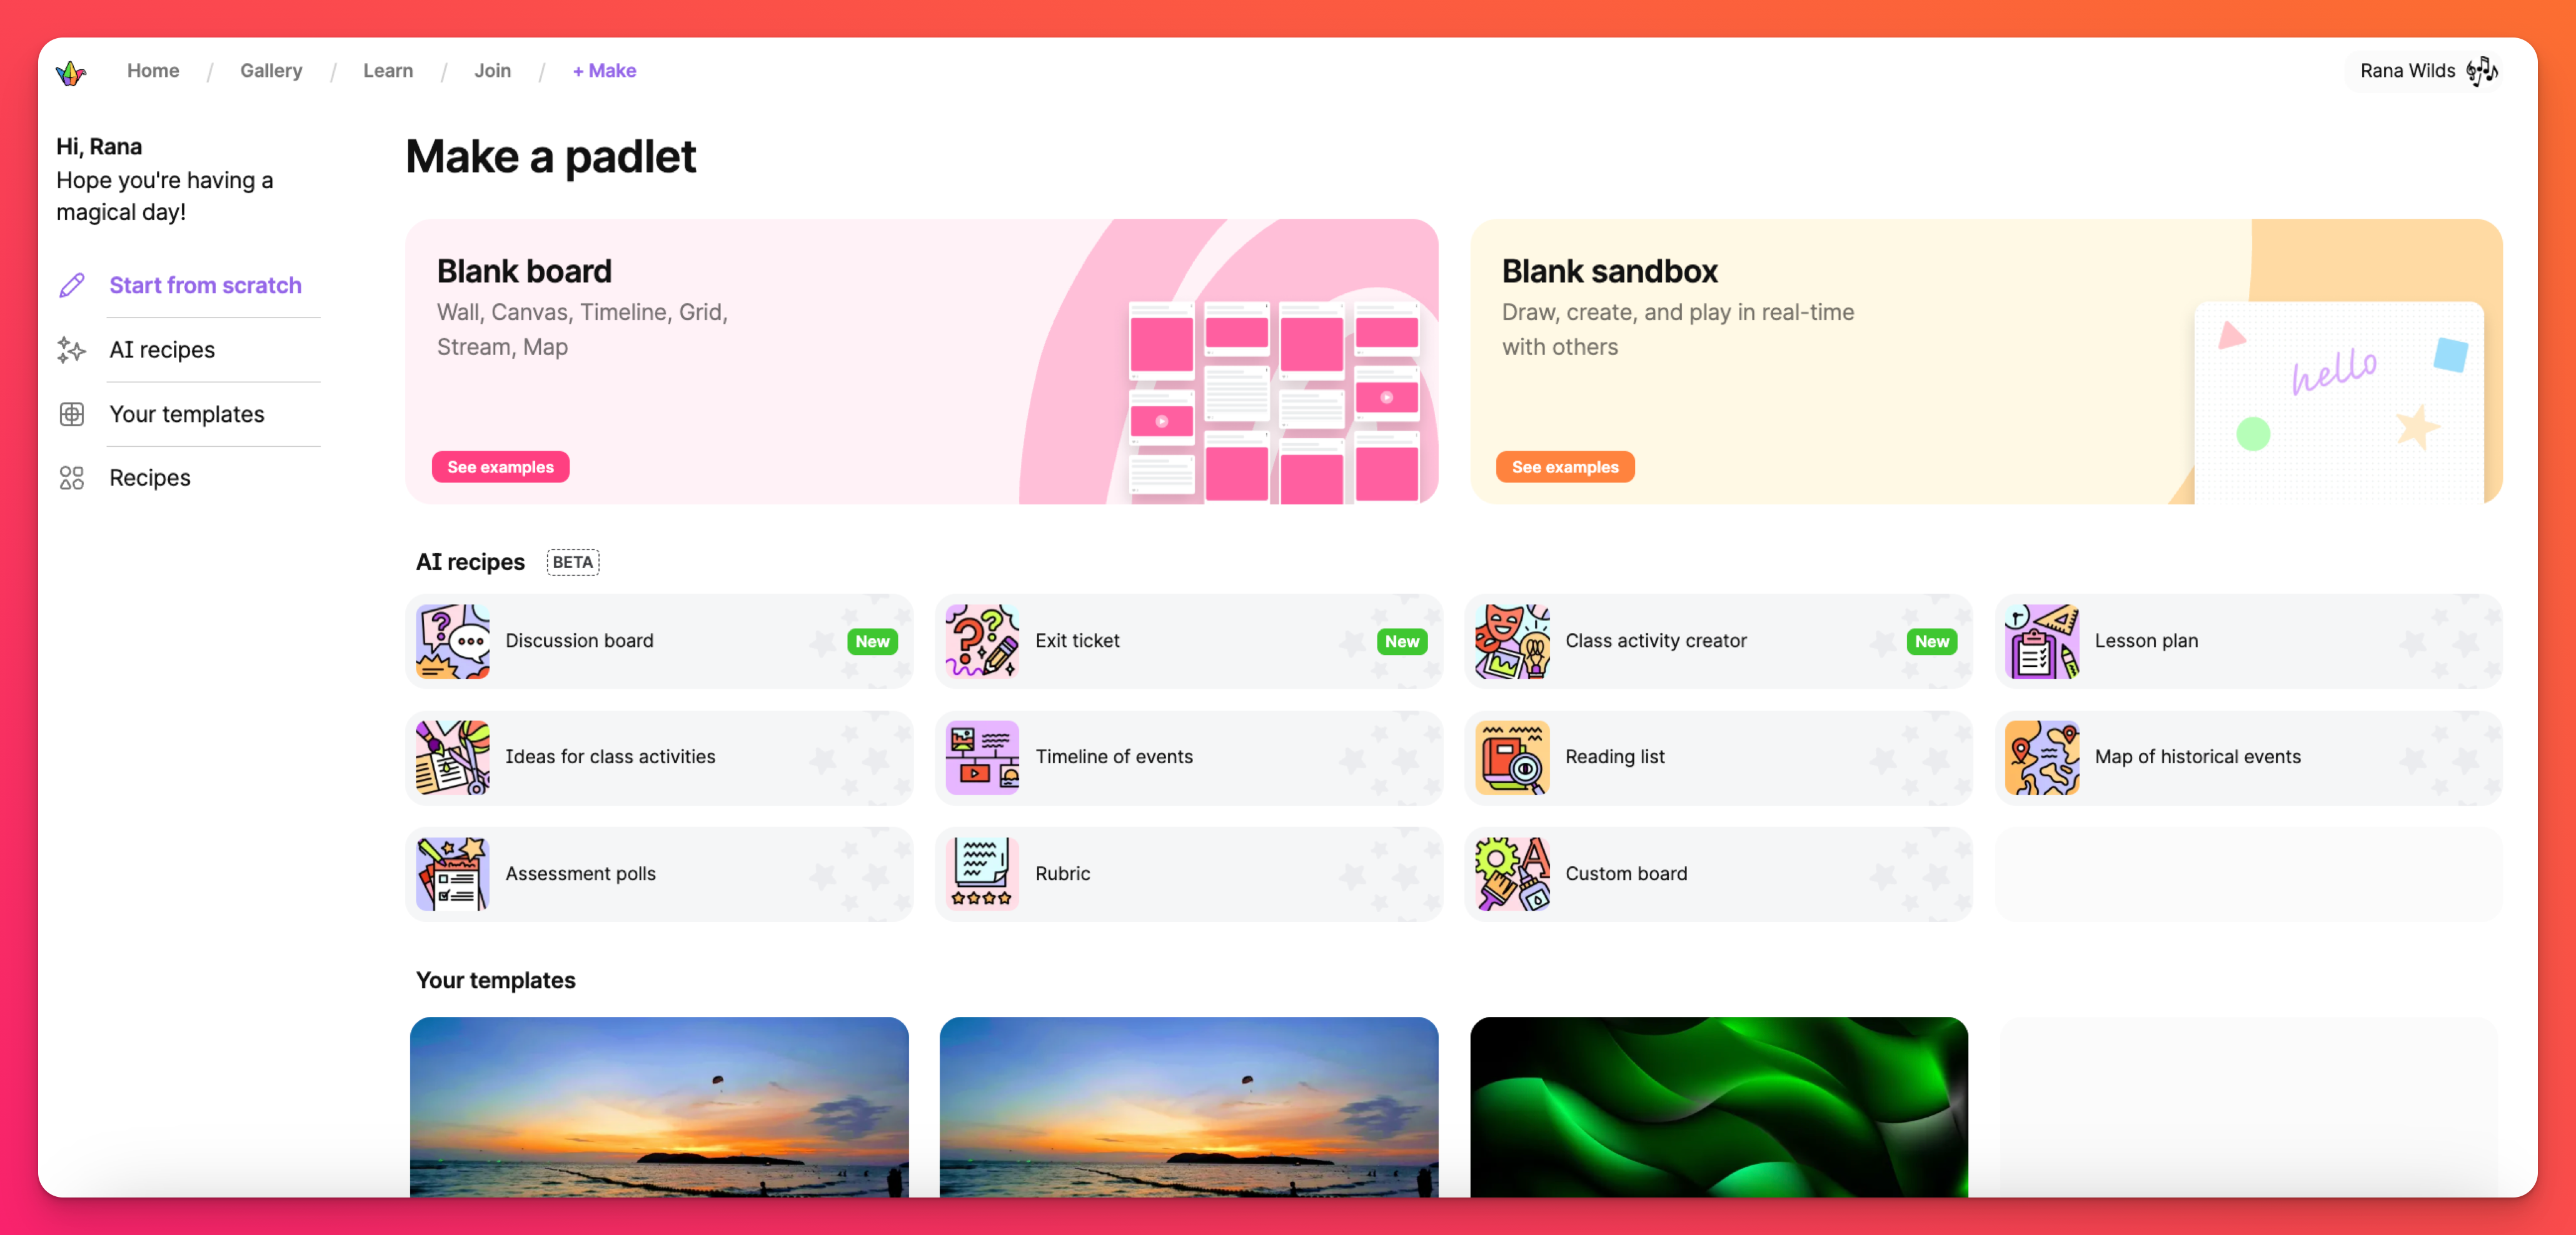
If you're comfortable with the dashboard (or just ready to get going), you can begin creating padlets by clicking the pink, + Make button on the top-left side of your screen.
Select Blank board to start a board from scratch, click Blank sandbox to make collaborative whiteboards, choose one of our AI recipes to compose a board with a bit of ✨ Magic ✨ or choose to work from a Template.
Create a board from scratch
Blank board will take you to a blank padlet with all of your formatting options.
The format you choose will determine the structure of your board. The easiest way to learn about the formats is to play around with them! And don't stress, you can always change the format of your board at any time.

Design the padlet
Use the Settings cog icon (⚙️) on the right side of the padlet to edit the title, wallpaper and other appearance settings. Adjust the post size, choose your preferred font and decide how the posts will be ordered within the same menu.
Use the (+) button to add posts. Posts can accommodate almost any kind of file or link. This includes text, images, video, Spotify links, YouTube links, PDFs, other padlets and so much more!
The possibilities are endless for the stories you tell and the beauty you create!
Privacy and permissions
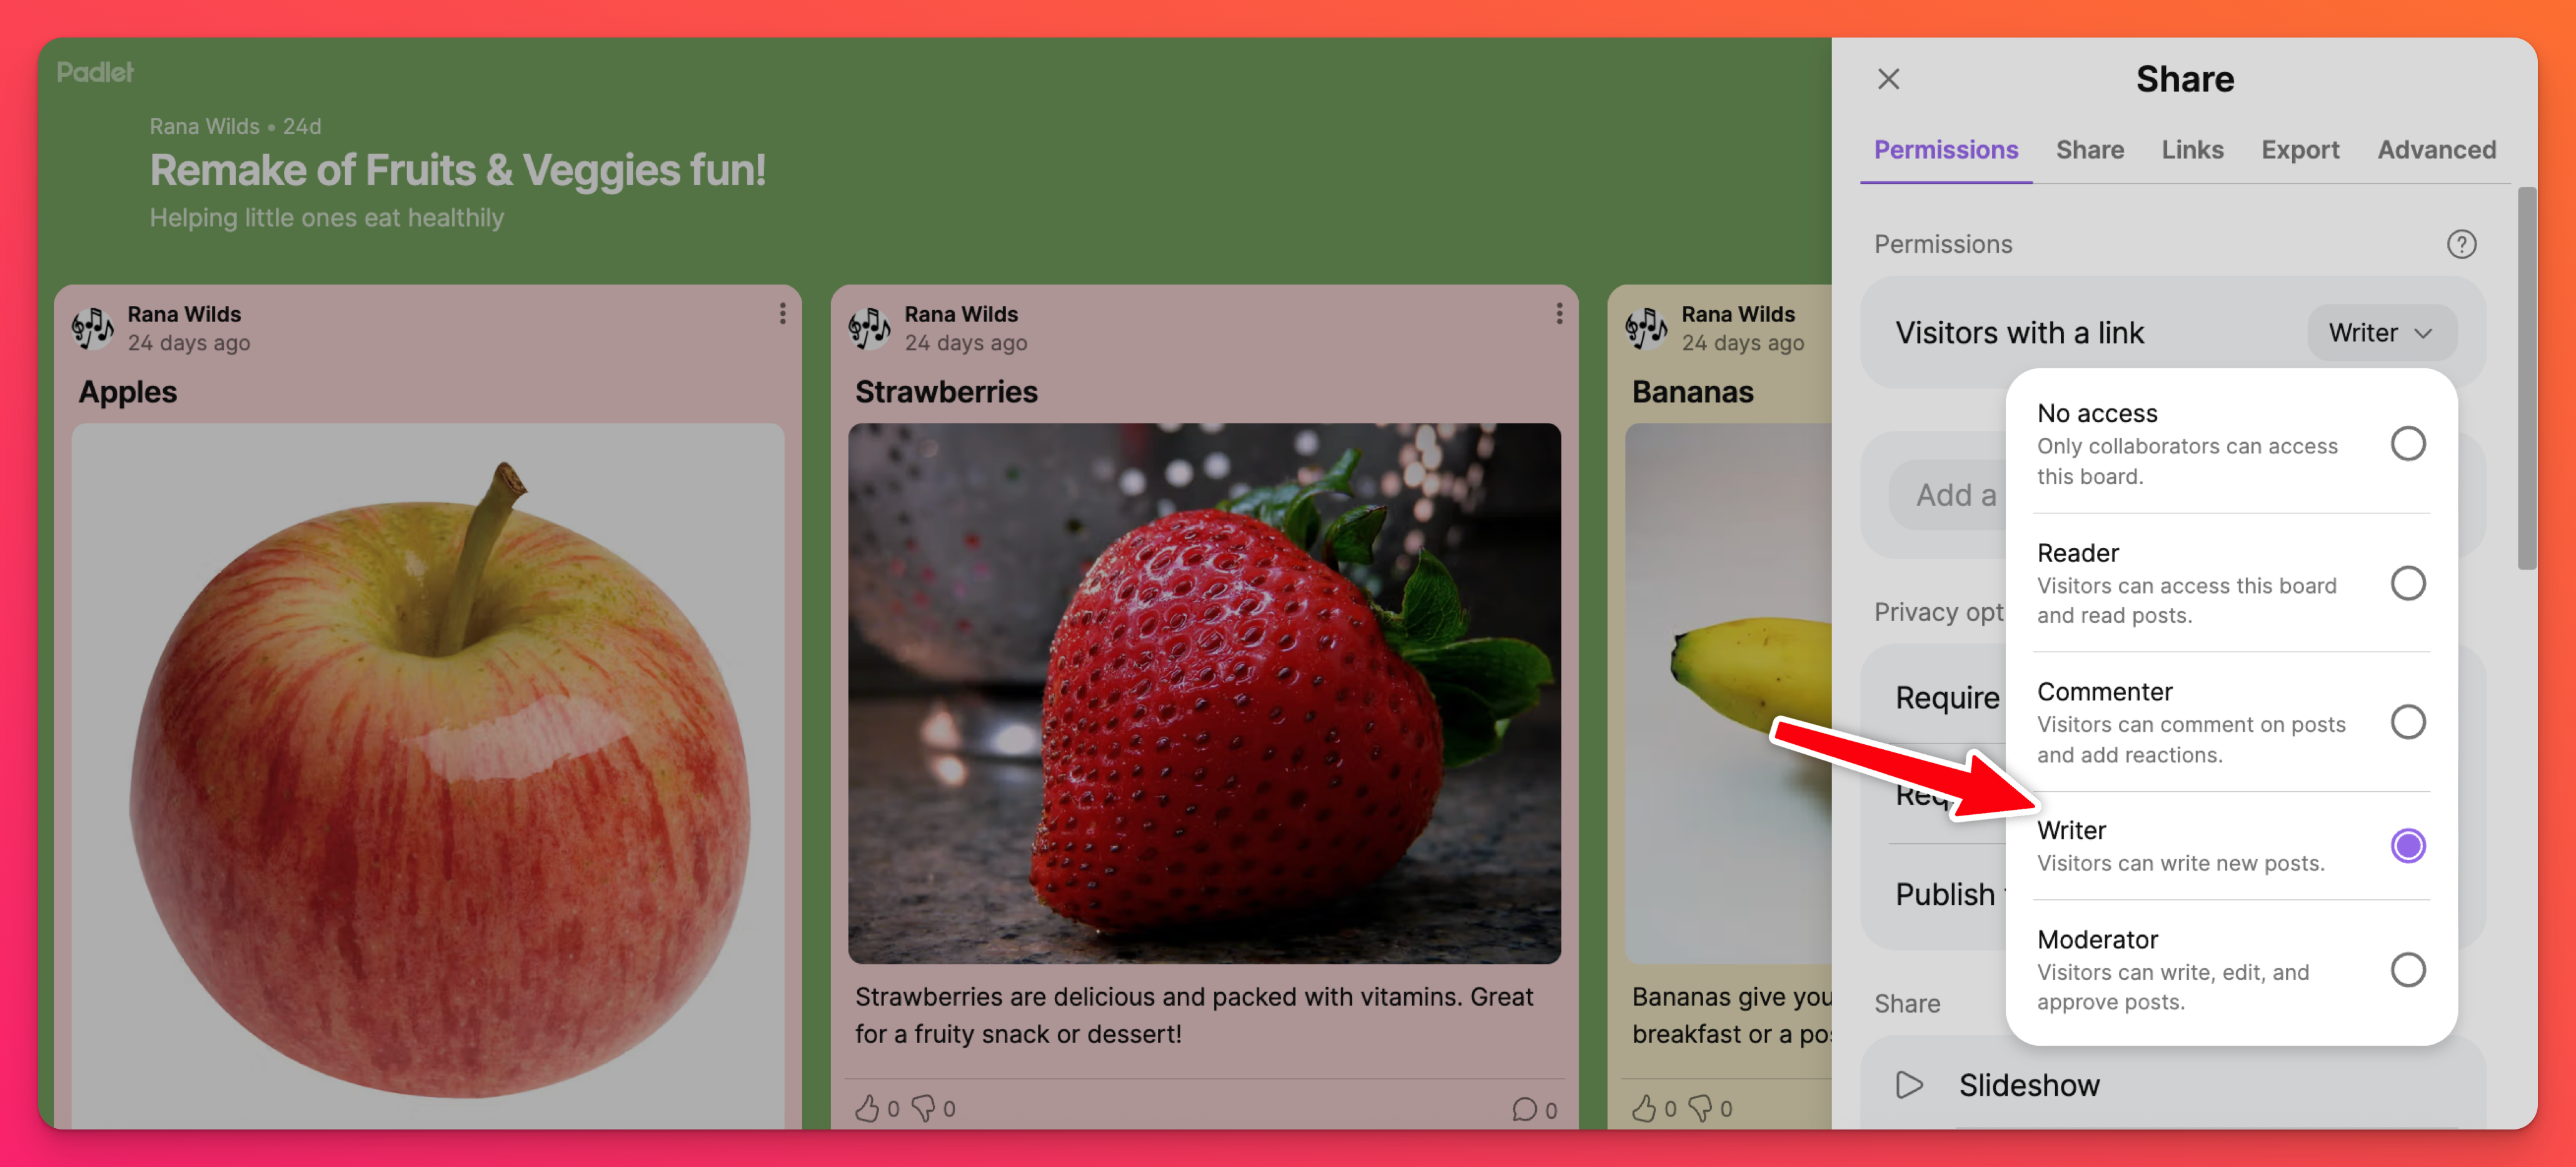
Control the privacy of a padlet in the Share menu.
Access the privacy options by selecting the Share arrow on the top-right side of your padlet > go to the Privacy options section.
Click on the drop-down menu next to 'Visitors with a link' to choose what others are allowed to do on the padlet. Choose between Reader, Commenter, Writer [the default setting], Moderator or have No access to the padlet at all!
Share your padlet
When you're ready to share your padlet outside of your inner circle, click the Share arrow on the top-right of your screen. This will open up the Share menu, shown below, which gives you a wide variety of sharing options.
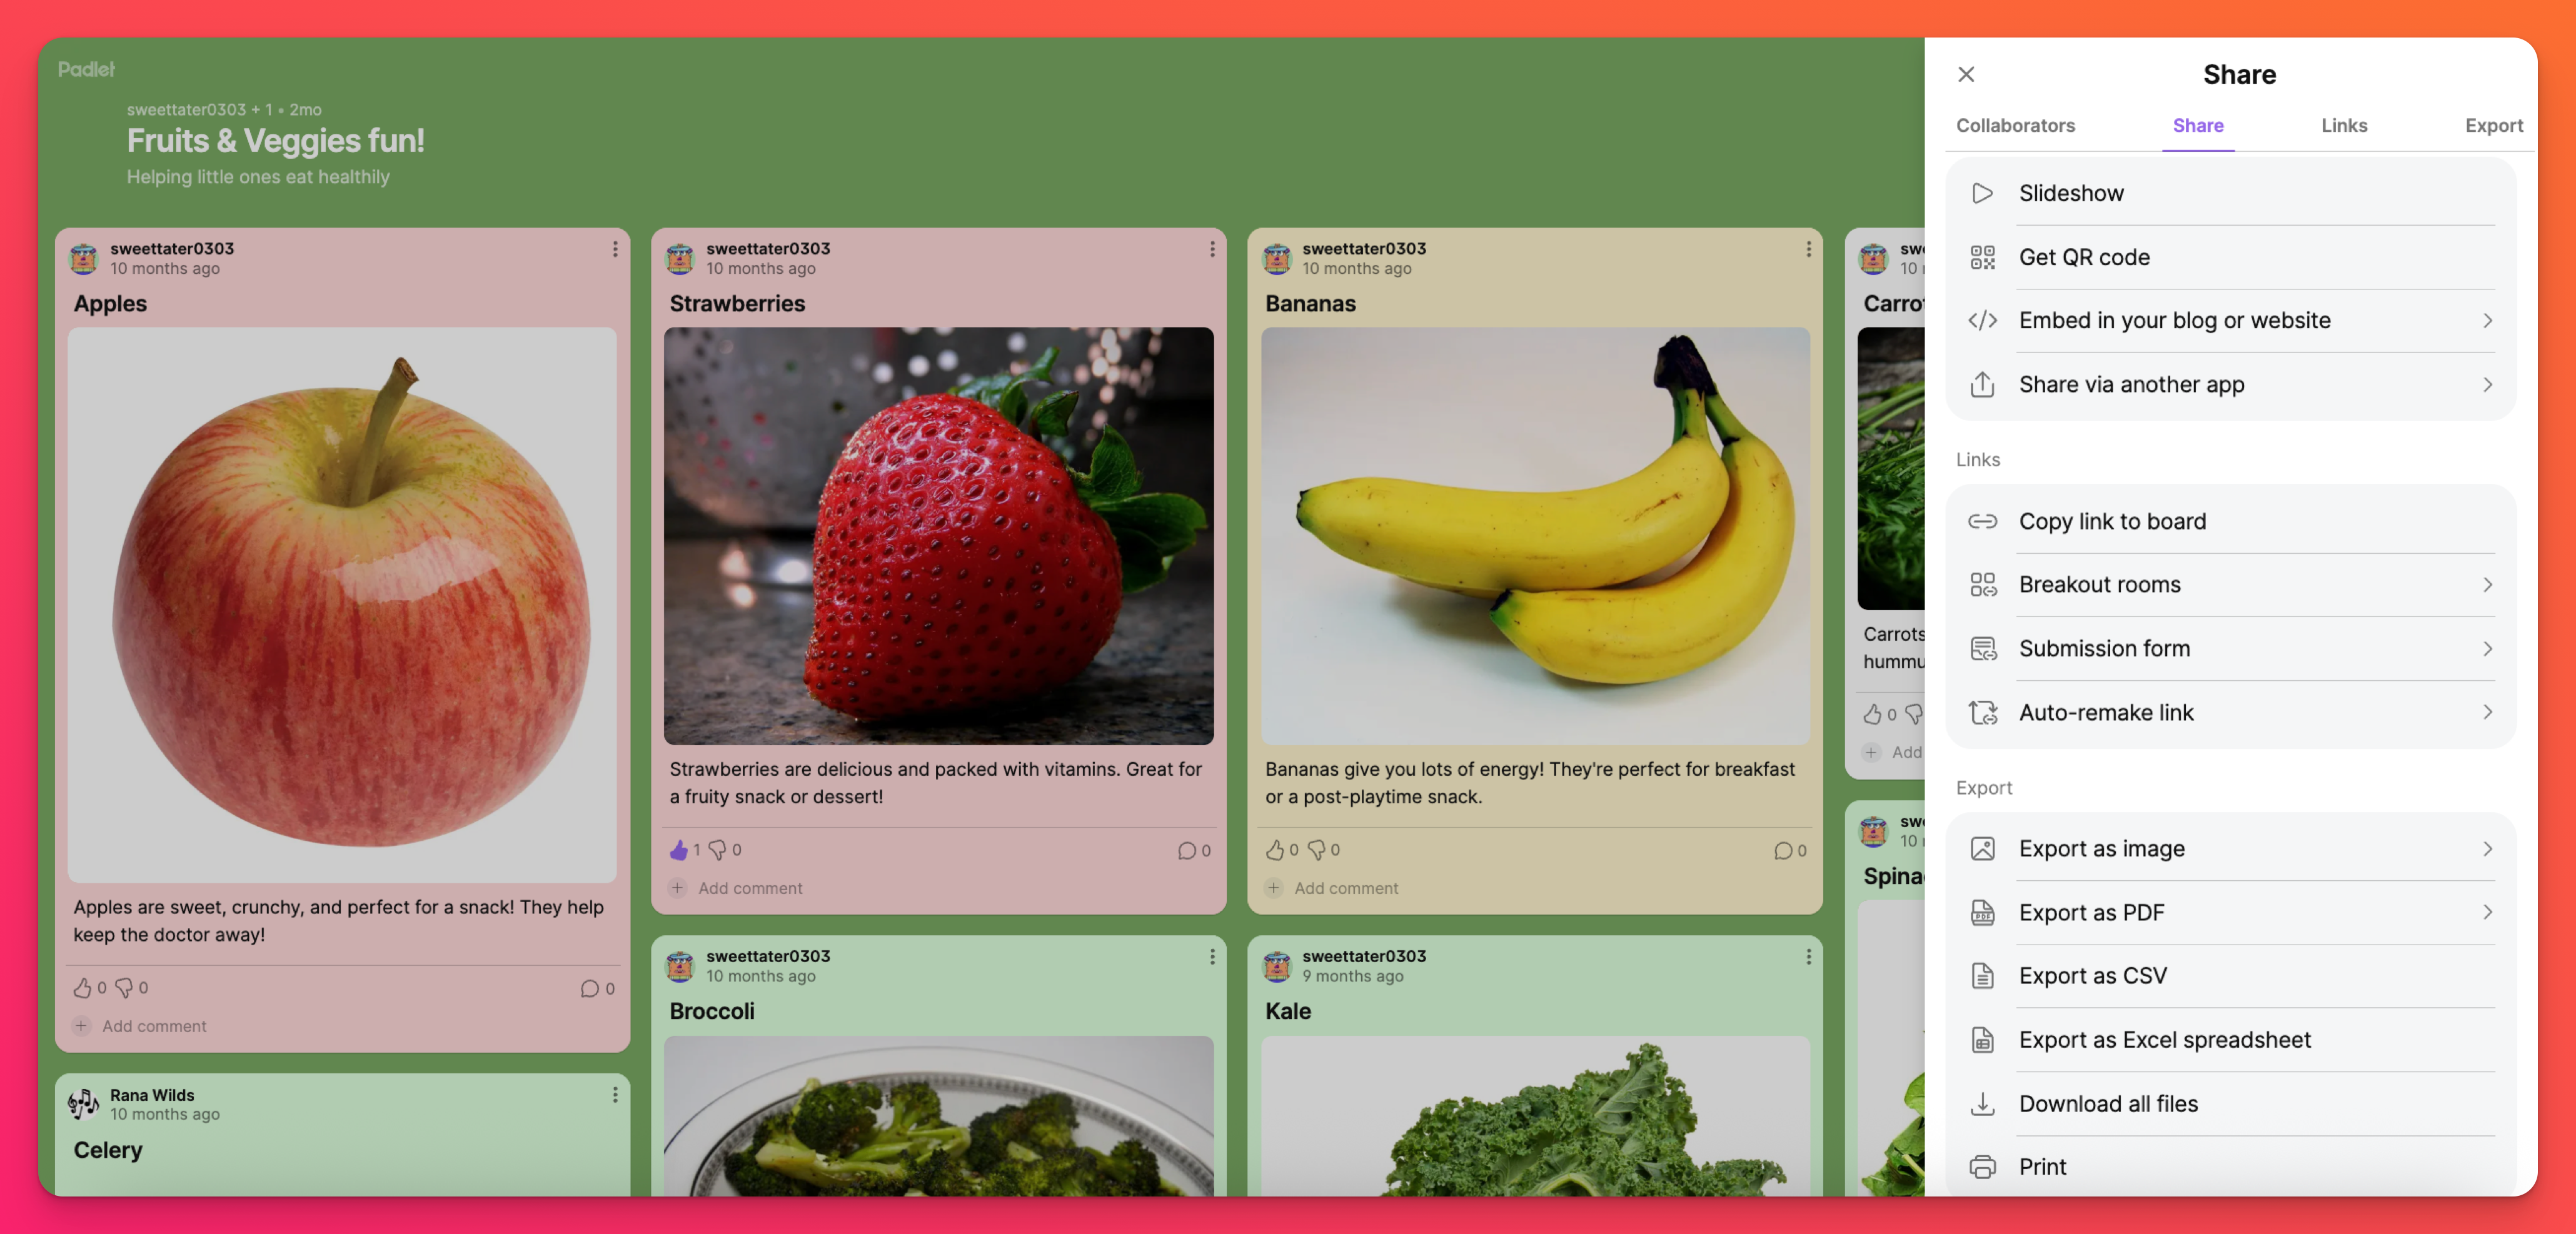
The simplest way to share your padlet is to select Copy link to board and send that link directly. If your Privacy and Permissions are set to Writer and everything else toggled OFF, [the default settings], anyone with the link will be able to view and post to your padlet.
Other options for sharing include distributing a QR code, exporting the padlet as a PDF file or sending the padlet out on social media.
That's it! Now go make something magnificent!

