Sandbox tools
Create a magical place to learn and collaborate - all while having fun! Learn about the Padlet Sandbox tools provided and how to use them!
Getting started
Draw mode vs. Play mode
At the top of the page, next to the title of your Sandbox, you will see 2 buttons: Draw and Play.
Use Draw mode when creating or editing cards within your Sandbox. Draw mode displays all of the Sandbox tools needed to make your masterpiece.
Play mode gets rid of all the extra distractions and is great for providing lessons, storybooks and giving presentations. The focus in this mode is on consumption, rather than creation. No need to worry about accidentally moving an object or editing something in this mode.
General tools
On the top-right of your screen you will see the tools needed for Remaking your Sandbox, Sharing it with others, and your Settings and user menu. It looks very similar to a board's options, doesn't it?
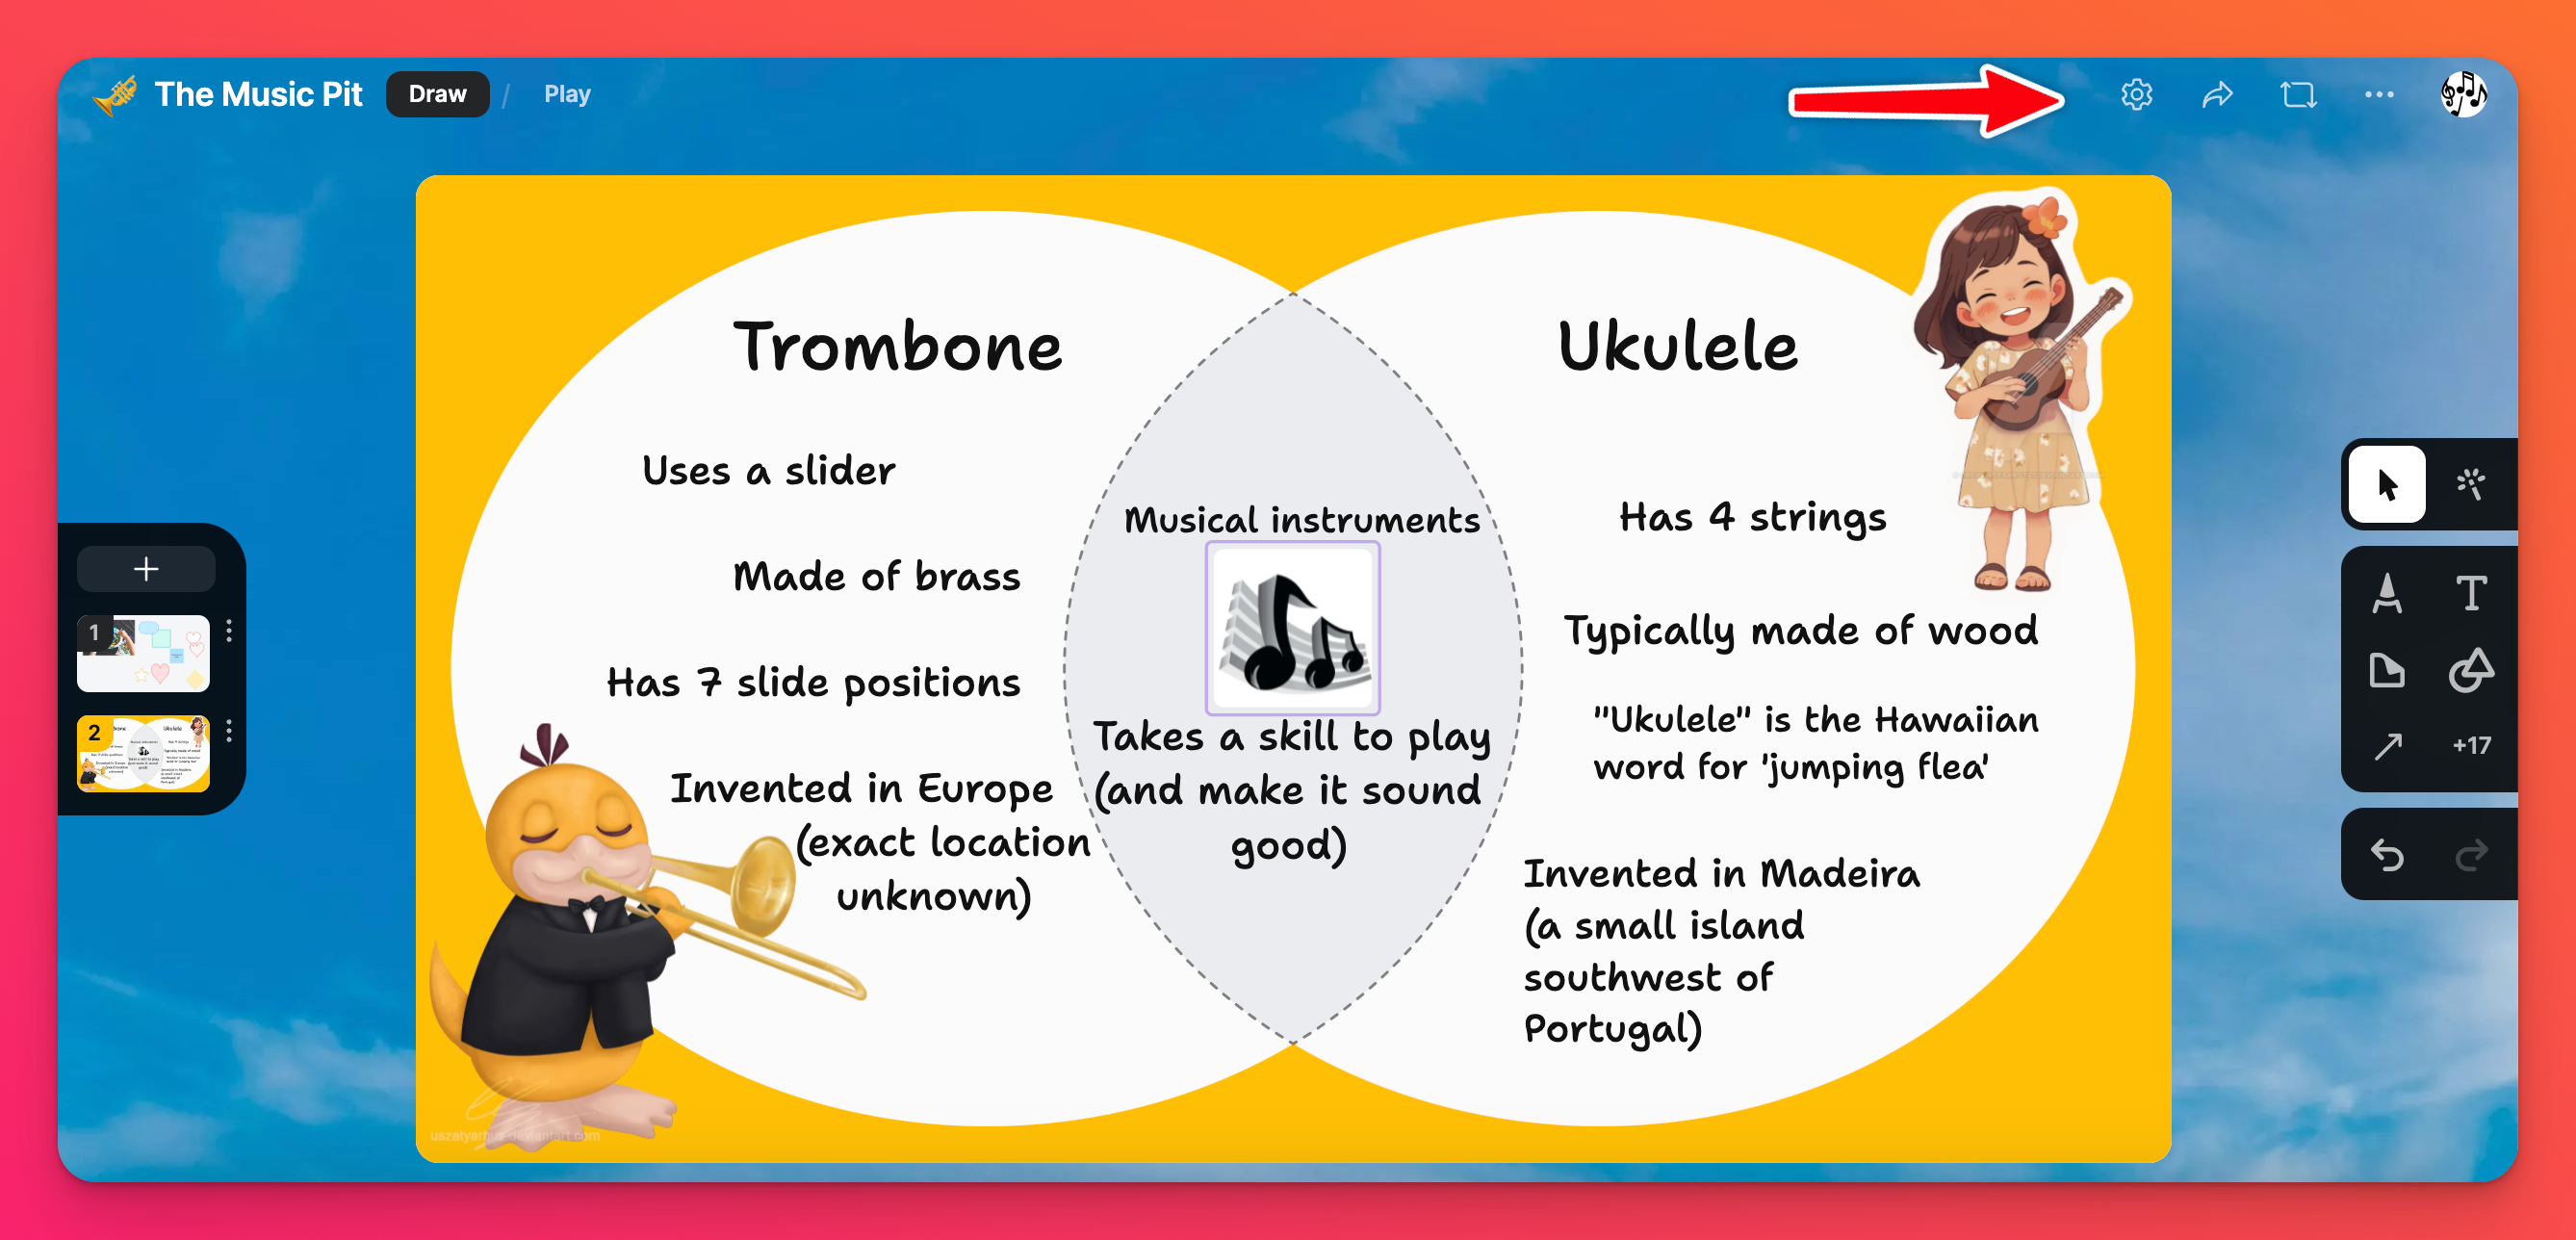
Sandbox tools
Card deck
Lets get to the fun stuff!
Your cards will be displayed on the left-hand side of your screen. Create multiple cards by selecting the plus (+) button at the top of your card deck. To rearrange the cards, drag and drop the cards into your preferred order or click the three-dot ellipsis button (...) and choose where to move.
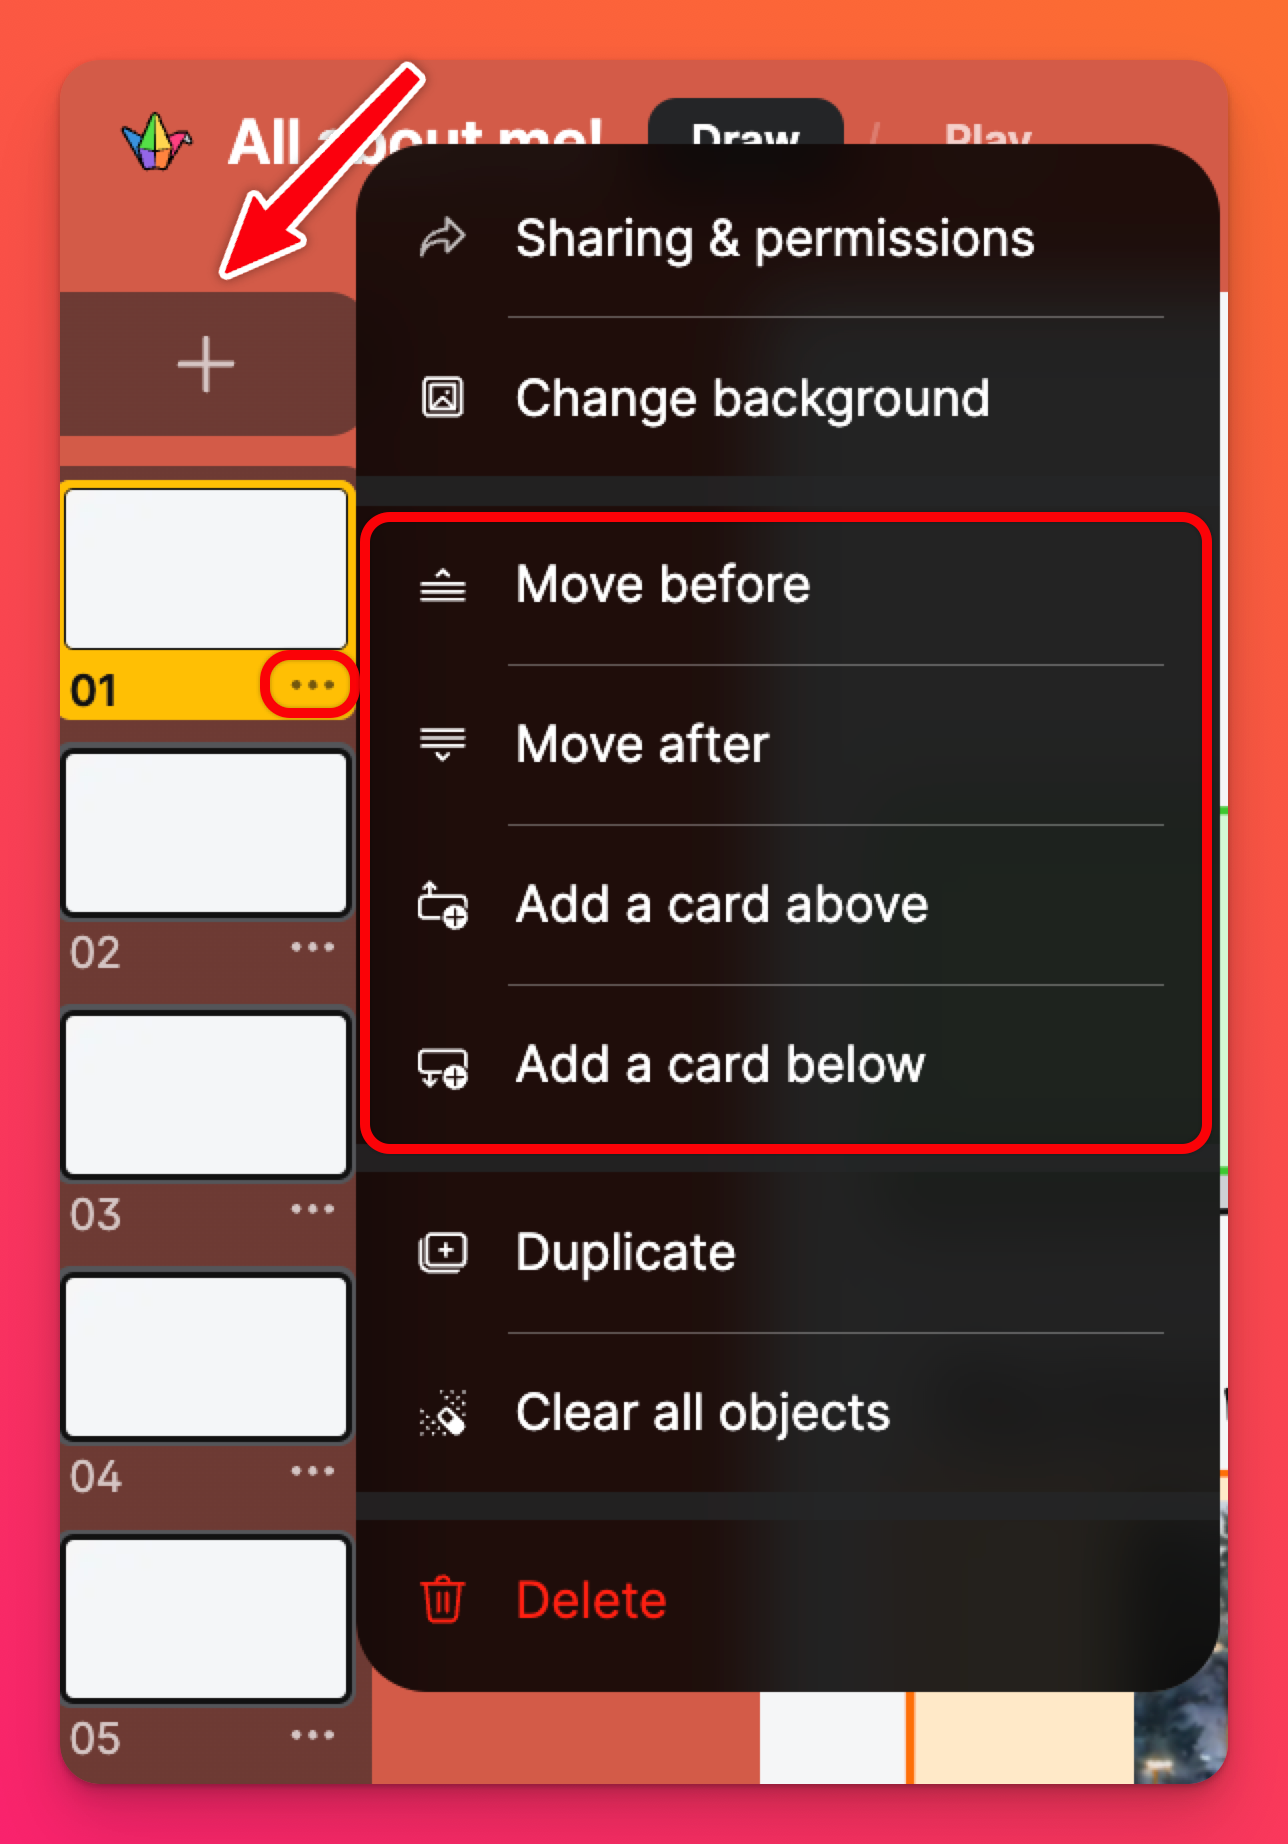
Override your Sandbox Permissions
Not only can you assign 'Visitor permissions' for the whole Sandbox - but you can assign different 'Visitor permissions' for each individual card! This works great when there are two or three cards you'd like your students to post on but would prefer the others be read-only.
To assign an individual card specific permissions, click the three-dot ellipsis button (...) next to the card and choose Sharing & permissions.
Next to 'Permissions,' click the drop-down menu and make your selection!
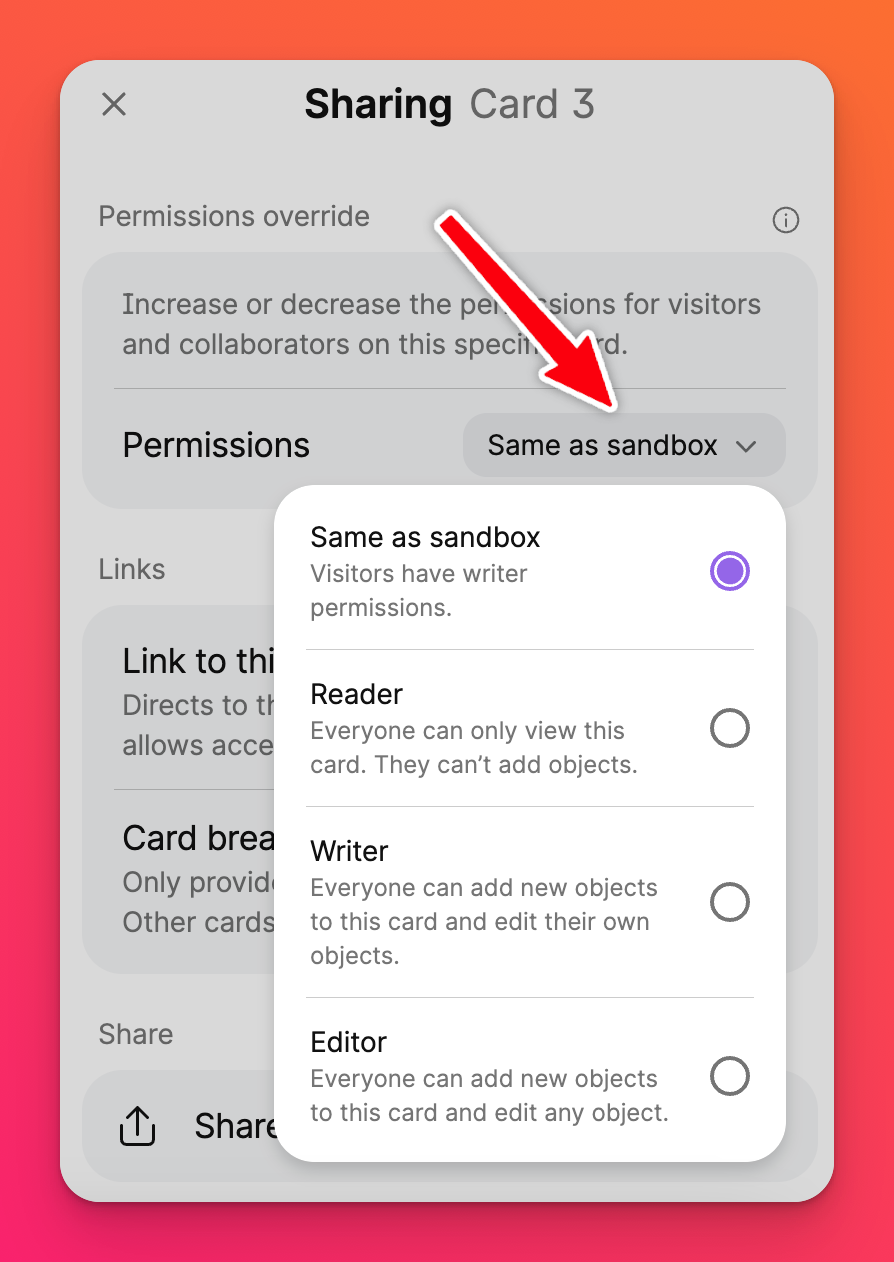
Tool menu
Your tool menu is located on the right side of your Sandbox. Here you can draw, add text and shapes, sticky notes or use the pointer during a presentation! Each tool is explained below.
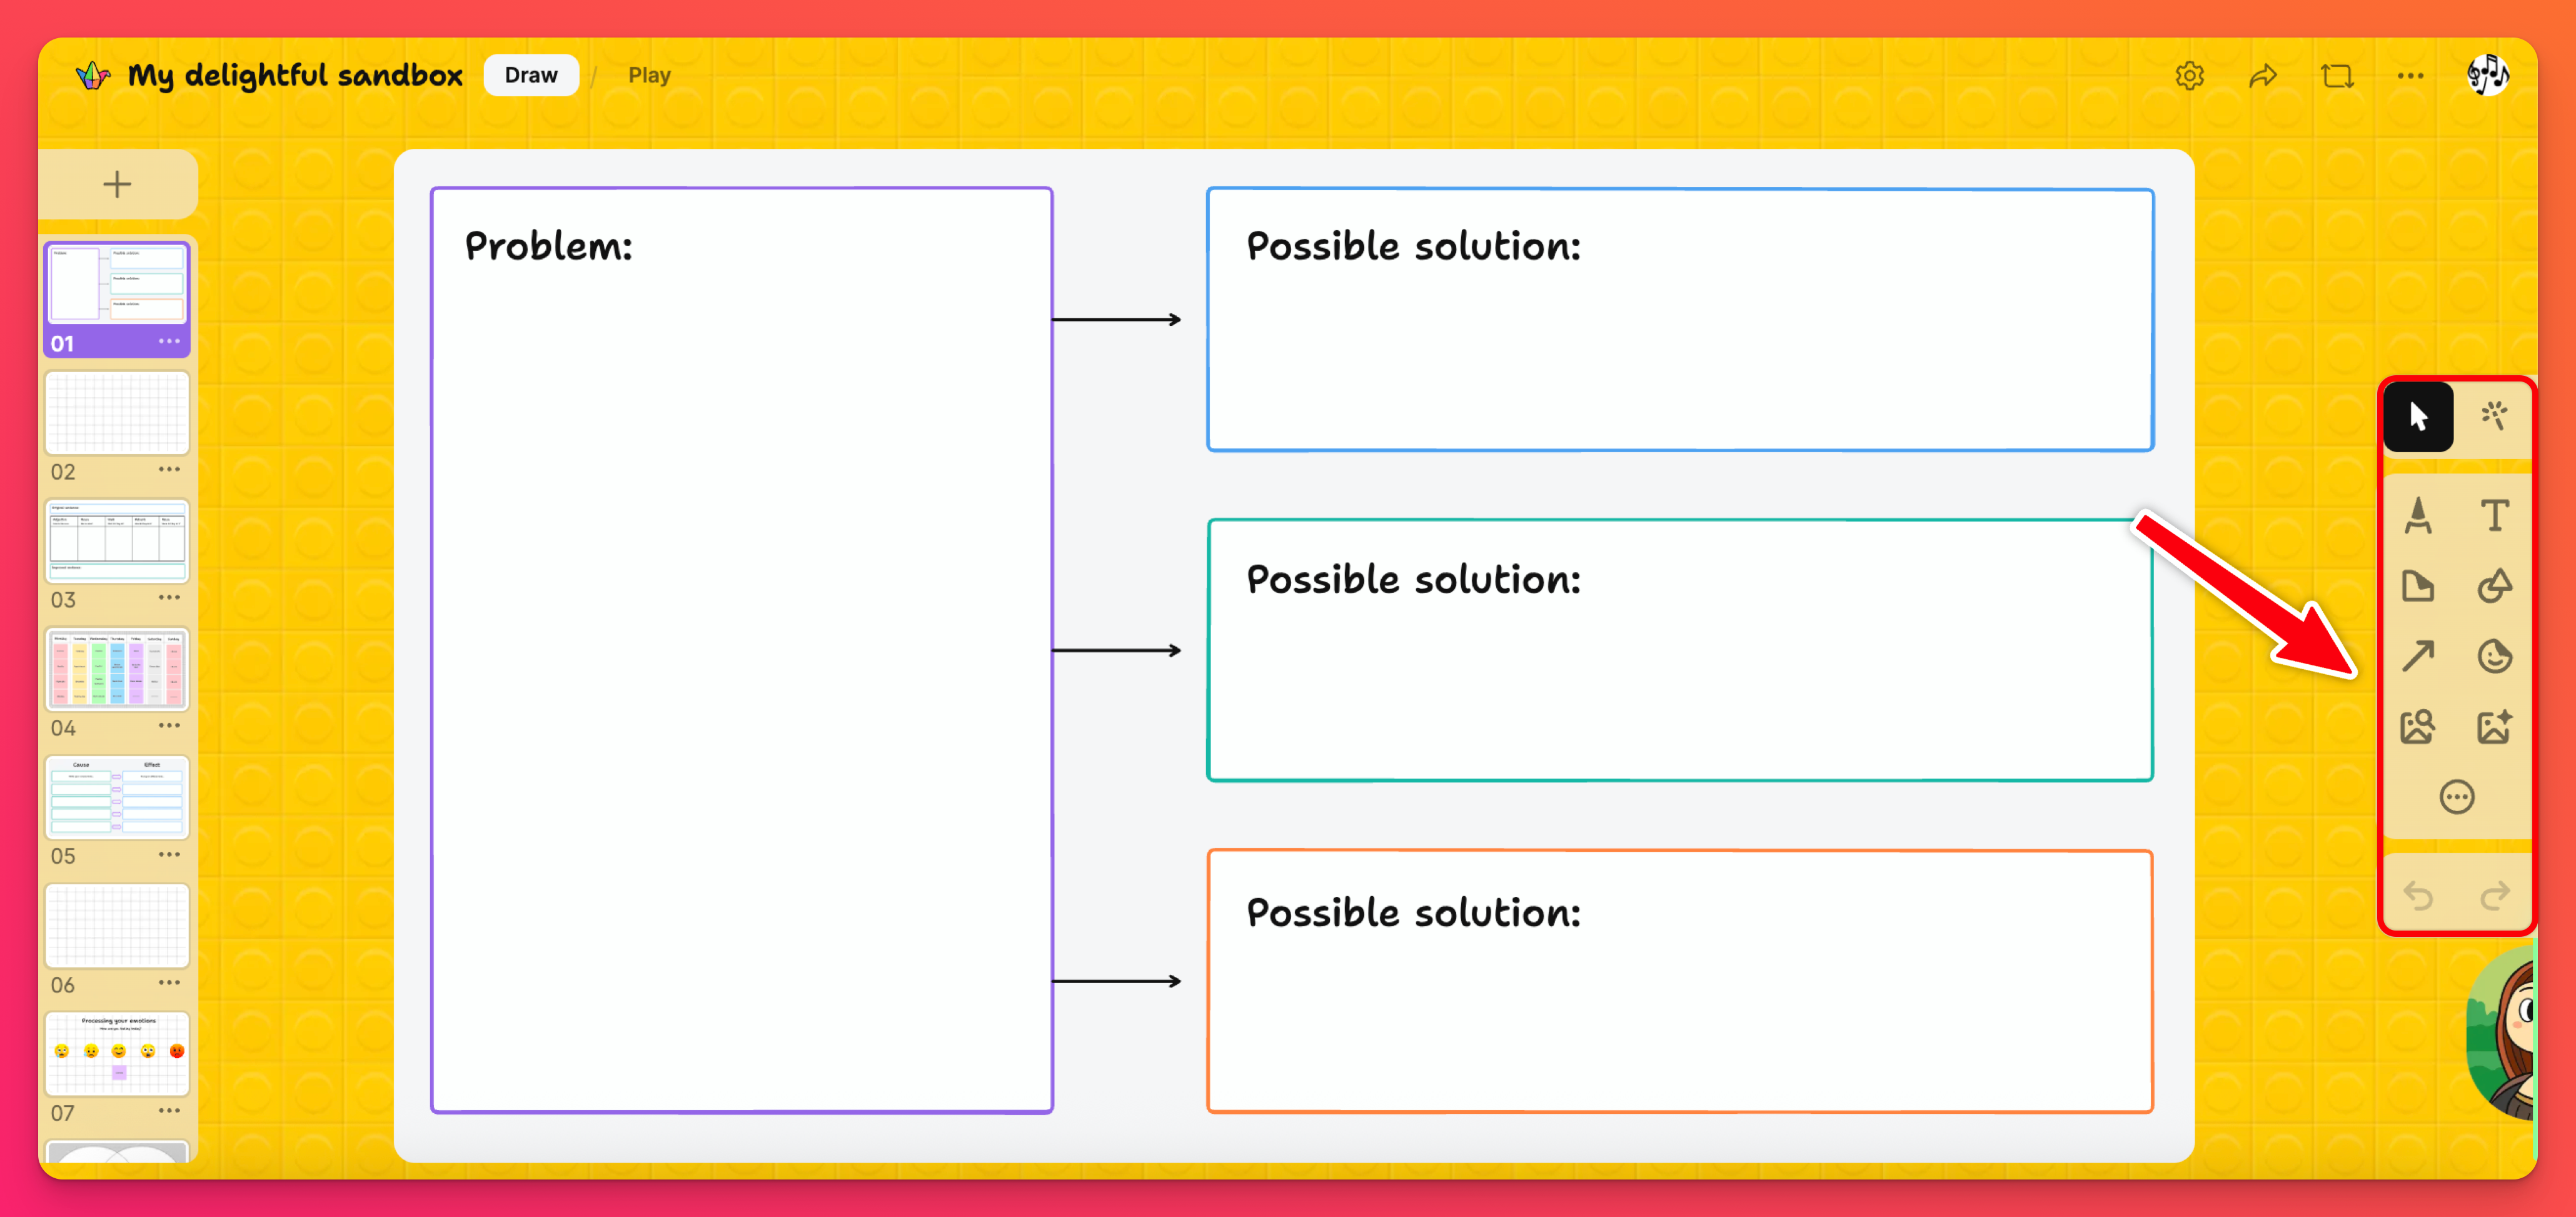
- Select tool (arrow cursor): Select the different objects on your card to move or resize them. You can even click the vertical three-dot ellipsis button (...) that appears to move objects to the front/back, duplicate them or freeze them in place!
- Pointer: Making a presentation? Use the pointer tool just as you would an old-school pointer stick on a chalkboard! -- And now I've just revealed my age -- Trust me, the pointer tool we have is much cooler!
- Draw: I bet you can't guess what this is for! Click the Draw tool to create something greater than Leonardo Da Vinci, himself, can even imagine -- or -- if you're like me, the best stick figure known to human existence.
- Text: Type a story or add colorful text to your cards.
Resize your text by dragging from the corner or using the Select tool - Click on the text, click the text size indictor (it will show Auto, Small, Medium or Large depending on what is currently selected), choose the size.
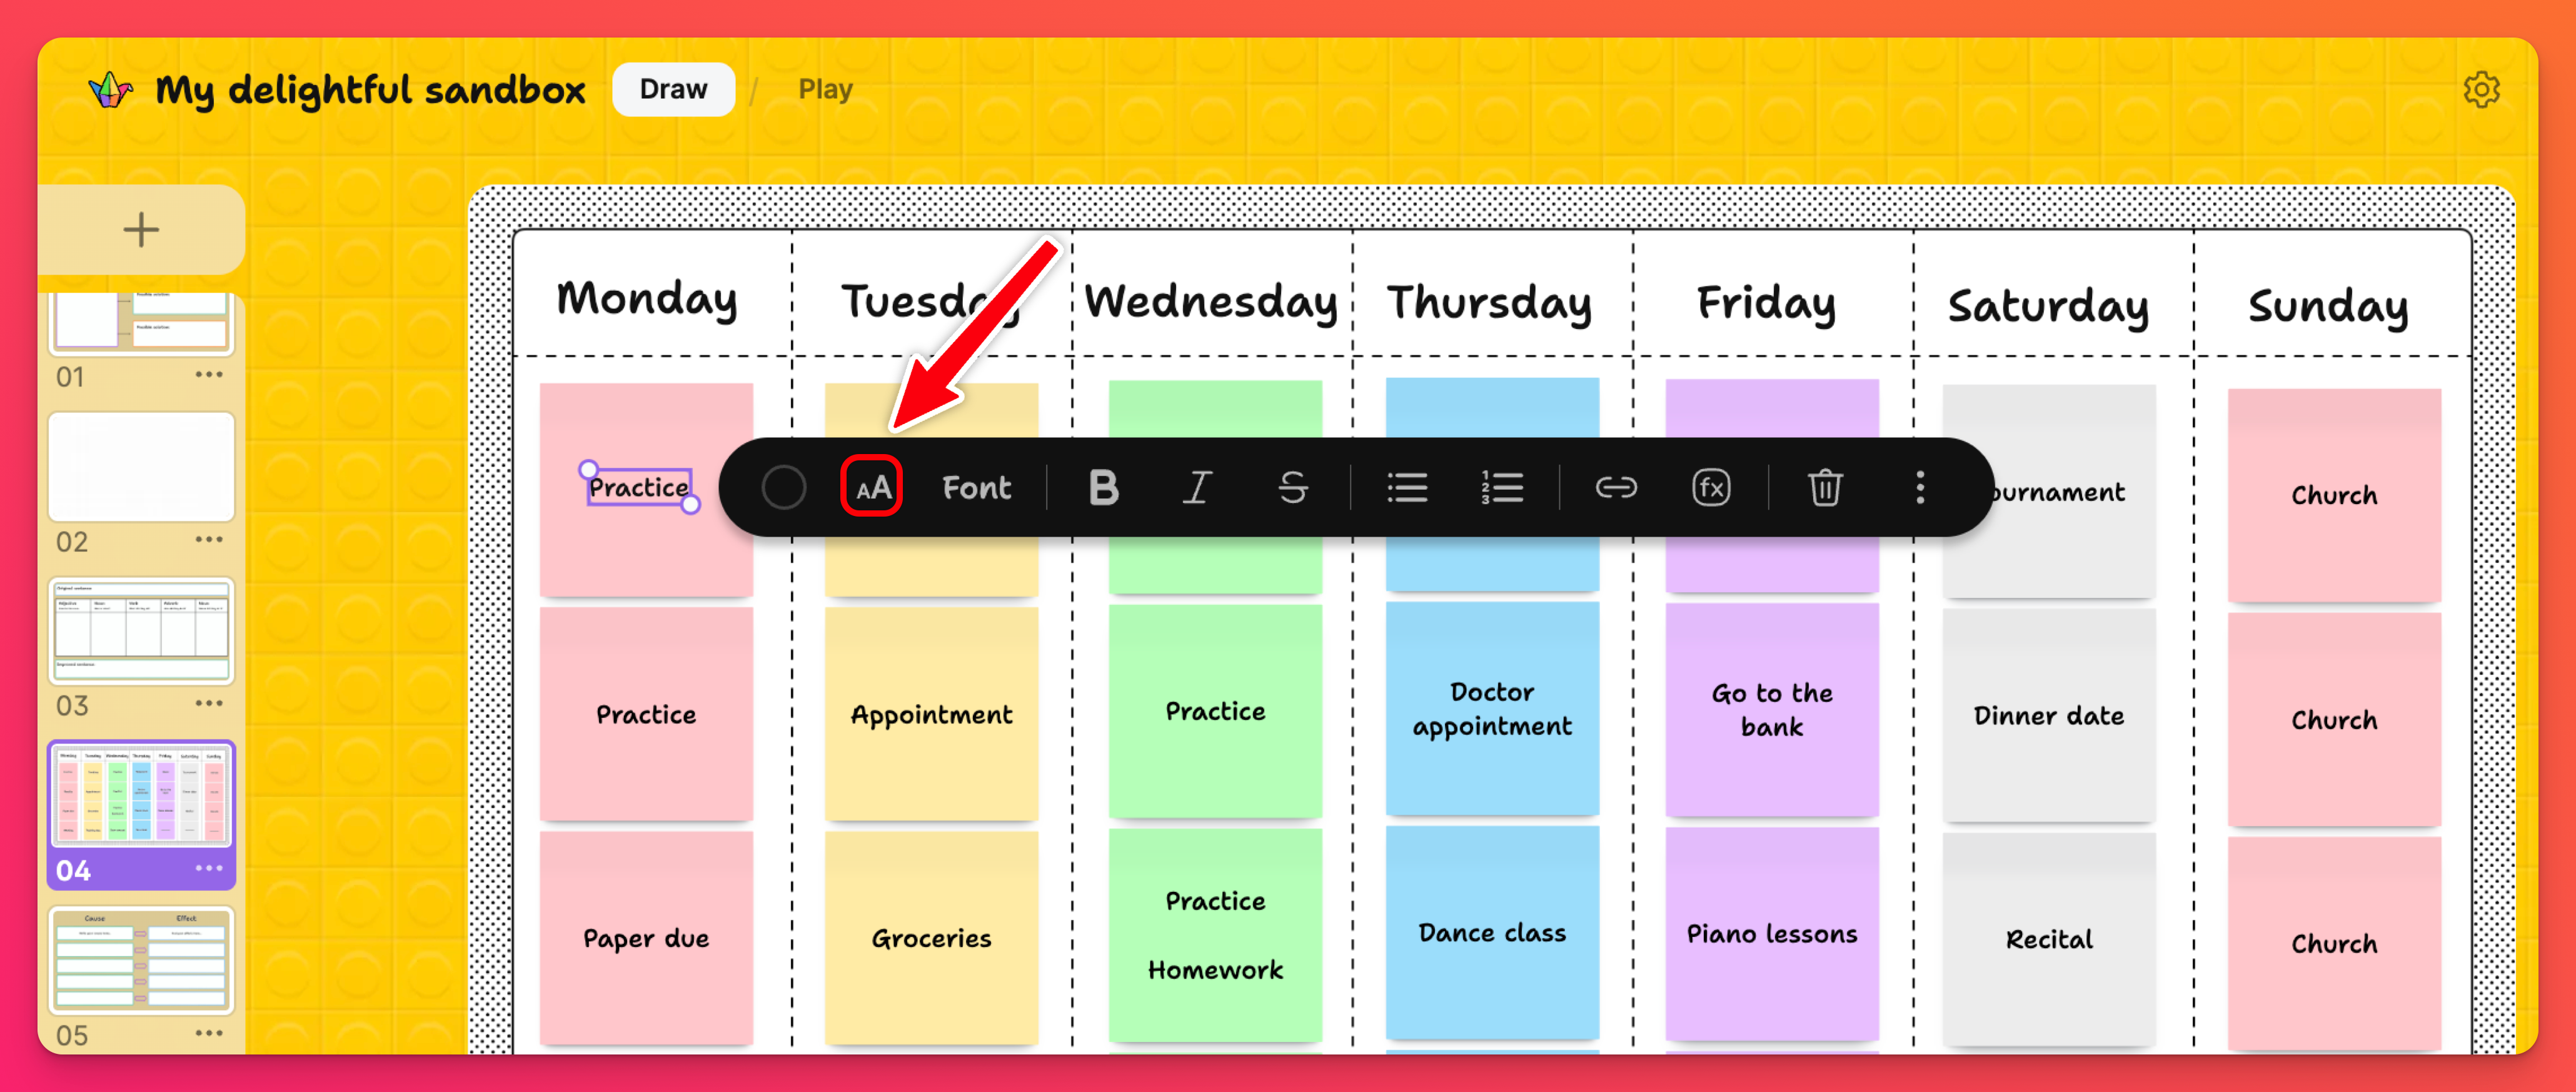
To change the text color, click on the colored circle in this same menu.
- Note: Create colorful sticky notes! Add text or small pictures, rotate, resize and duplicate them! To duplicate a sticky note quickly, click the arrow on the side! Note: Only the sticky notes themselves are duplicated (nothing added to them).
- Shapes: Include different shapes on your card - use different colors - different backgrounds - create a fun space to encourage learning!

- Connectors: Use connector lines and arrows!
- Stickers: Add some emotion to your Sandbox with emoji stickers.
- Media search: Search the web for images and GIFs.
- AI image: Enter a prompt to create your own unique image.
- Attachments: Click the attachments tool (the circle with three dots) to reveal all the attachment options available for you to use. We've got nearly everything covered including Spotify links, YouTube videos, AI generated images and more!
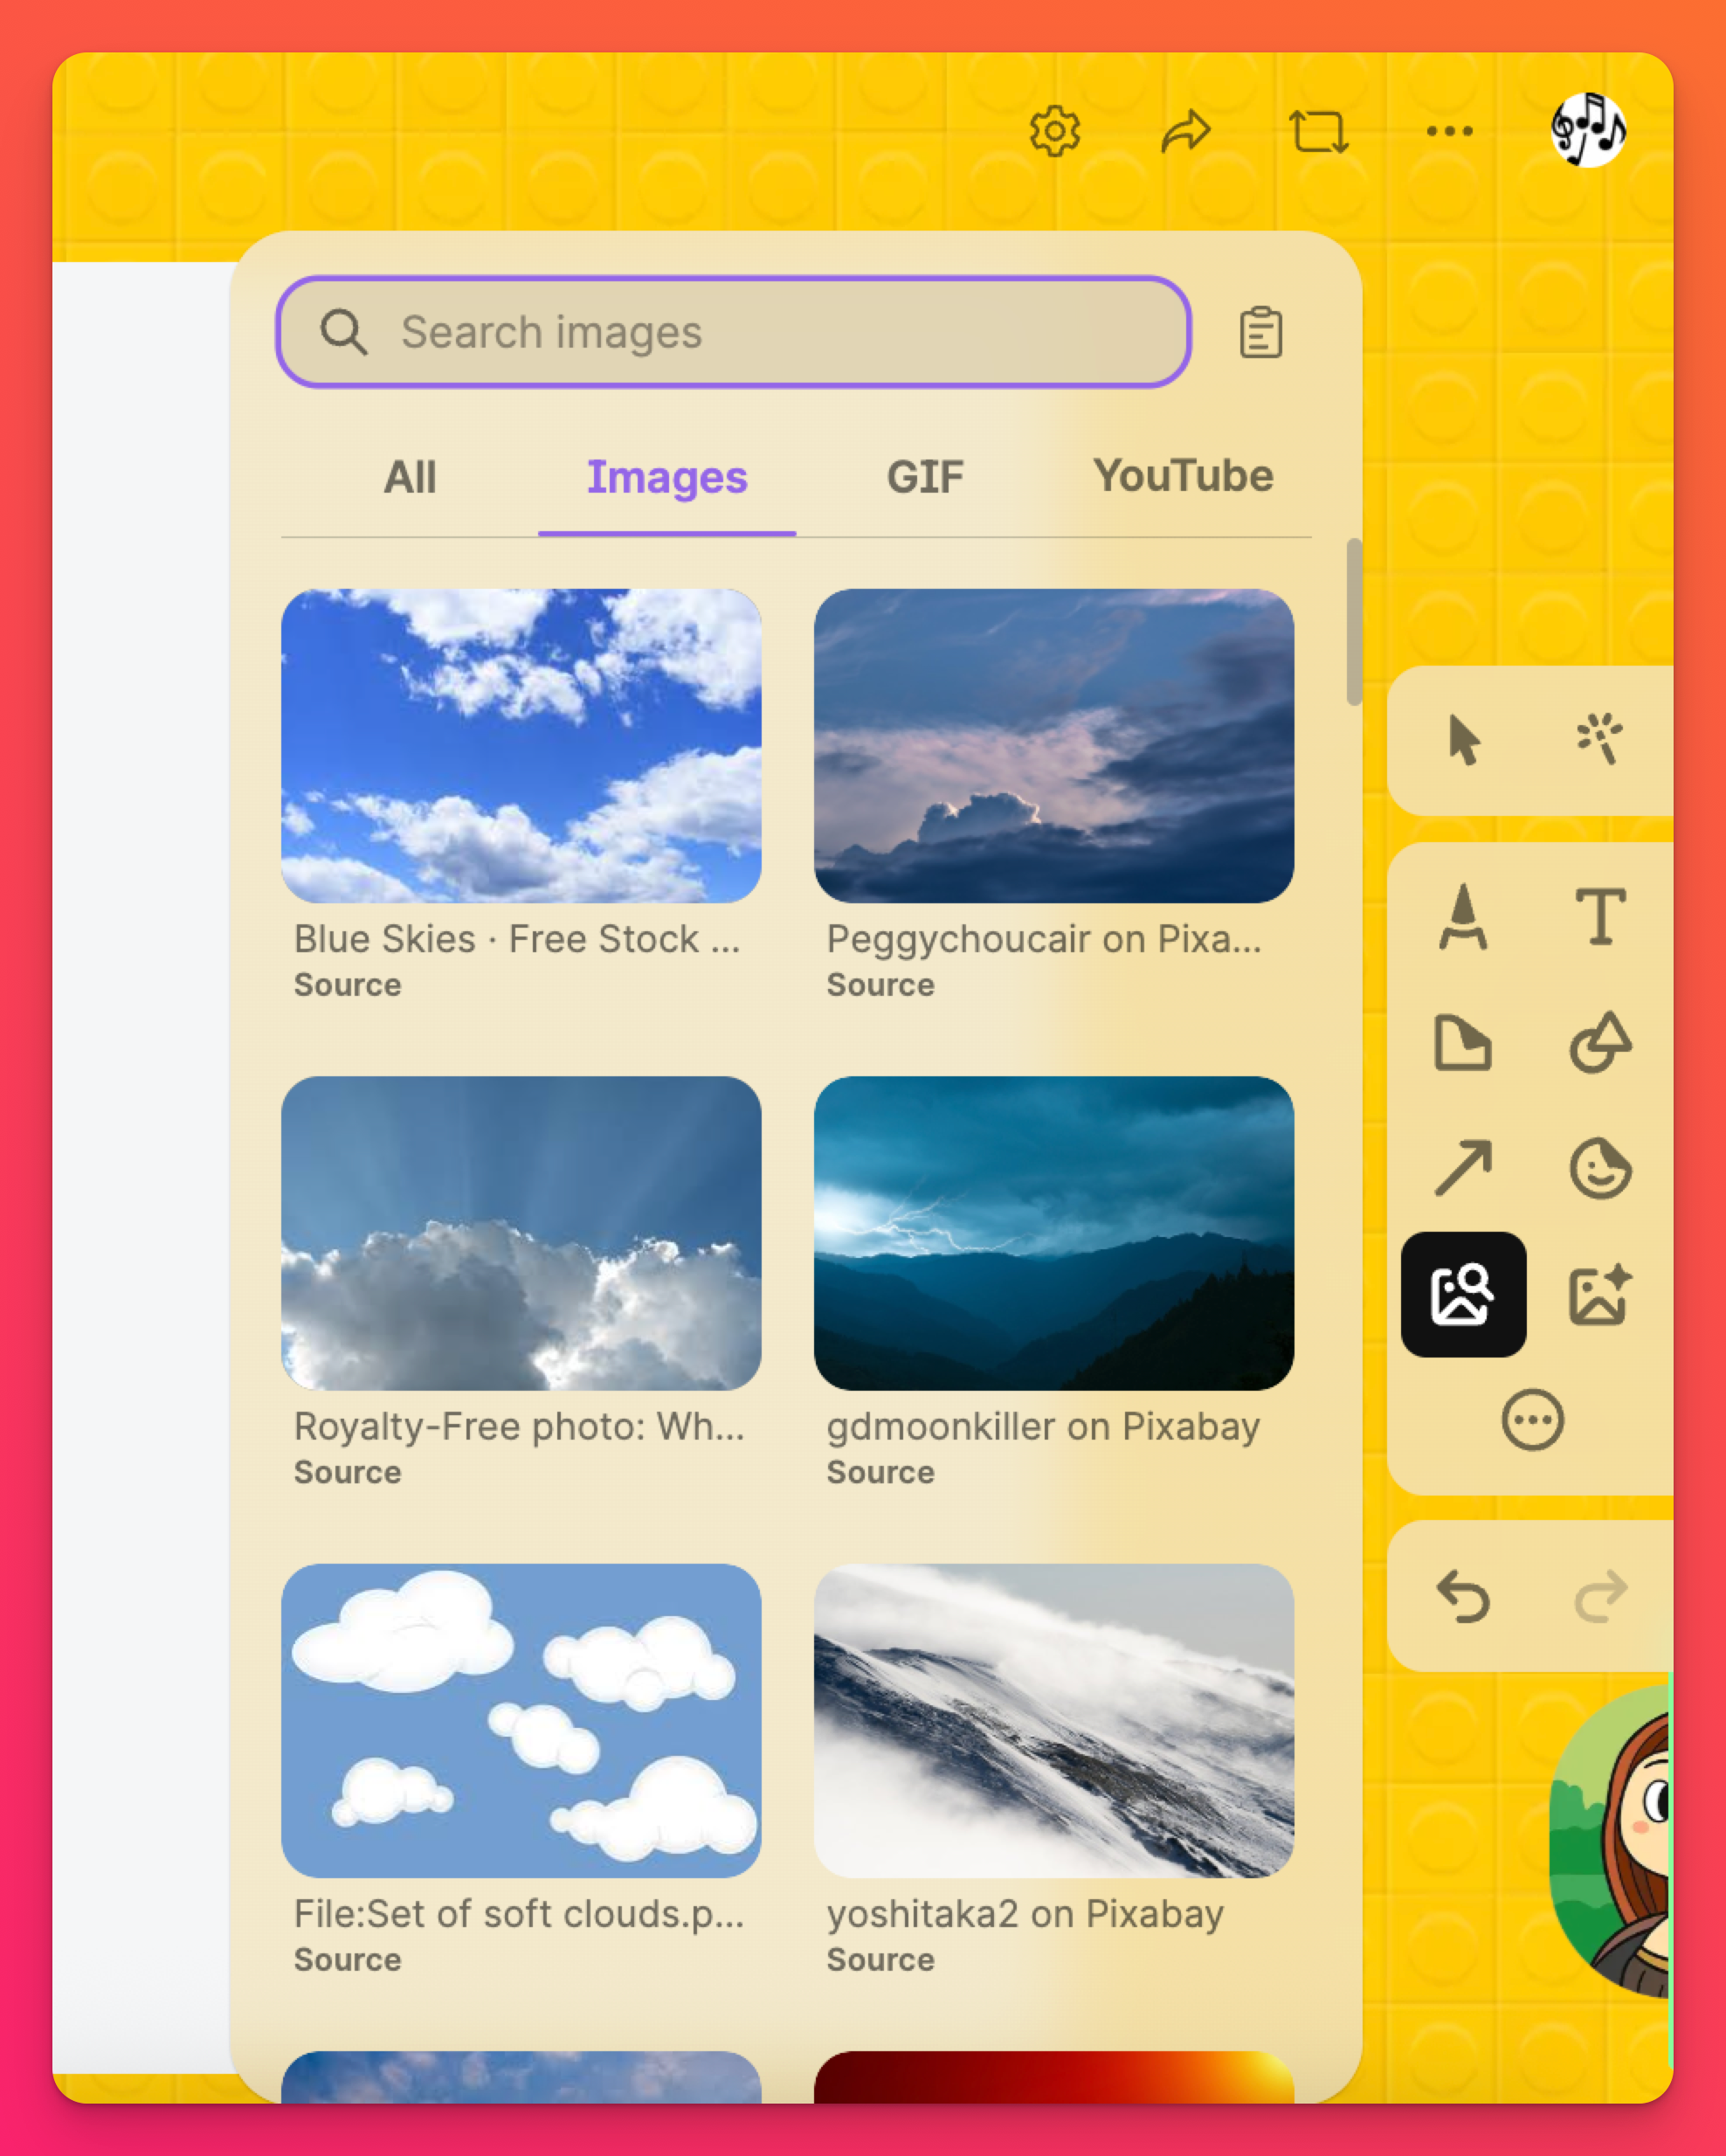
- Undo/redo: Use these tools when you've made a mistake and need a quick fix!
FAQs
Is there a limit to the number of cards I can have in one Sandbox?
For example, when using a free account, you can add up to 20 cards in one Sandbox -- and if you are subscribed to our Team Gold plan, you can add up to 100 cards per Sandbox. See below for each subscription type.


