Post fields
Customizing post fields can be a very helpful tool when you want to convey a clear message on what you're expecting from others in a post. Create placeholders for the subject and body of a post and enter prompts within the post composer.
Don't want your students to have the ability to post YouTube links? Disable it! You can also create your own custom fields! Have the autonomy you need to really create your own space!
How do I get there?
You can access your Post fields from the Settings menu or directly from the post composer.
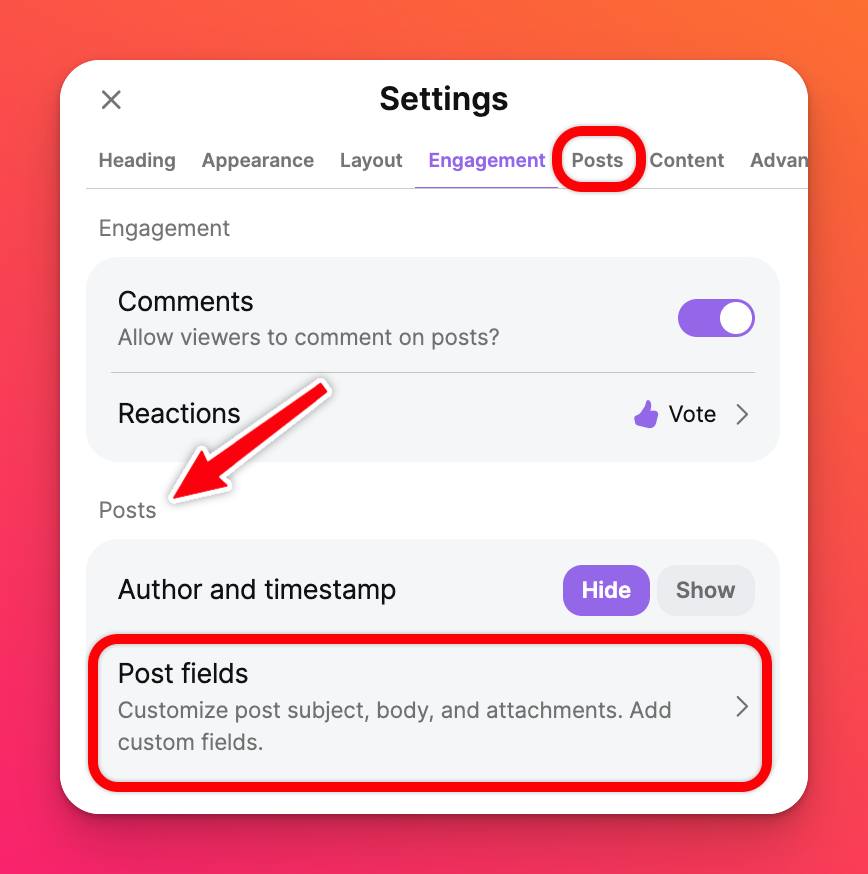
- To access Post fields from the Settings menu, open the board > Click the Settings cog icon (⚙️) on the right side of the padlet > Scroll to the Posts section > Click Post fields.
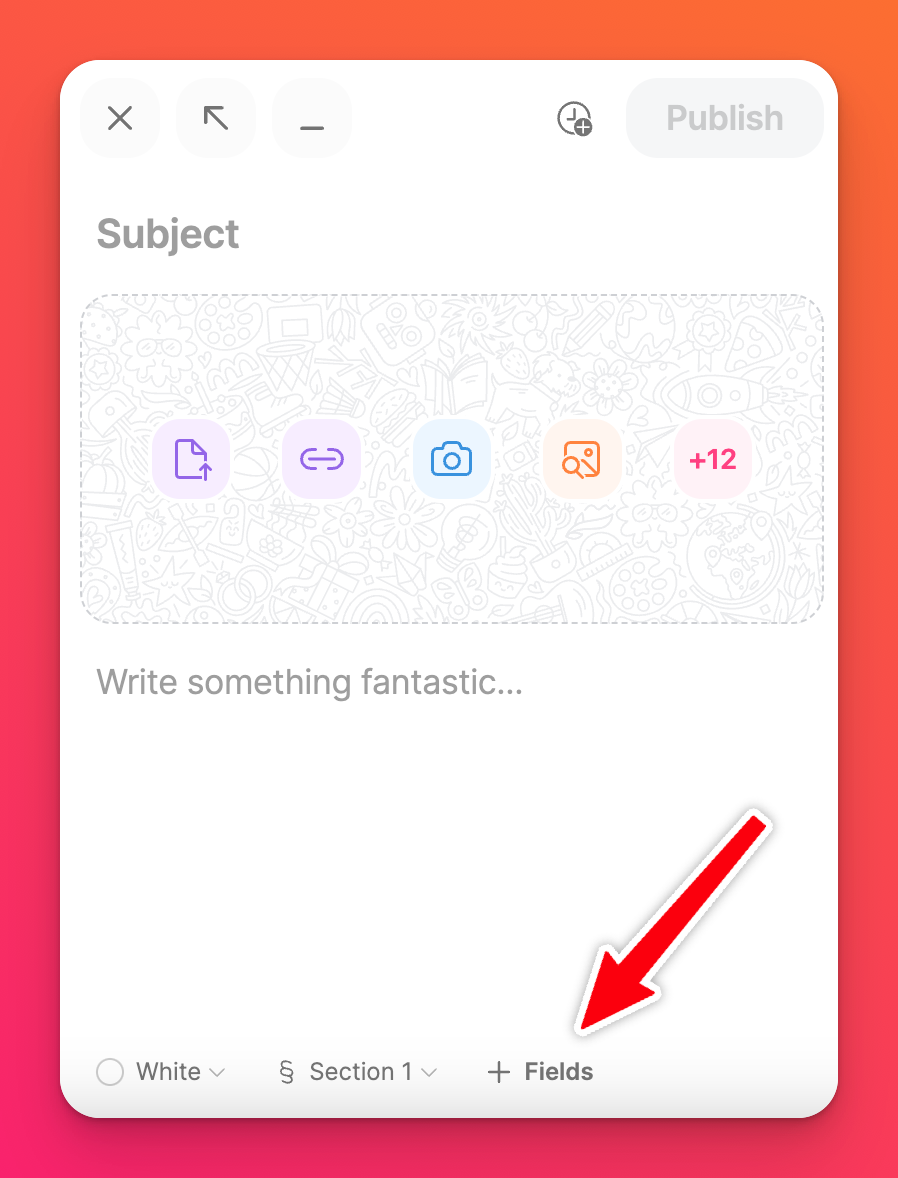
- To access Post fields from the post composer, click the plus (+) button to create a post and you'll see the + Fields button at the bottom right.
Settings menu | Post composer |
 |  |
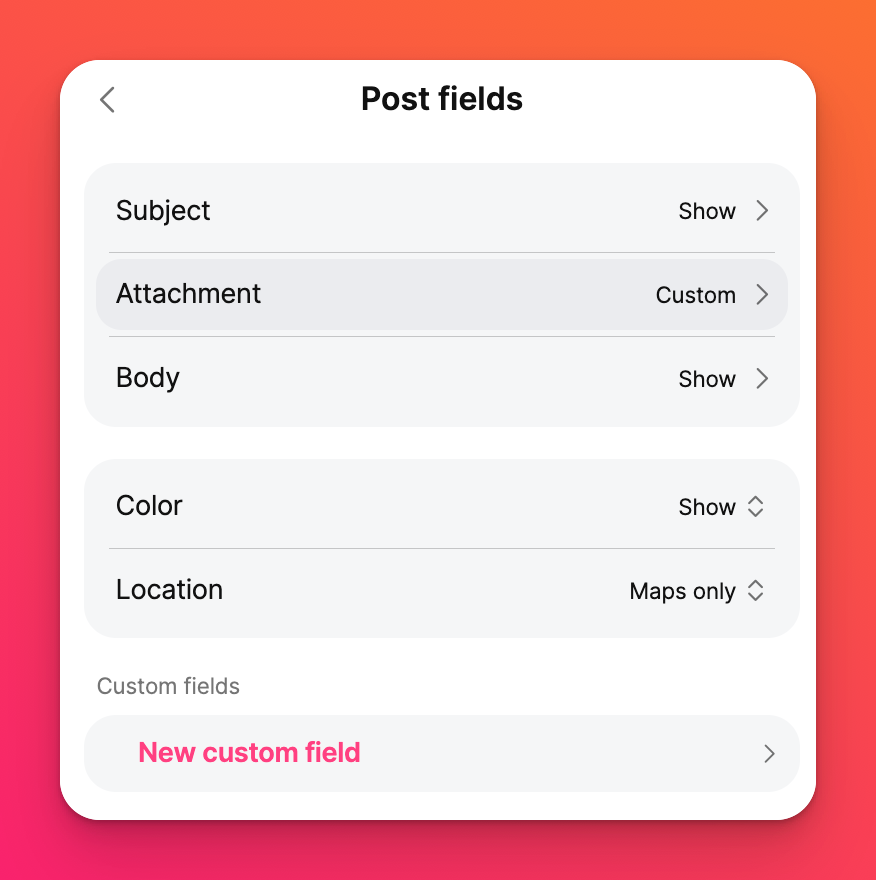
Modify your Post fields from this menu.
Show / hide post fields
When students and collaborators create a post, your customizations can limit what they do and see.
Show / Hide the subject, different attachment options, color options, etc. If you choose to Hide some of these fields they will not show up when others create a post.
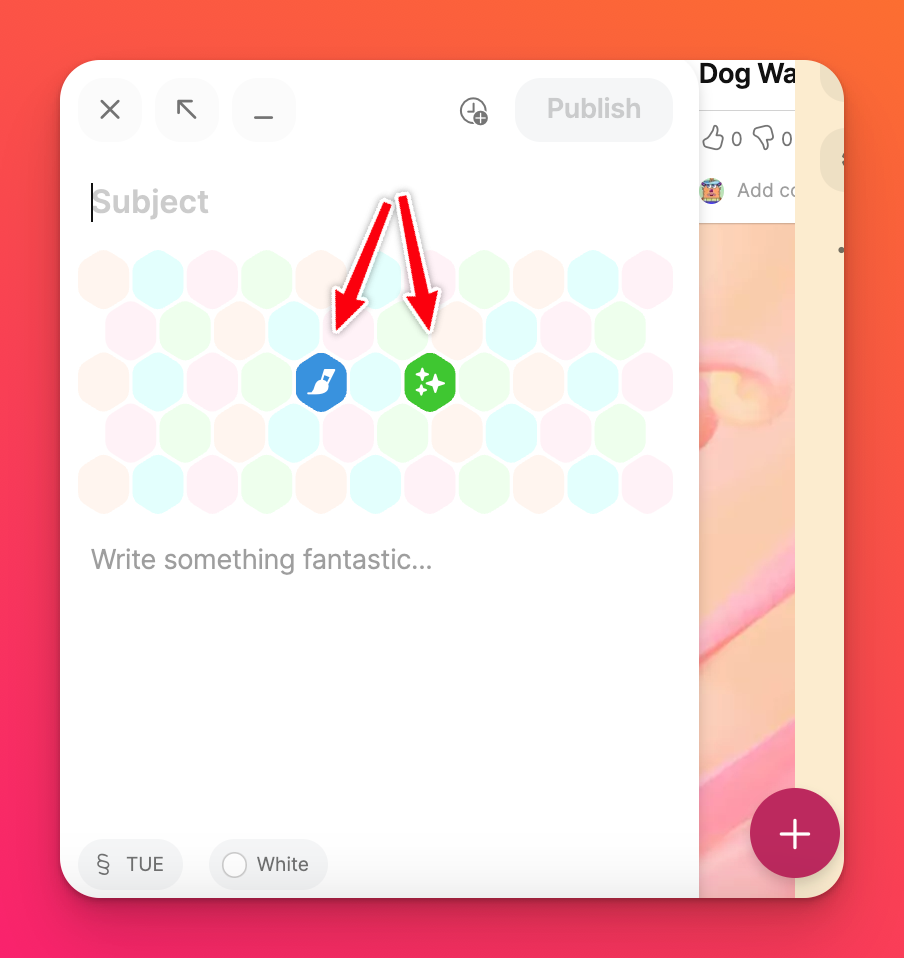
In the example below, I have chosen to Hide all attachment options except for Draw and AI image. To do this, from the post fields panel, click on Attachment > select Custom > make sure all attachment options are toggled OFF (except for the ones you want).
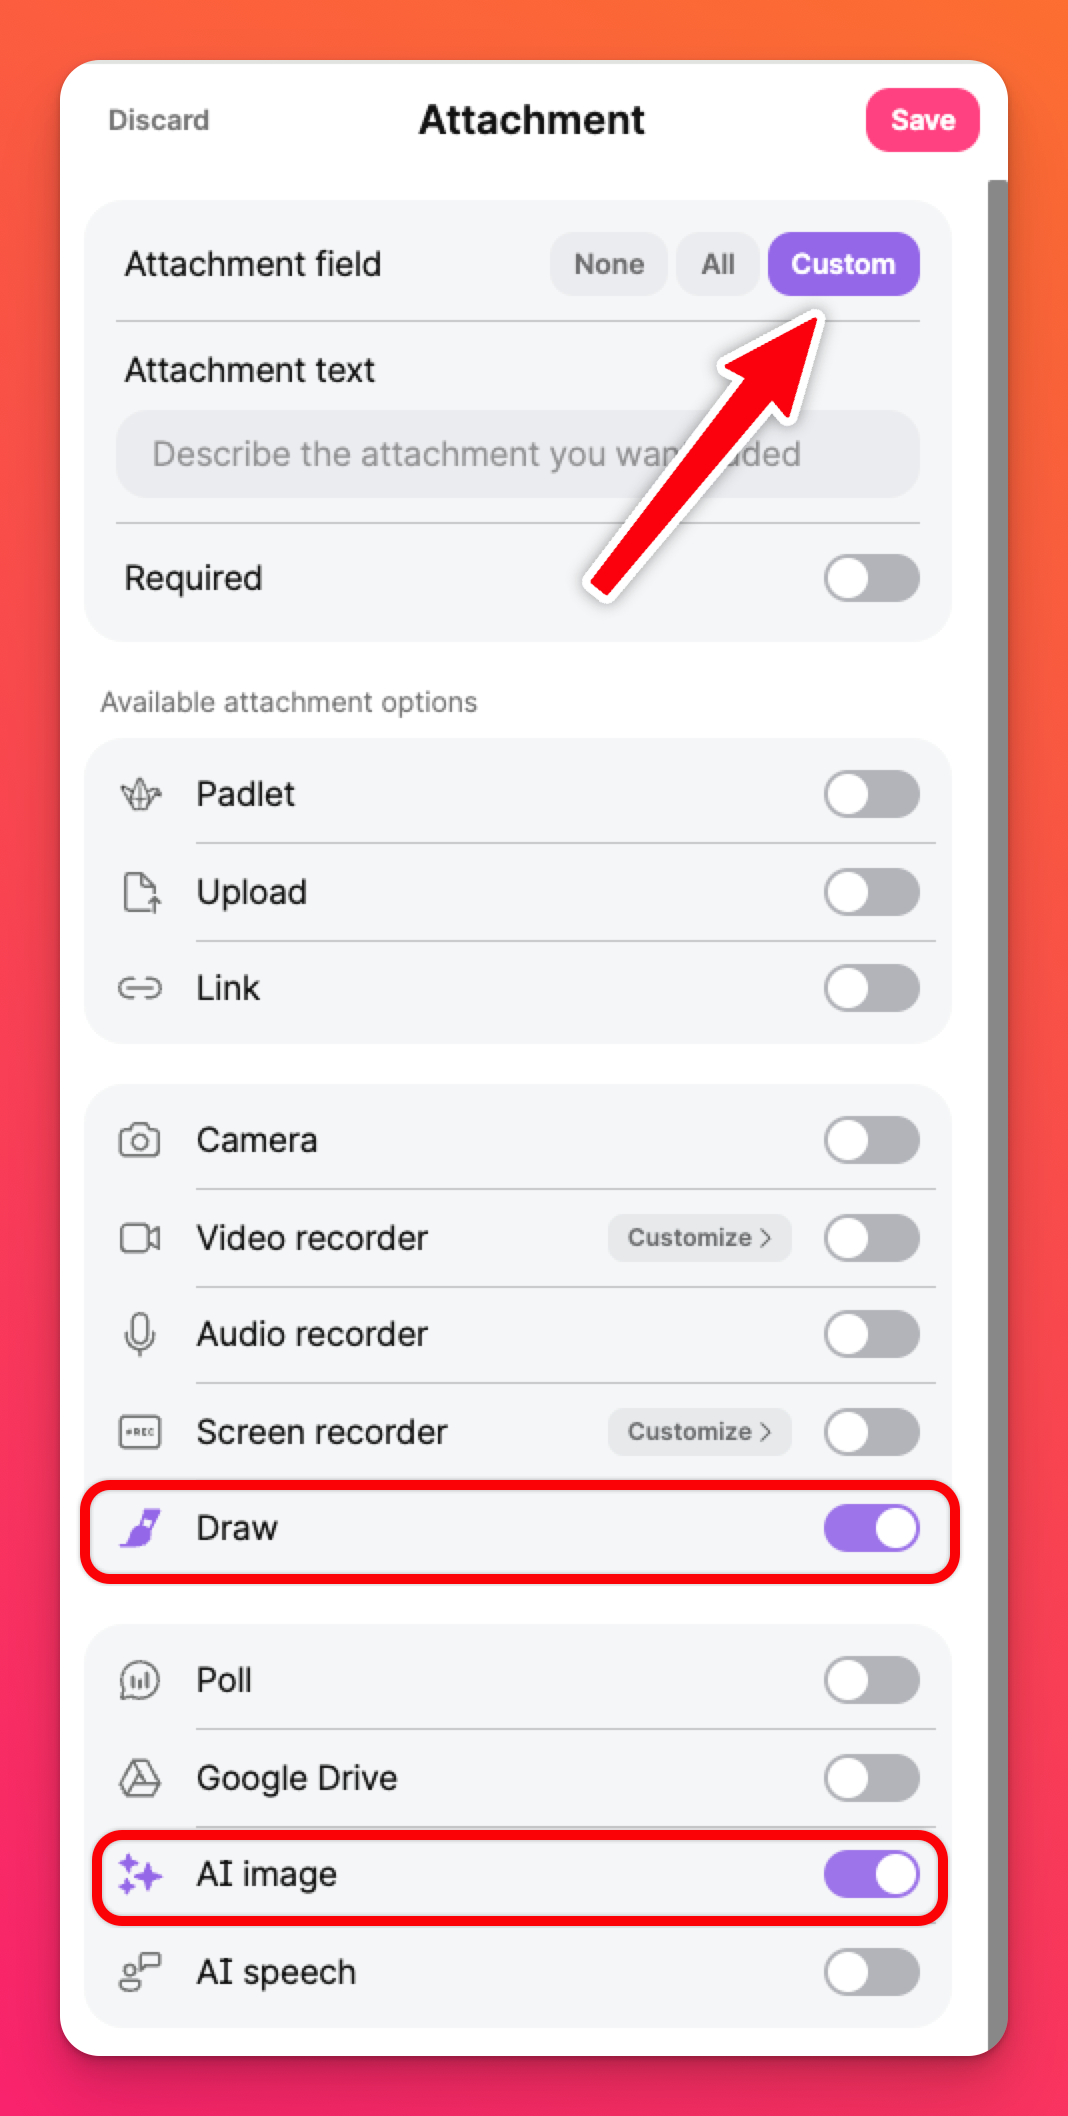
As you can see, the only two options showing in the post composer are now Draw and AI image.
Create placeholder text
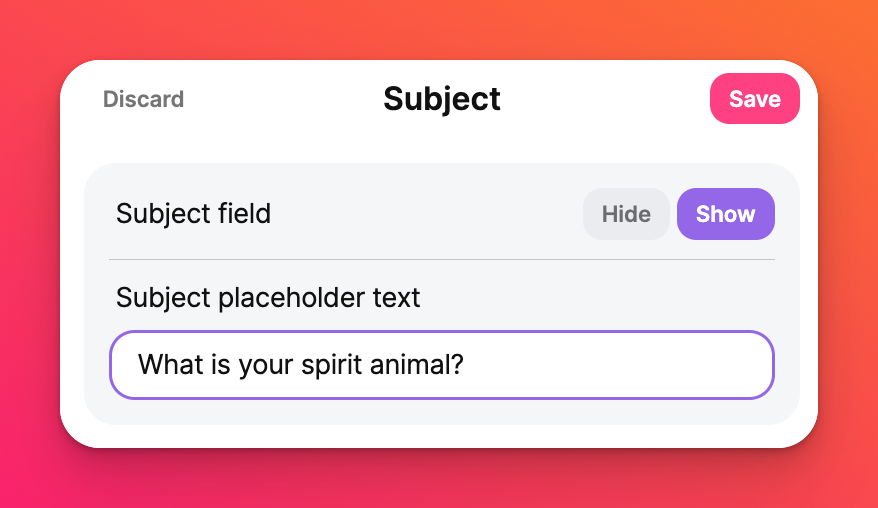
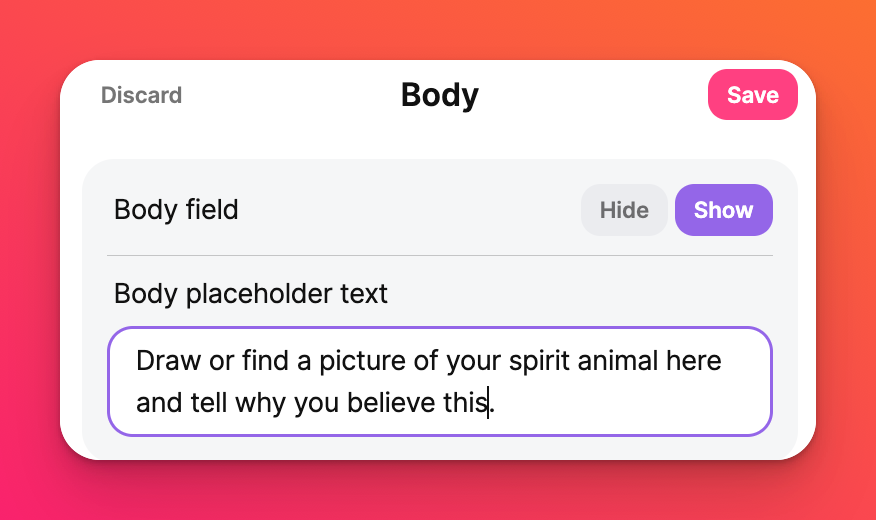
Create placeholder text to reiterate exactly what you are looking for. From the Post fields panel, enter your placeholder in the appropriate field. As an example below, I've created a placeholder for the subject and body to reflect the results I am looking for.
 |  |
With my selections and prompts, the post composer will now look like this when creating a post.
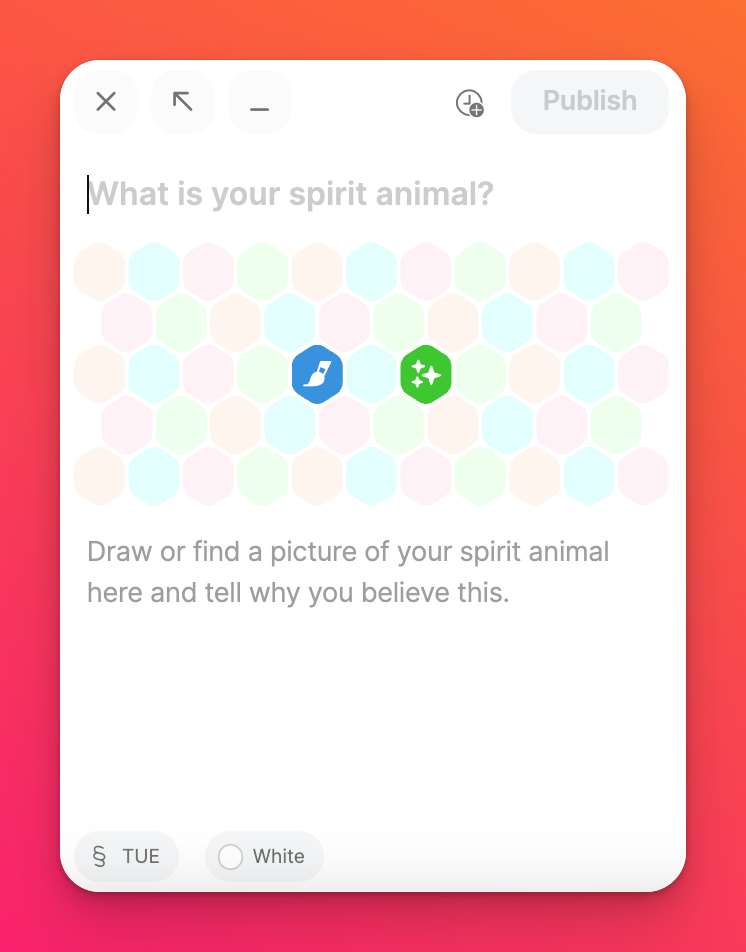
When students and collaborators begin to type, the placeholder text will disappear and be replaced by their content.
Custom fields
Add customized fields to your board! Create exactly what you need using Custom fields.
Create a custom field
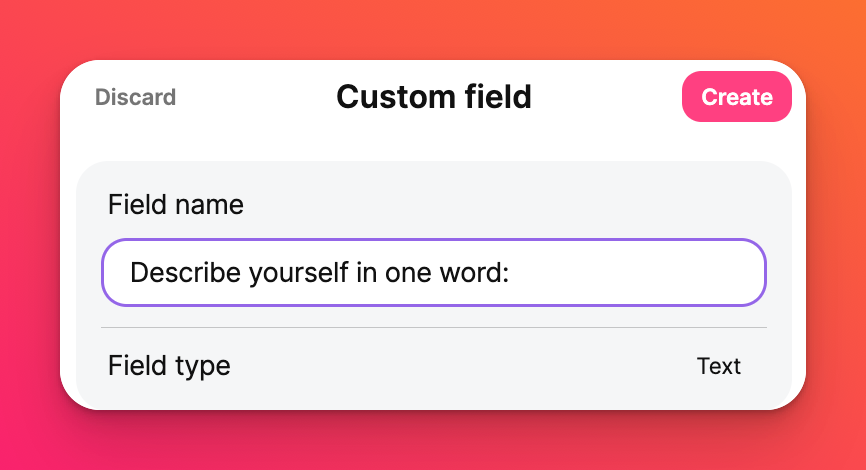
Customize fields of your own from the Post fields panel by clicking New custom field. Fill this in with anything you want. The text you place here will stay in your post, unlike the placeholder text. Choose the 'Field type' and click Create!
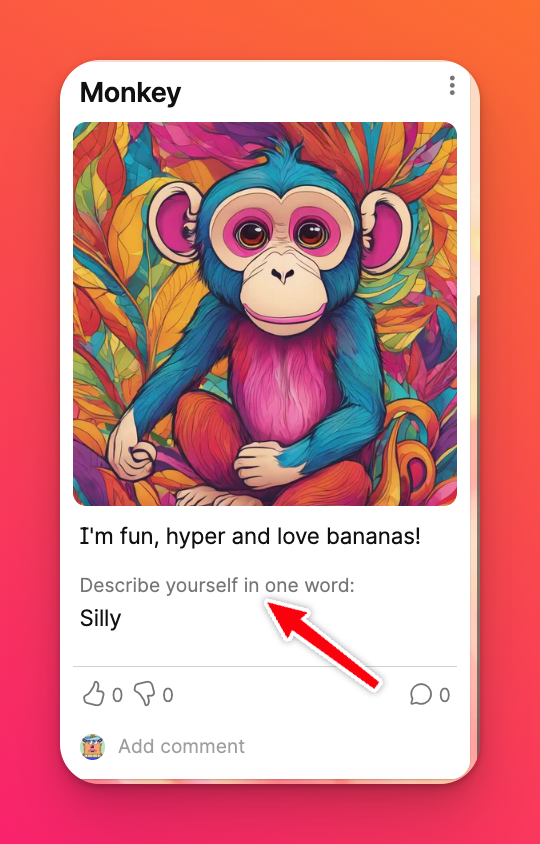
Below is the final product! The placeholder text in the subject and body have been replaced by my content. The new custom field shows the prompt, "Describe yourself in one word," followed by my answer.
Types of custom fields
Custom field types are important when you want to restrict the use of any other type of format. For example, if you want to ensure users answer the question from a list of pre-populated answers, you can use the Single select option.
To change the field type, click the drop-down menu next to 'Field type,' and choose from the different options.

Custom field types: | ||
Text - A simple text field to type letters and numbers | Date - Add a date/time in various formats | User - Tag/mention collaborators |
Single select - Create a multiple choice list | Number - Add an answer using numbers only in various formats | Email - Create an email hyperlink |
Phone number - Add a clickable phone number | URL - Add a hyperlink to a website | Button - Create a clickable button |
Rearrange custom fields
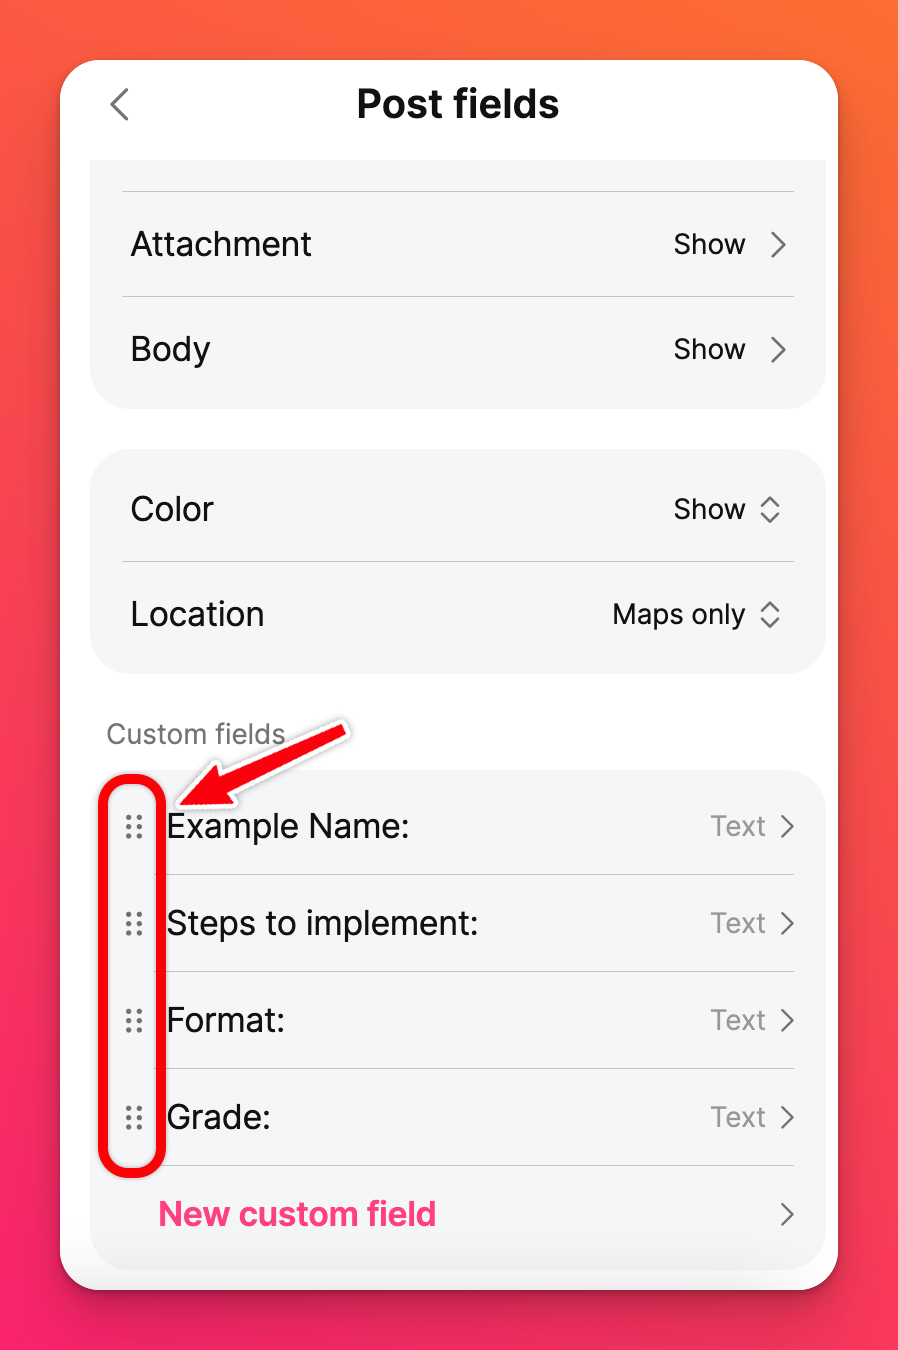
To change the order that custom properties appear in the post composer, click the Settings cog icon (⚙️) > Posts > Post fields > drag and drop the custom properties in the order that you want them!
Edit / remove a custom field
Editable items within your custom fields include the 'Field name' and the 'Required' toggle. The 'Field type' cannot be edited once it's created.
Edit a custom field
To edit a custom field, follow these steps:
- Click on the Settings cog icon (⚙️) on your padlet
- Click Post fields
- Select the custom field to edit
- Make your changes and click Update
Remove a custom field
To remove a custom field, follow steps 1-3 above and then click Delete this field.
The possibilities are endless with this.
Be creative! Have fun! Be unique. Be YOU! 🫵
FAQs
Are there any keyboard shortcuts I can use for my custom fields?
*Use the Spacebar/Enter key at the 'drag handle' icon to start dragging the row to your desired location.
*Use the Up/Down arrow key to move fields up and down.
*Use the Spacebar/Enter key to confirm movement.
Note: While in keyboard dragging mode, you cannot use the Tab key to focus out of the draggable list or to use the custom field buttons that navigate to the sub-panels.
How do I edit my custom field type?
WARNING: Be very cautious when deleting custom fields. When a custom field is deleted, all posts containing that field will be removed with it and cannot be recovered.

