Tips to create padlets that are accessible
Padlet offers a fantastic way to create collaborative boards with text, images and other media. But for everyone to enjoy and contribute to your padlet, it's crucial to ensure accessibility. Here are some tips to make your padlet more inclusive for users with disabilities:
Making a padlet
Start with a clear title
Give your padlet a descriptive title to help users with disabilities understand the content and navigate the board. For example:
Instead of: My Science Class
Try: Interactive Science Experiments: Grades 6-8
Choose the best format
It's important to choose a format that presents content in a linear order so that screen reader users can easily navigate it. The most recommended board formats are Wall, Grid and Stream. You can further enhance organization by enabling Sections.
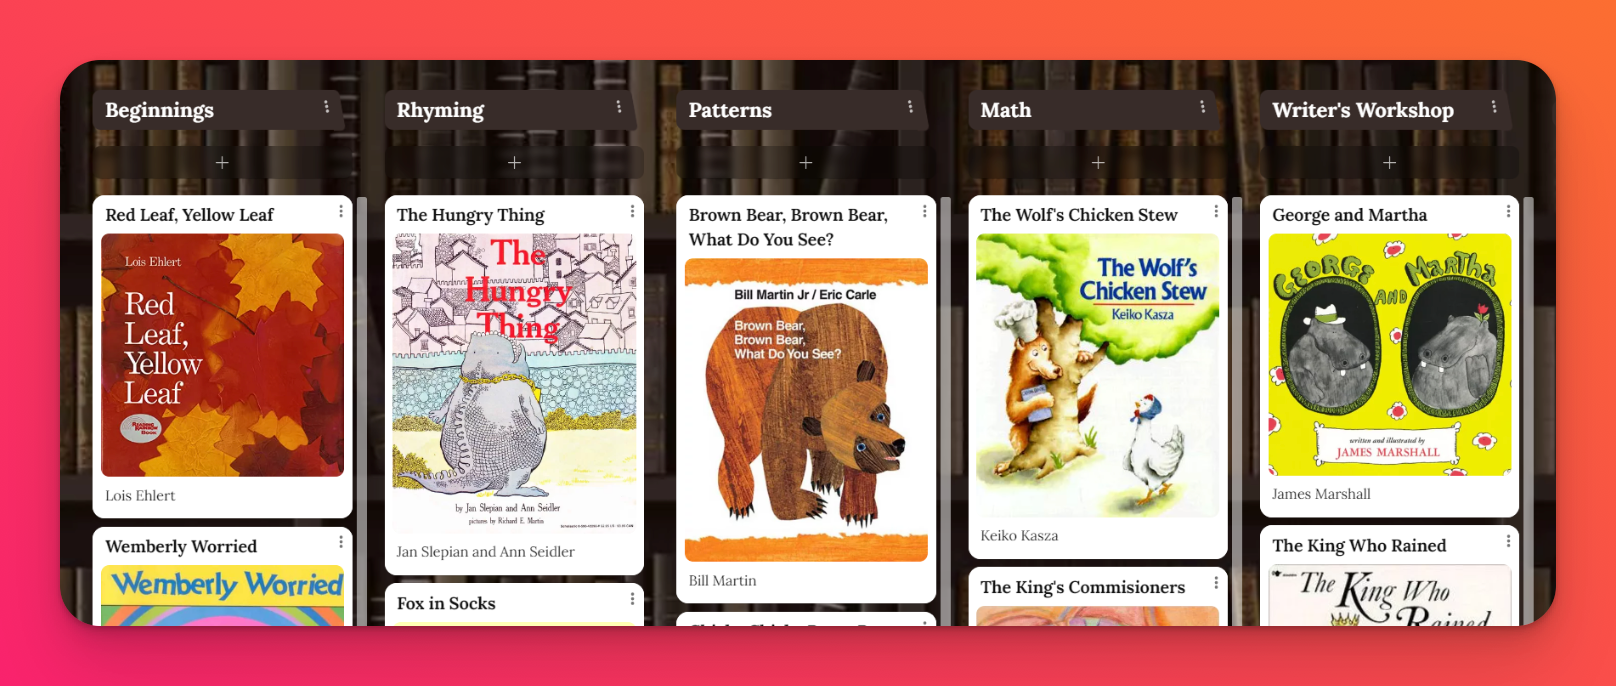
Sections are a useful feature for grouping posts in a large board. To enable this feature, click the Settings cog (⚙️) icon, then Layout. Next, toggle the button next to 'Group posts by section' to the ON position. Here's an example of a board in Wall format and with Sections enabled:

Choose your background wisely
When choosing a background for your padlet, avoid using busy photos, artwork or illustrations. These can reduce the contrast between the background and the text, making the text difficult to read. If you're unsure about your chosen background, use a free online tool to check the contrast ratio. This will ensure clear readability for everyone, especially those with visual impairments.

Enhance readability for text-heavy posts
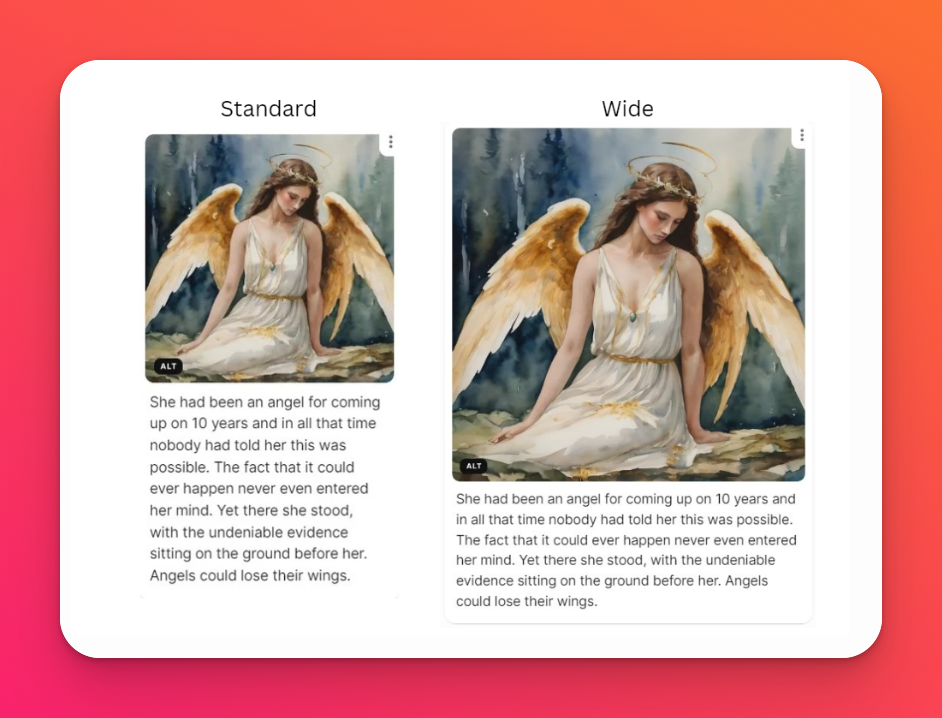
The Standard view can break text-heavy posts, making them difficult to read. For a smoother reading experience, switch to Wide post size. You can change to Wide post appearance by clicking the Settings cog (⚙️) icon and navigating to Appearance > Post size > Wide.

Adding Posts
Text
Don't skip the subject line
Padlet automatically converts subject lines into headings. This is especially useful for students using screen readers. Headings allow them to navigate quickly from post to post, avoiding the need to listen to every single element on the board.
Use descriptive link text
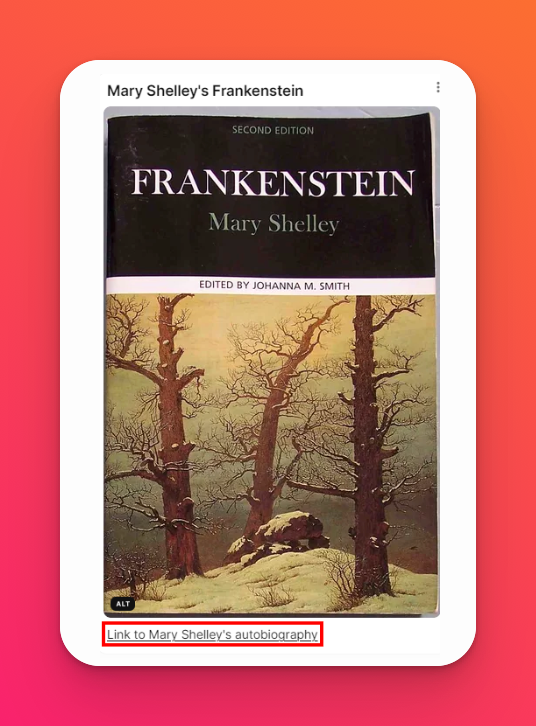
Don't just rely on URLs as link text. Write clear and concise descriptions that accurately represent the content the link leads to.
After typing in the text box, highlight the word(s) you want to link, then choose the Link icon (🔗). Paste the URL in the pop-up window and click Link.

Attachments
Add Alt text to images
It’s important to add clear and concise Alt text to images on your board. This helps users with visual impairments and those using screen readers to understand the content of the image. Alt text should accurately describe the image, but it should be brief.
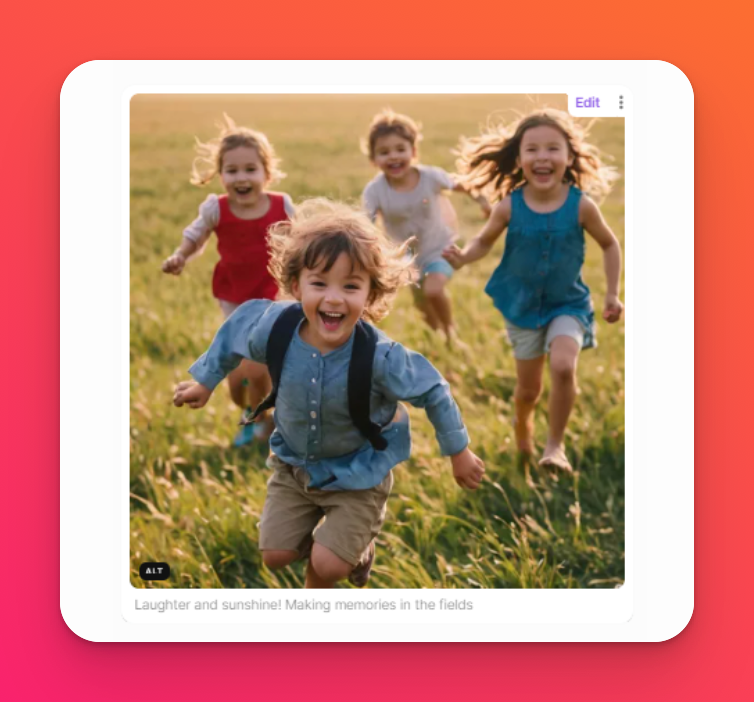
For example, a photo of a group of children playing could have the Alt text, “Children playing."
Beneath the image, you'll also find a field for captions. Use captions to elaborate on the image's significance, historical context or any other relevant information. This is what a captioned image post looks like.

Upload high-quality videos with clear audio
Padlet generates auto captions for viewers who are deaf or hard of hearing. Good audio ensures those captions are accurate.
Consider adding a text summary or transcript below the video for extra clarity.
By following these simple tips, you can transform your board into a truly inclusive space. Remember, accessibility isn't just about complying with regulations; it's about creating a welcoming environment where everyone can participate, learn and contribute. So go forth and create beautiful padlets that everyone can enjoy!

