Connect Padlet to itsLearning LMS (for padlet.org accounts)
If you have a Padlet for Schools account ending in padlet.com: CLICK HERE for instructions on how to add Padlet to the itsLearning LMS.
If you have a Padlet for Schools account ending in padlet.org, keep reading.
There are a few different ways to embed a padlet in an LMS. This article will describe how to connect Padlet to itsLearning.
Admins only: Setting up LMS integration for itsLearning
What you need
- Administrator access on itsLearning
- Access to the owner account in Padlet for Schools.
- Add the Padlet app
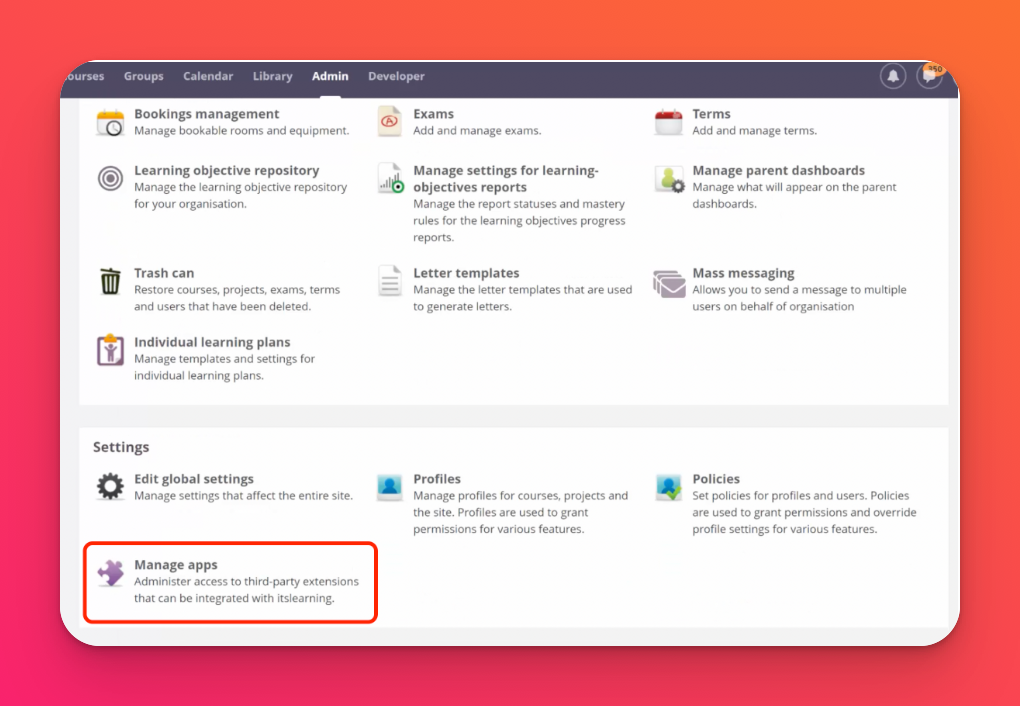
From the itsLearning administrator account, head to the Admin page and select Manage apps.
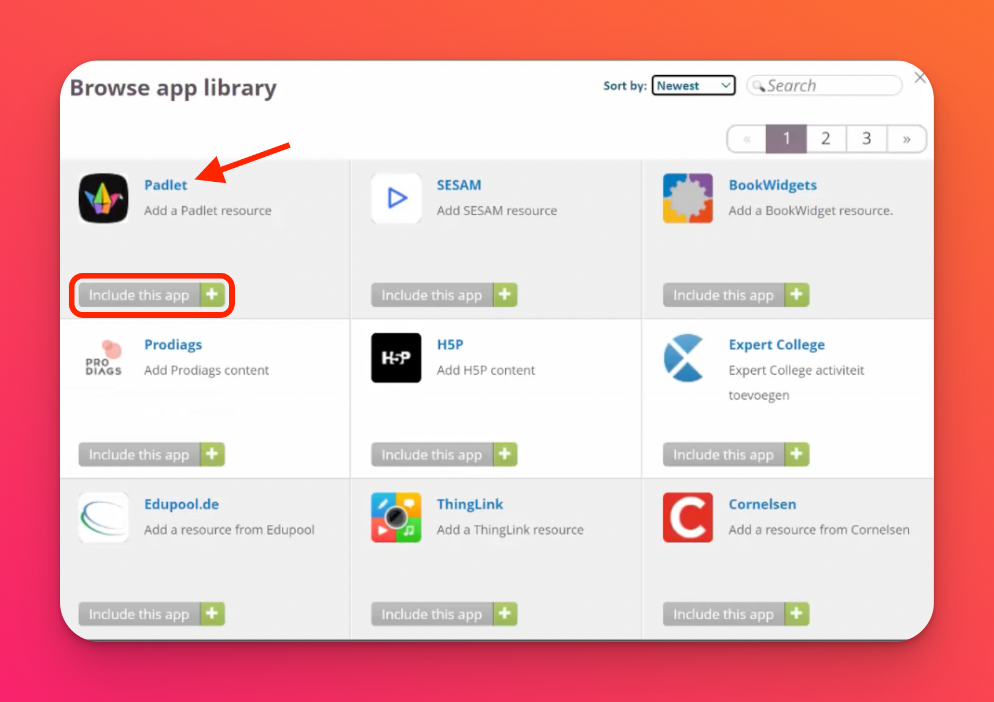
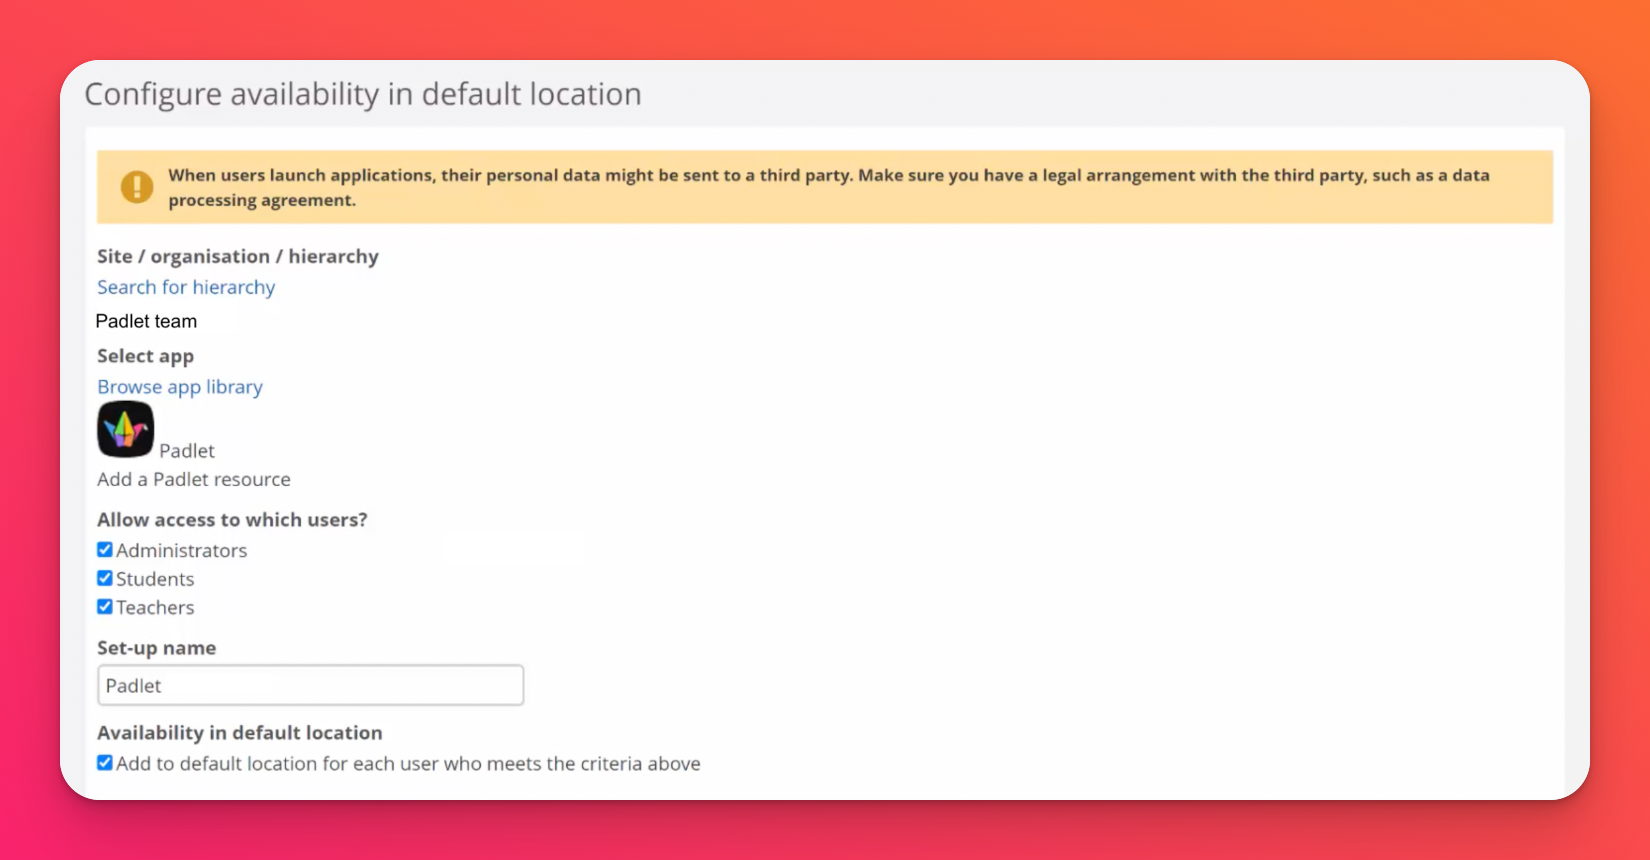
- Click on Add app > Browse app library. Search for Padlet and click on Include this app.

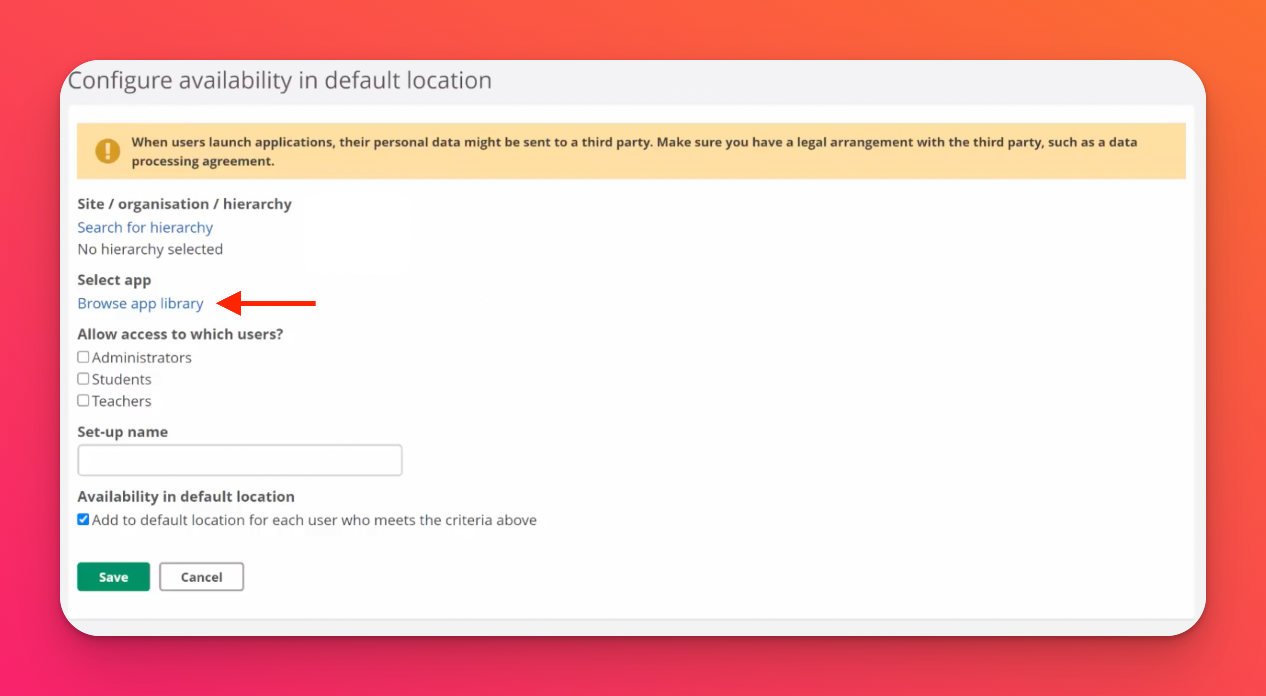
Ensure that the correct hierarchy and type of users have access to Padlet and key in a set-up name that will help you easily identify it later. Do also make sure that the 'Availability in default location' box has been checked. See below for an example of the filled out fields:
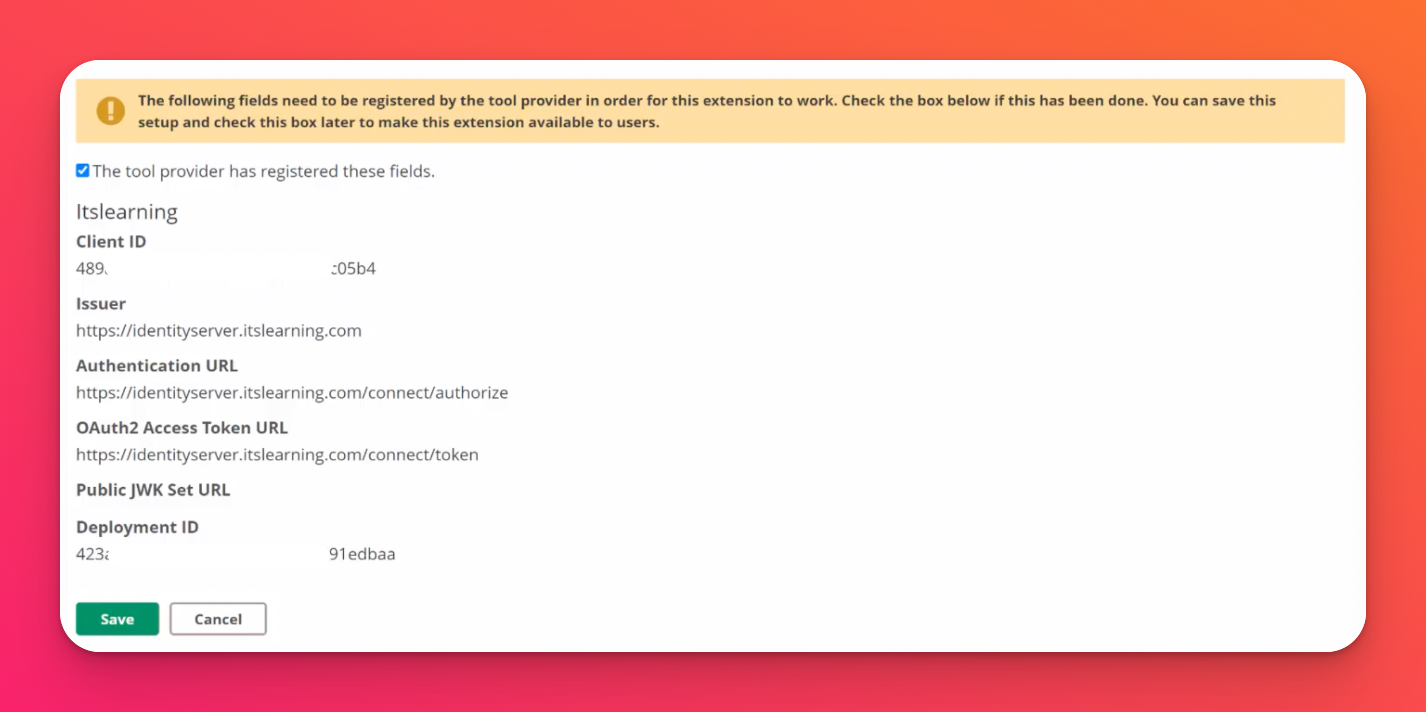
Once completed, the bottom of the page should show the following fields (these fields do not need to be sent):
- Simply check the box for 'The tool provider has registered these fields' and click Save.
Padlet is now available to be added by users within the hierarchy with the correct roles.
Teachers only: Setting up LMS integration for itsLearning
- Add Padlet to a Resource
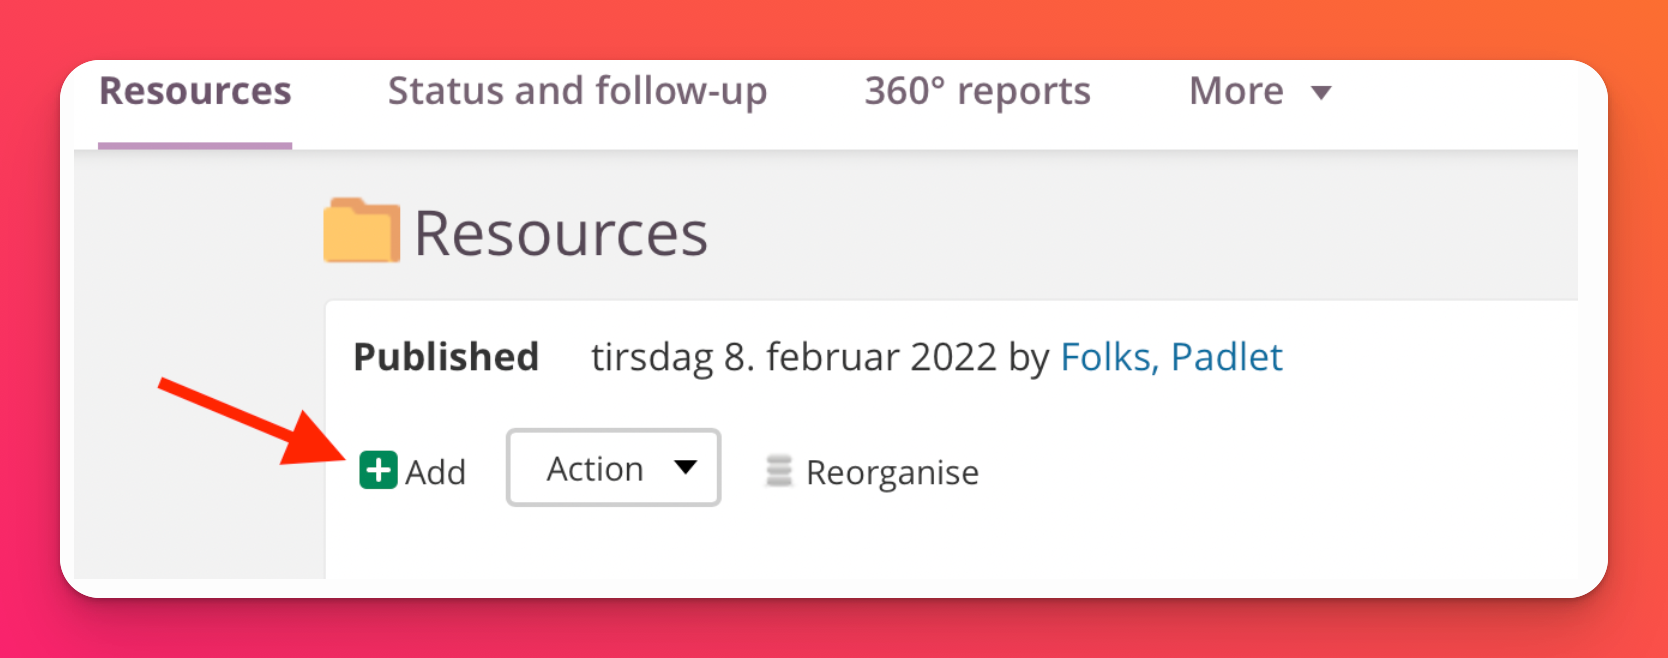
Navigate to Resources by clicking on Courses and selecting a course. Then click on Resources.

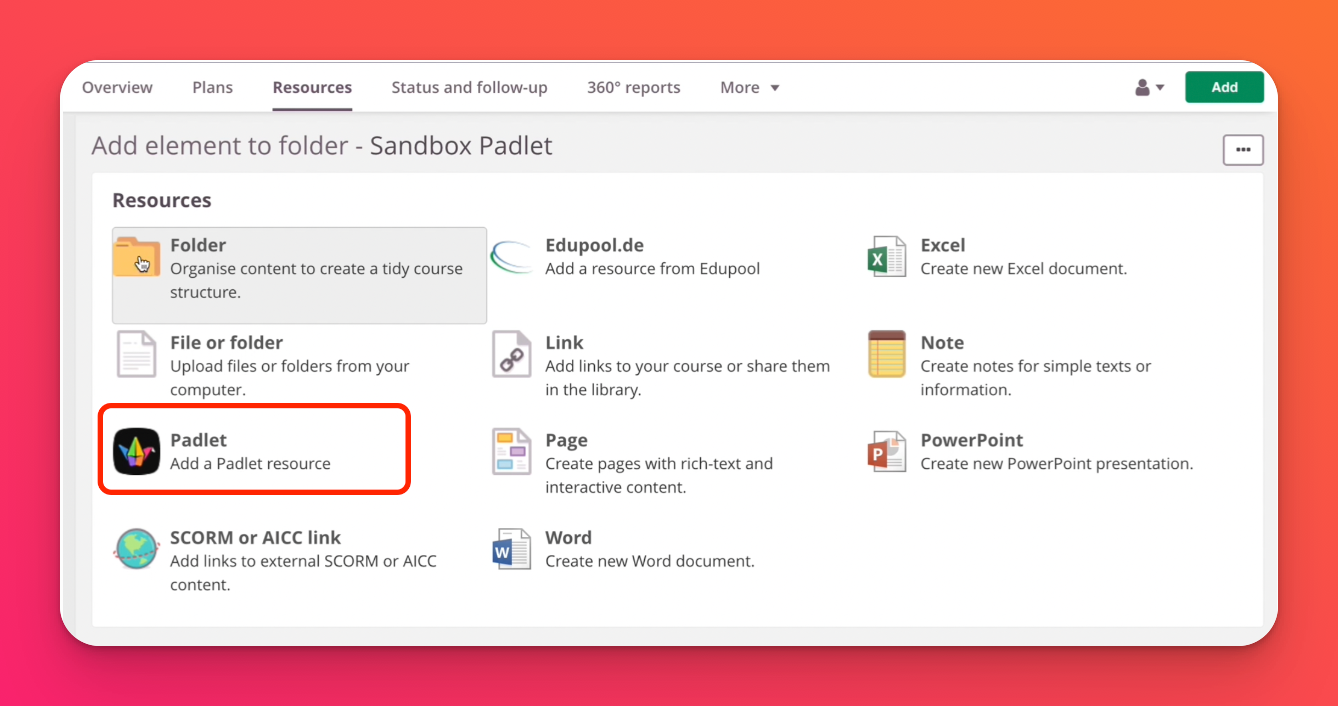
- Click on Add to add a resource, then select Padlet.
- Log into Padlet
A pop up will appear requesting for the Padlet for Schools domain and log in credentials.
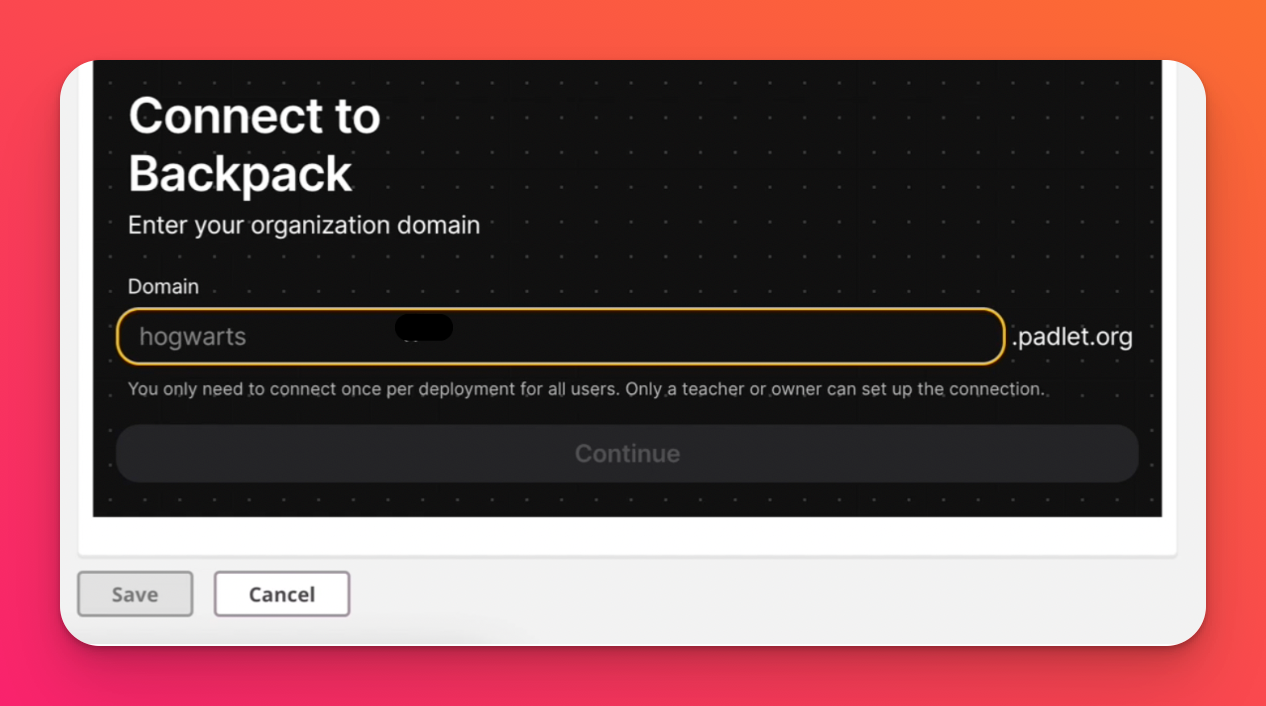
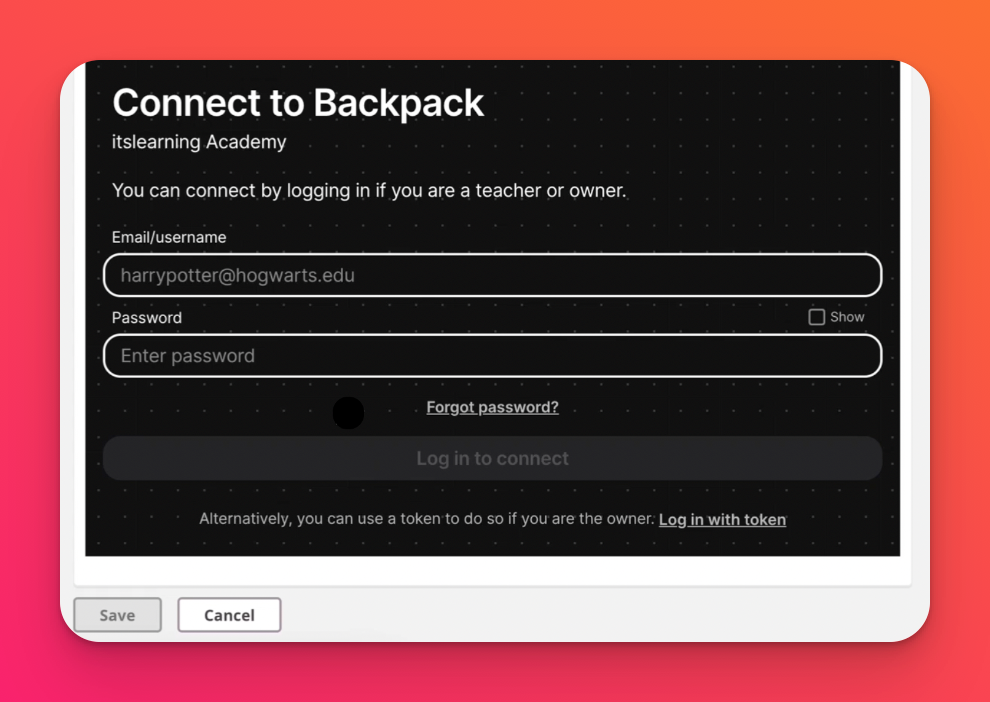
If you have a password assigned to your account, simply log in using your email and password.
If you've used Microsoft365 or Google SSO to log in, click on Log in with token. Head back to your Padlet for Schools account and open Settings, then click on Organization Info and click on Create under 'LTI Link Deployment Token' to generate a token in place of using SSO. Copy and paste the token code given into the 'Token' field on the pop-up in itsLearning.
Note: This will only be needed in the initial set-up.
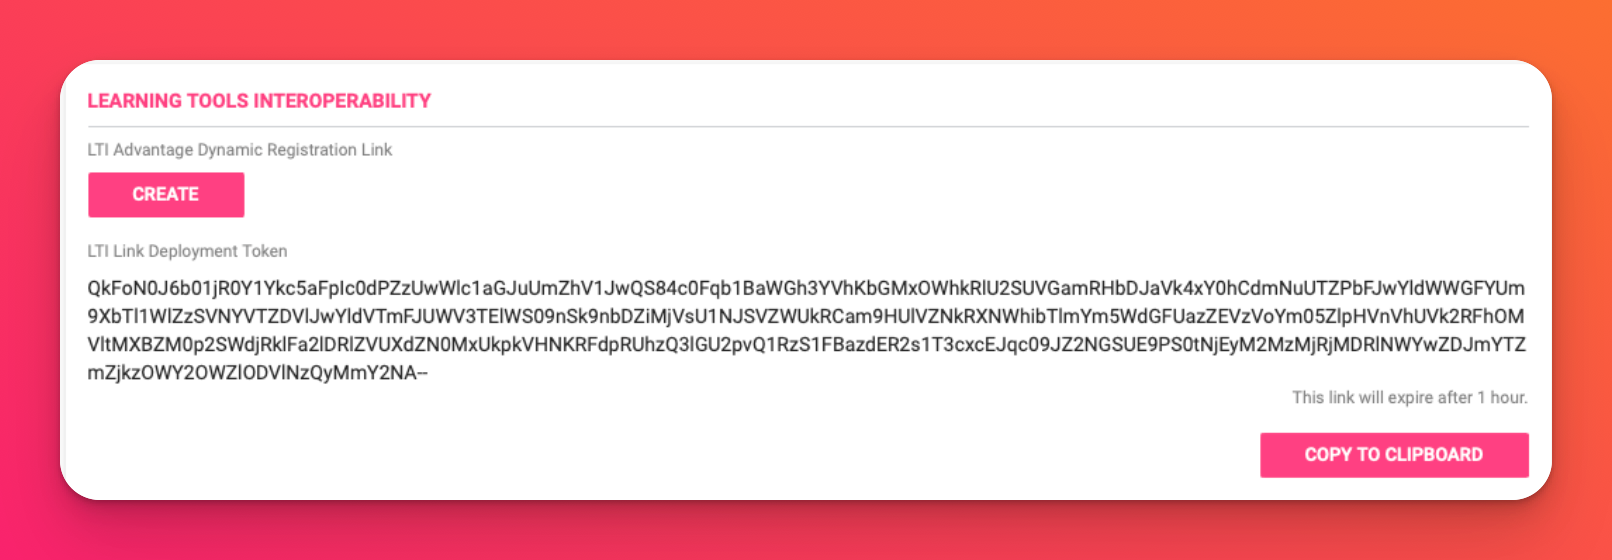
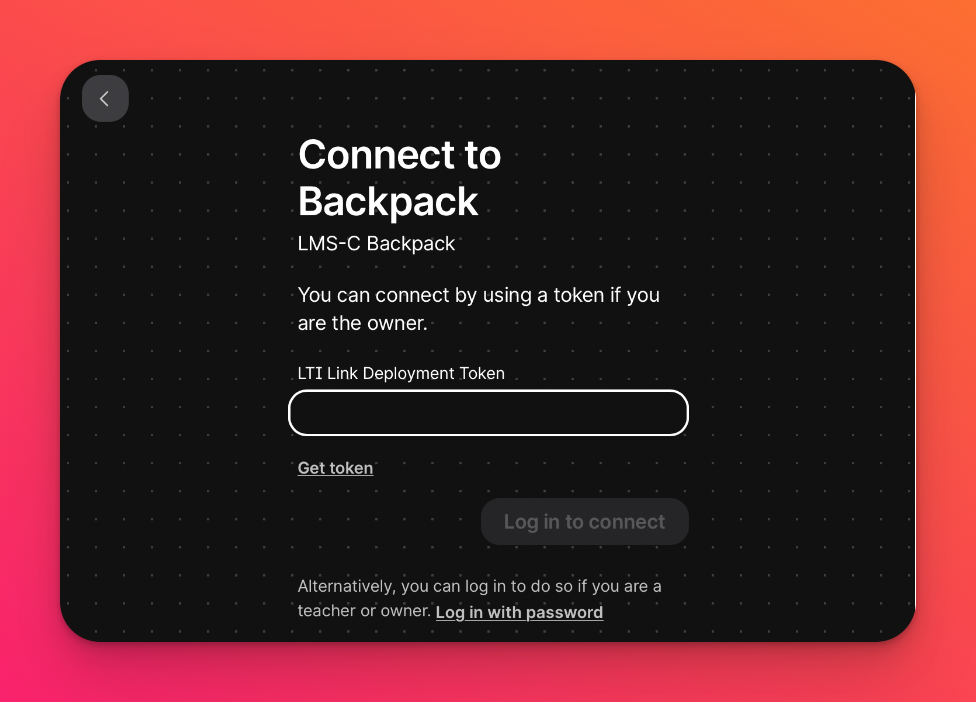
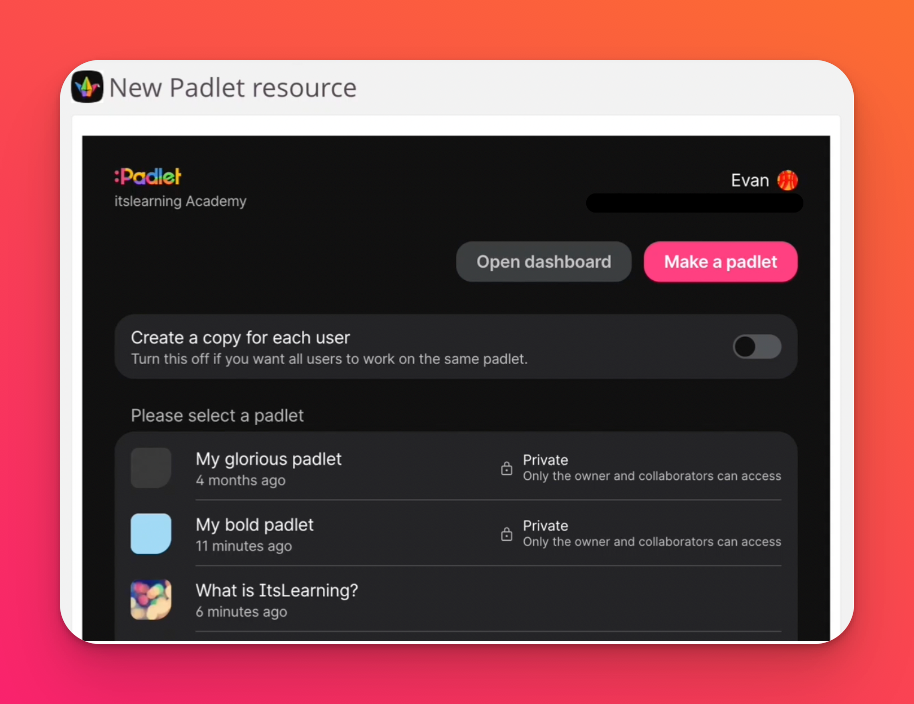
- Select a padlet
After logging in, select any padlet by clicking on it. Once this is done, a pop up will appear to confirm the padlet you wish to add. Click on Save.
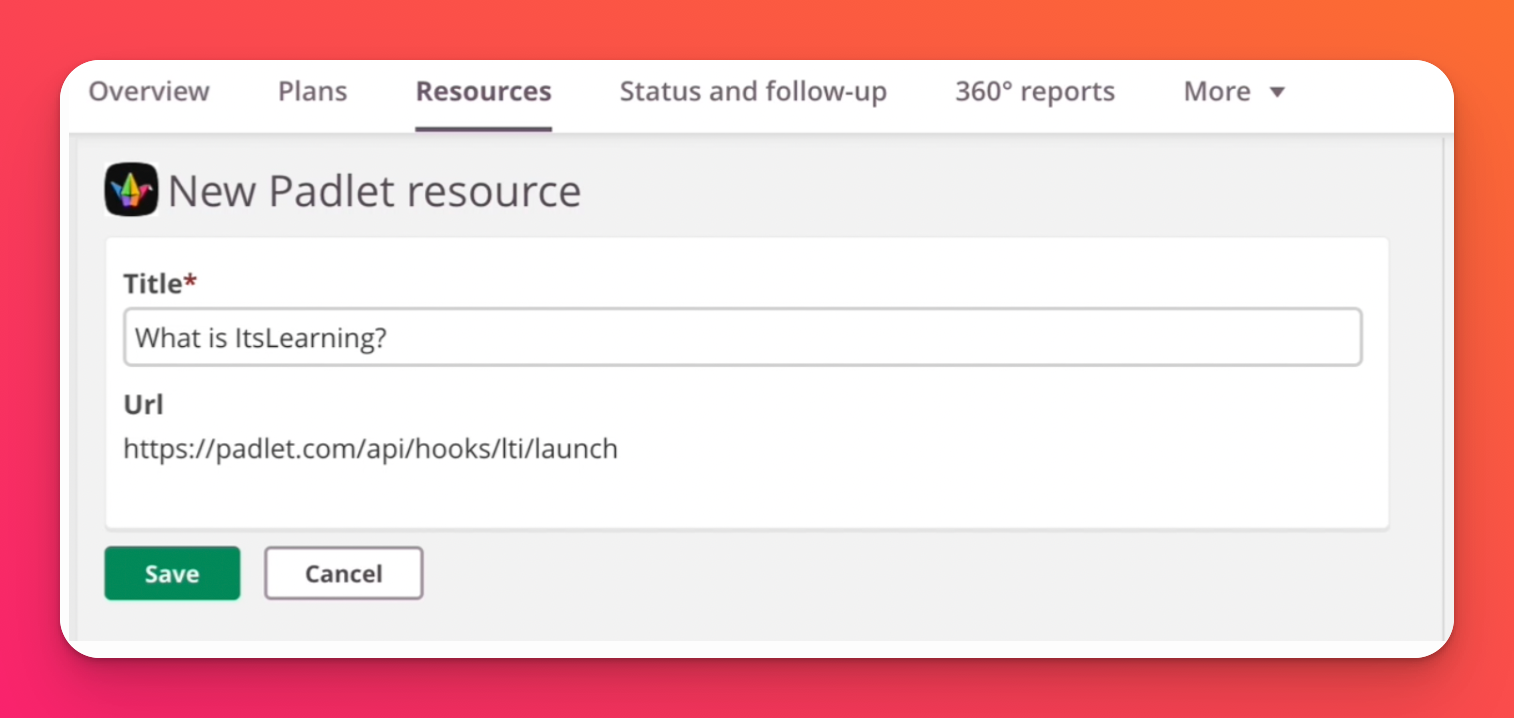
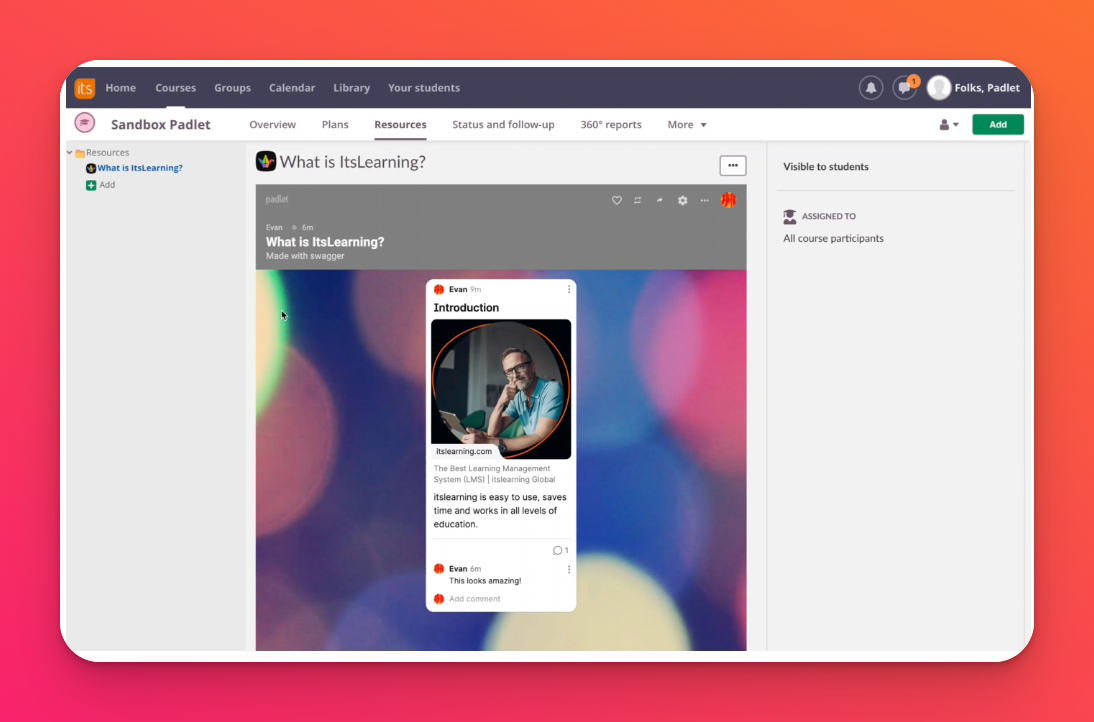
The padlet should show up like this on itsLearning:
Additional sharing options
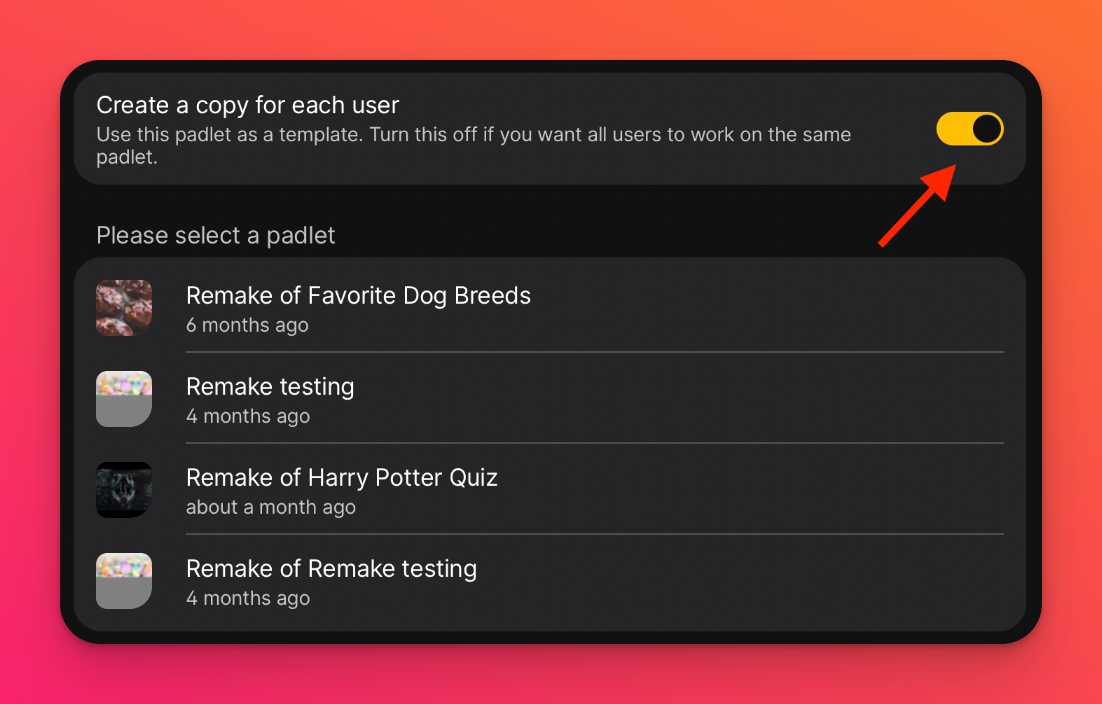
If you want students to work on their own copy of the padlet, toggle the 'Create a copy for each user' option ON. Students will get their own copy when they click on the link in the assignment and you will be automatically added as a shared member to the padlet.
