Connect Padlet to Brightspace LMS (for padlet.org accounts)
If you have a Padlet for Schools account ending in padlet.com:CLICK HERE for instructions on how to add Padlet to the Brightspace LMS.
If you have a Padlet for Schools account ending in padlet.org, keep reading.
There are a few different ways to embed a padlet in an LMS. This article will describe how to connect Padlet to Brightspace.
Admins only: Setting up LMS integration for Brightspace
What you will need
- Administrator access on Brightspace
- Access to the owner account on Padlet for Schools
- Retrieve Dynamic Registration Link
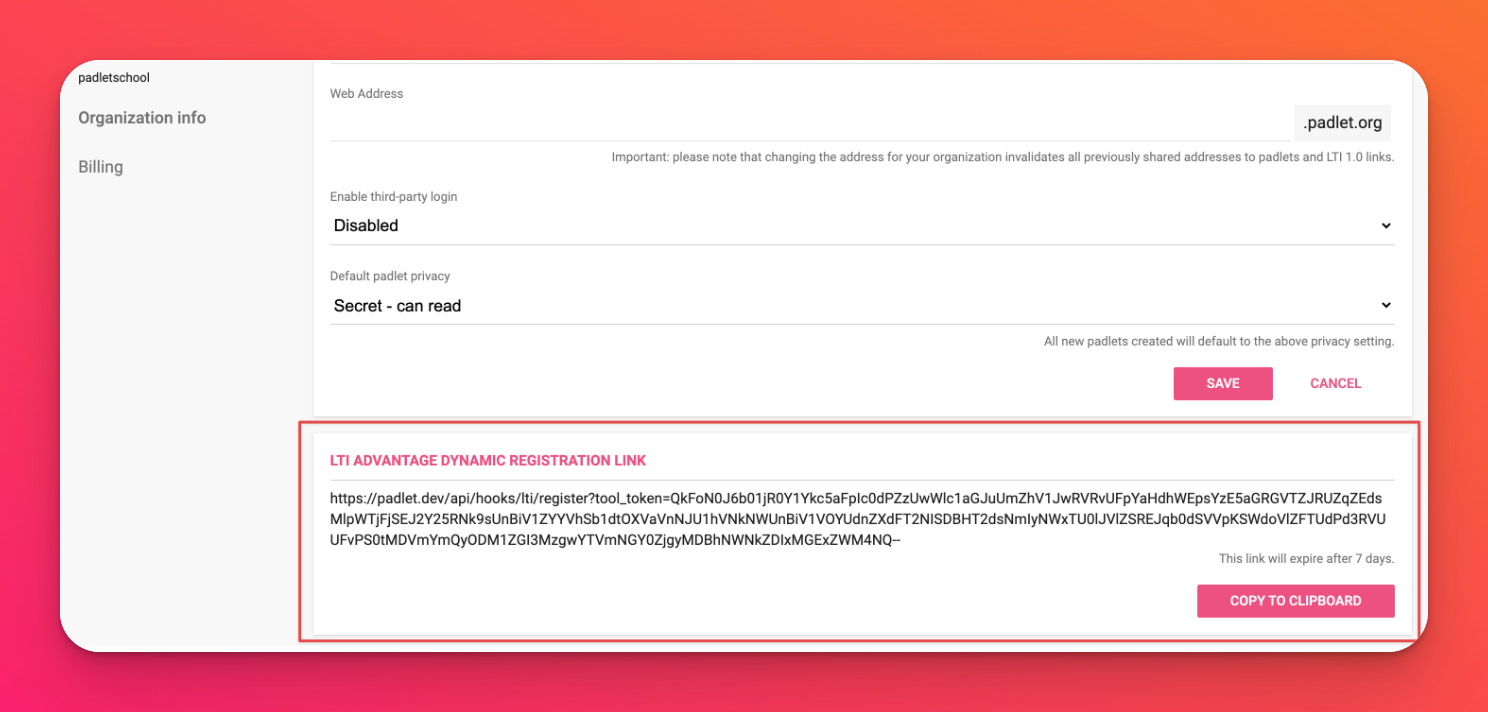
Using the owner account on Padlet for Schools, access the Settings page by clicking on your account name in the top-right corner > Settings > Organization Info > scroll down to find the 'LTI Advantage Dynamic Registration Link' field and select Generate > Copy.
- Register LTI Tool
On Brightspace, from the Admin dashboard, open Admin Tools by clicking on the Settings cog icon (⚙️) > Manage Extensibility > LTI Advantage > Register Tool > Select Dynamic Registration.
Paste the link we've given you and select Configure Deployment.
Once done, click on Register.
Click on the deployment under 'Tool' and toggle the 'Enable' button ON. Make sure to fill in the following information:
Name | Padlet (use a name that will help you easily identify it later) |
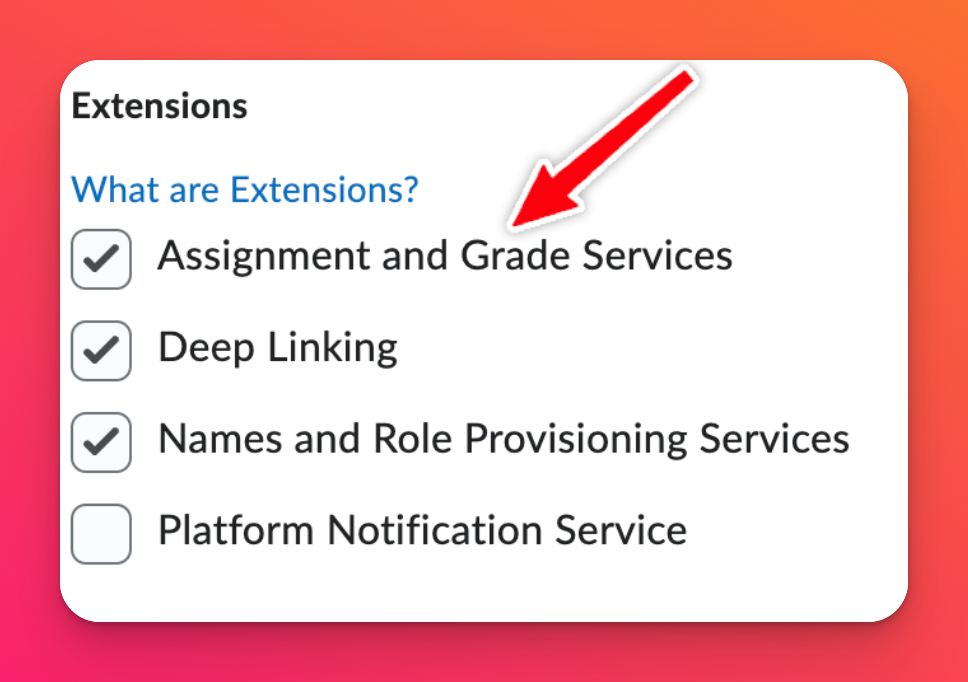
Extensions | Check the boxes next to the following:
 |
Security Settings* | User Information* (see note below) |
Send Institution Role | Check this box |
Click Save and Close.
Go back to your Manage Extensibility page > LTI Advantage > click the deployment name > click on View Deployments at the bottom of the page.
- Check fields
Click on the deployment name. All fields should be auto-populated, but to confirm, the following fields should be checked:
Name | Padlet (use a name that will help you easily identify it later) |
Description | Use a description that will help you easily identify the tool |
Extensions |
|
Security Settings |
|
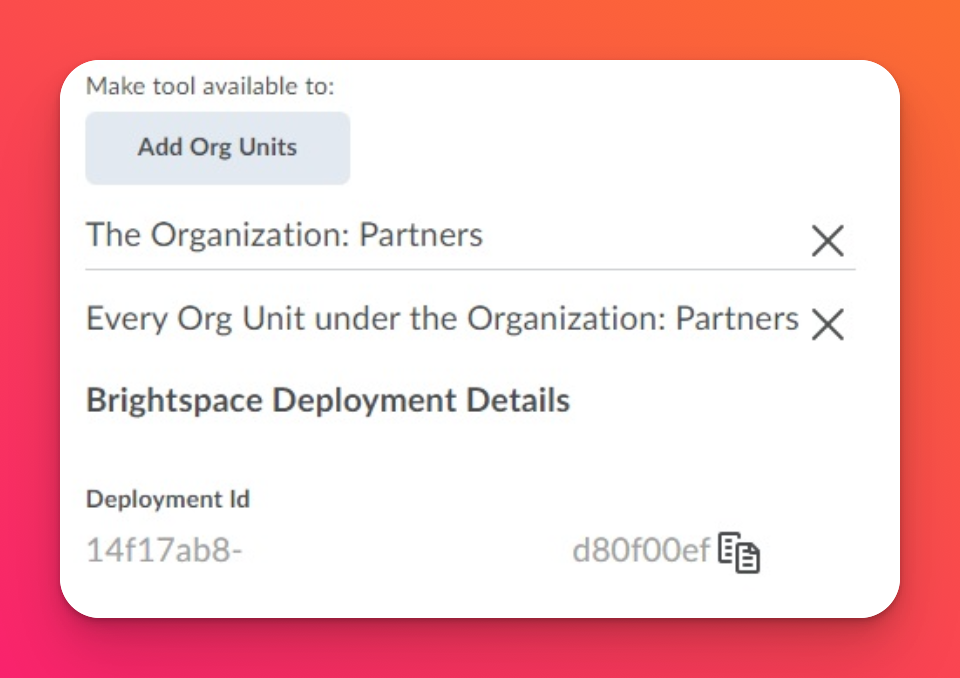
Ensure that under 'Add Org Units,' the institution has been added so that everyone within the organization has access to Padlet LTI 1.3.
- Create Link for Deep Linking
From the External Learning Tools page, click View Links. Then, click on the Padlet tool, and fill in the fields.
Name | Padlet (use a name that will help you easily identify it later) |
URL | |
Type | Deep Linking Quicklink |
Click Save and Close.
- Create Link for Deep Linking Insert Stuff
From the links page you're currently on, click New Link. Now fill in the same fields as above but change the 'Type' to Deep Linking Insert Stuff. Then, Save and Close.
- Create New LTI Link in Module
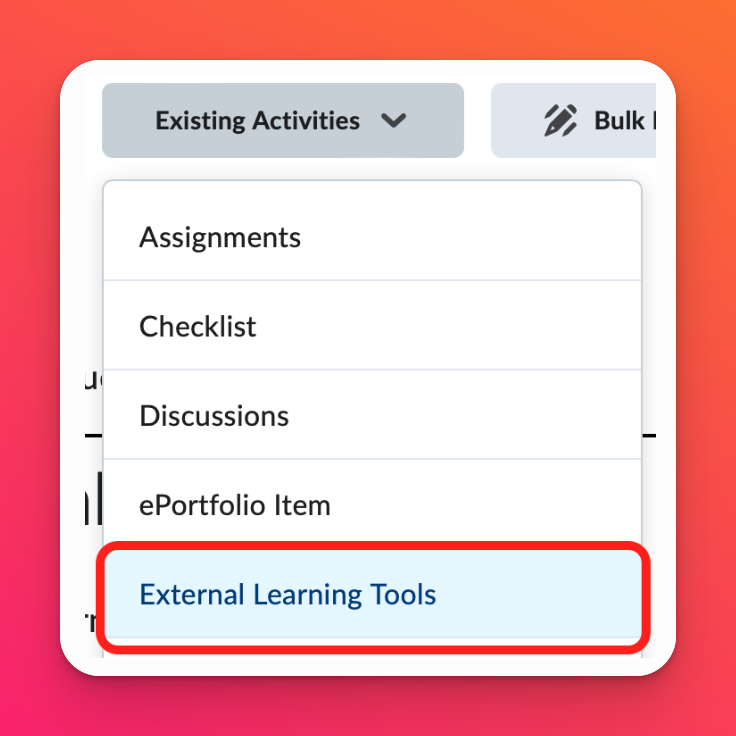
Navigate to your module and courses and click on Existing Activities > External Learning Tools > Create New LTI Link.
Insert a title for the new external learning tool activity. The activity link name should match the name of Padlet tool that the link will be associated with.
Insert https://padlet.com/api/hooks/lti/launch into the LTI URL text area.
Padlet is now available to be added in all of the courses that the deployment was shared with in step 3.
Teachers only: Setting up LMS integration for Brightspace
- Create a Module/Sub-Module
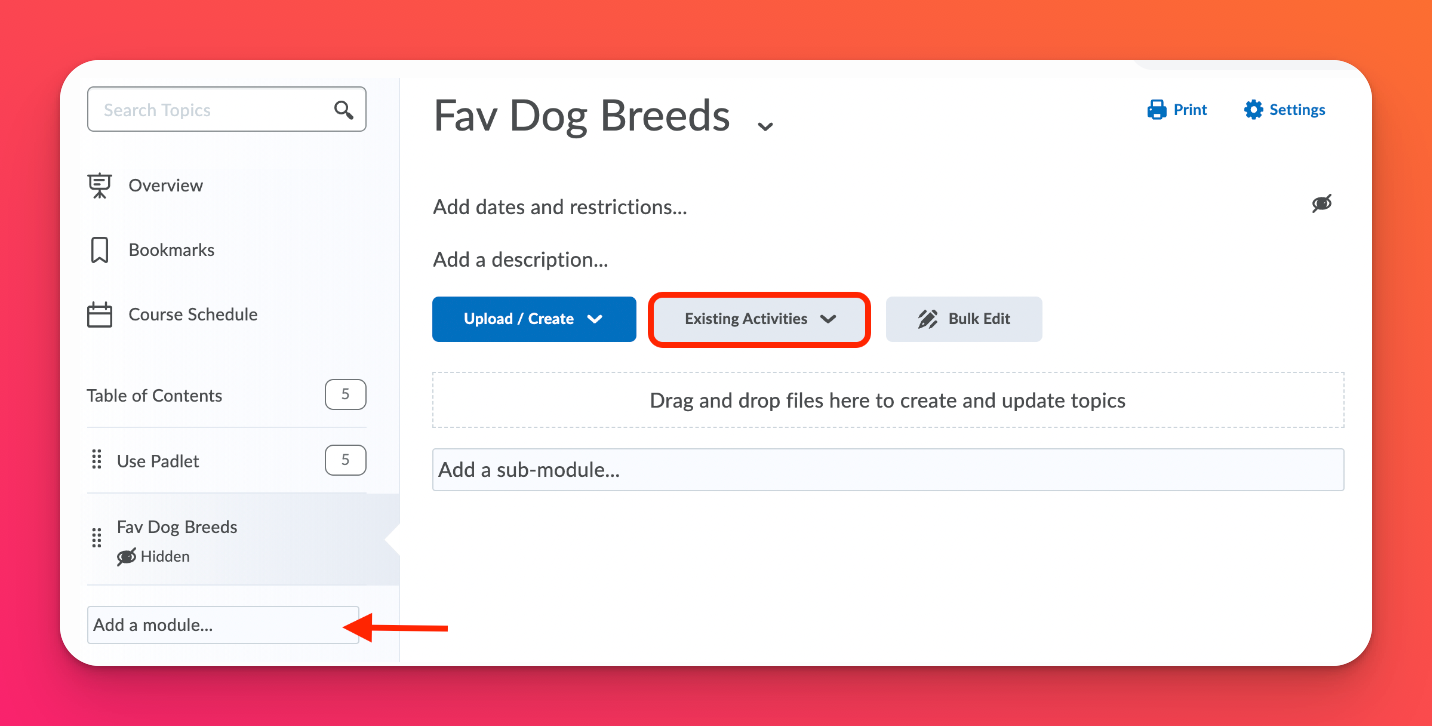
Content > Select a Module or Add a Module > Existing Activities. Select the Padlet tool.
- Select a padlet
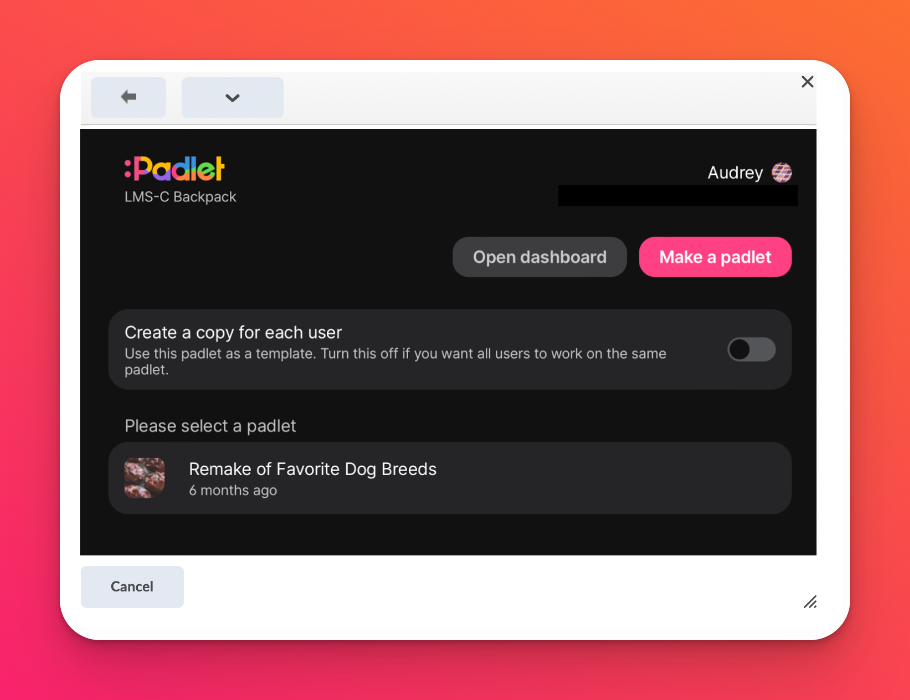
A pop up will appear showing existing padlets within your Padlet for Schools account. You get to select which padlet you want to add to the module.
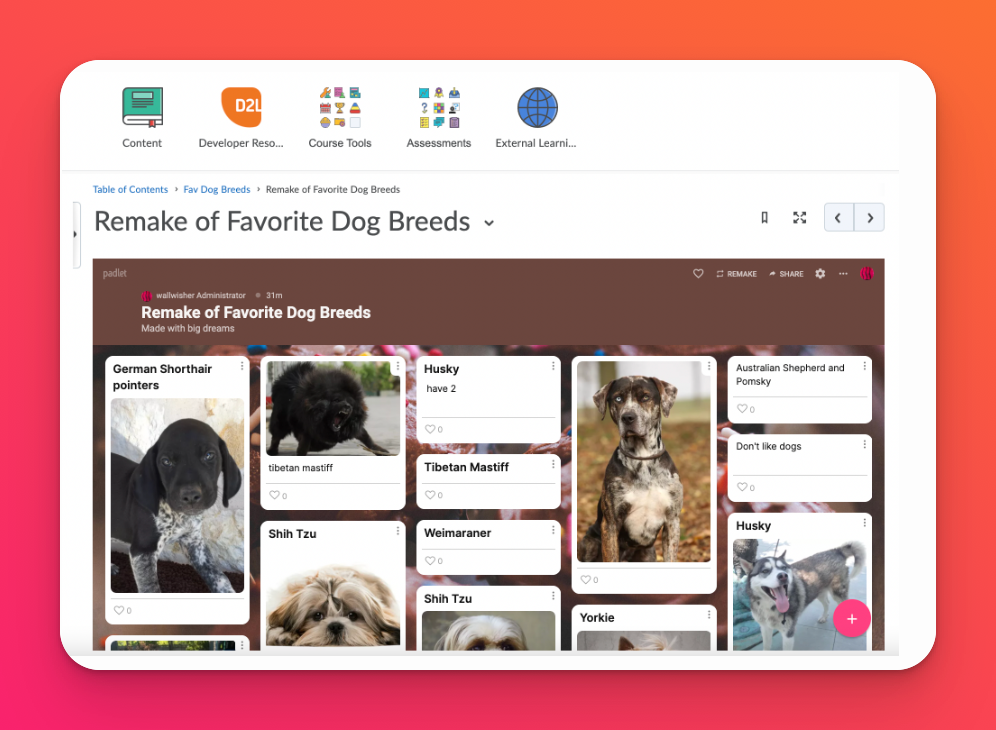
The padlet should show up like this on Brightspace!
Additional sharing options
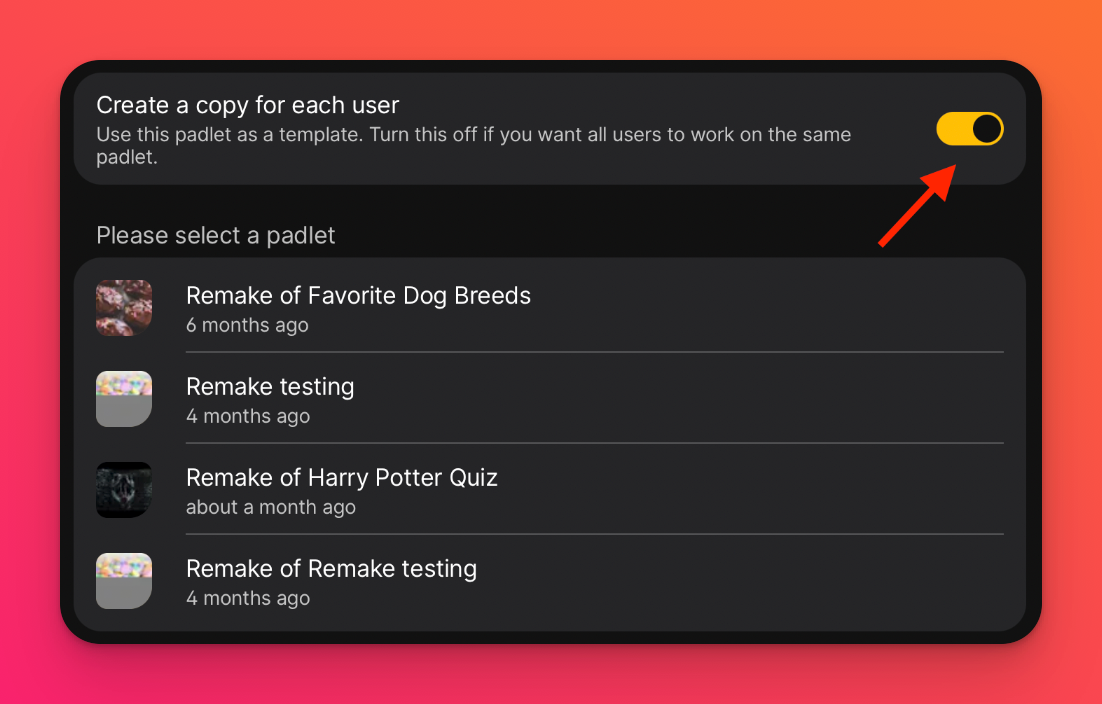
If you want students to work on their own copy of the padlet, toggle the 'Create a copy for each user' option ON. Students will get their own copy when they click on the link in the assignment and you will be automatically added as a shared member to the padlet.
