Sections
 Updated 1 month ago
by
Rana Wilds
Updated 1 month ago
by
Rana Wilds
Want to organize a messy Padlet board? Give your board some structure with Sections.
How sections work
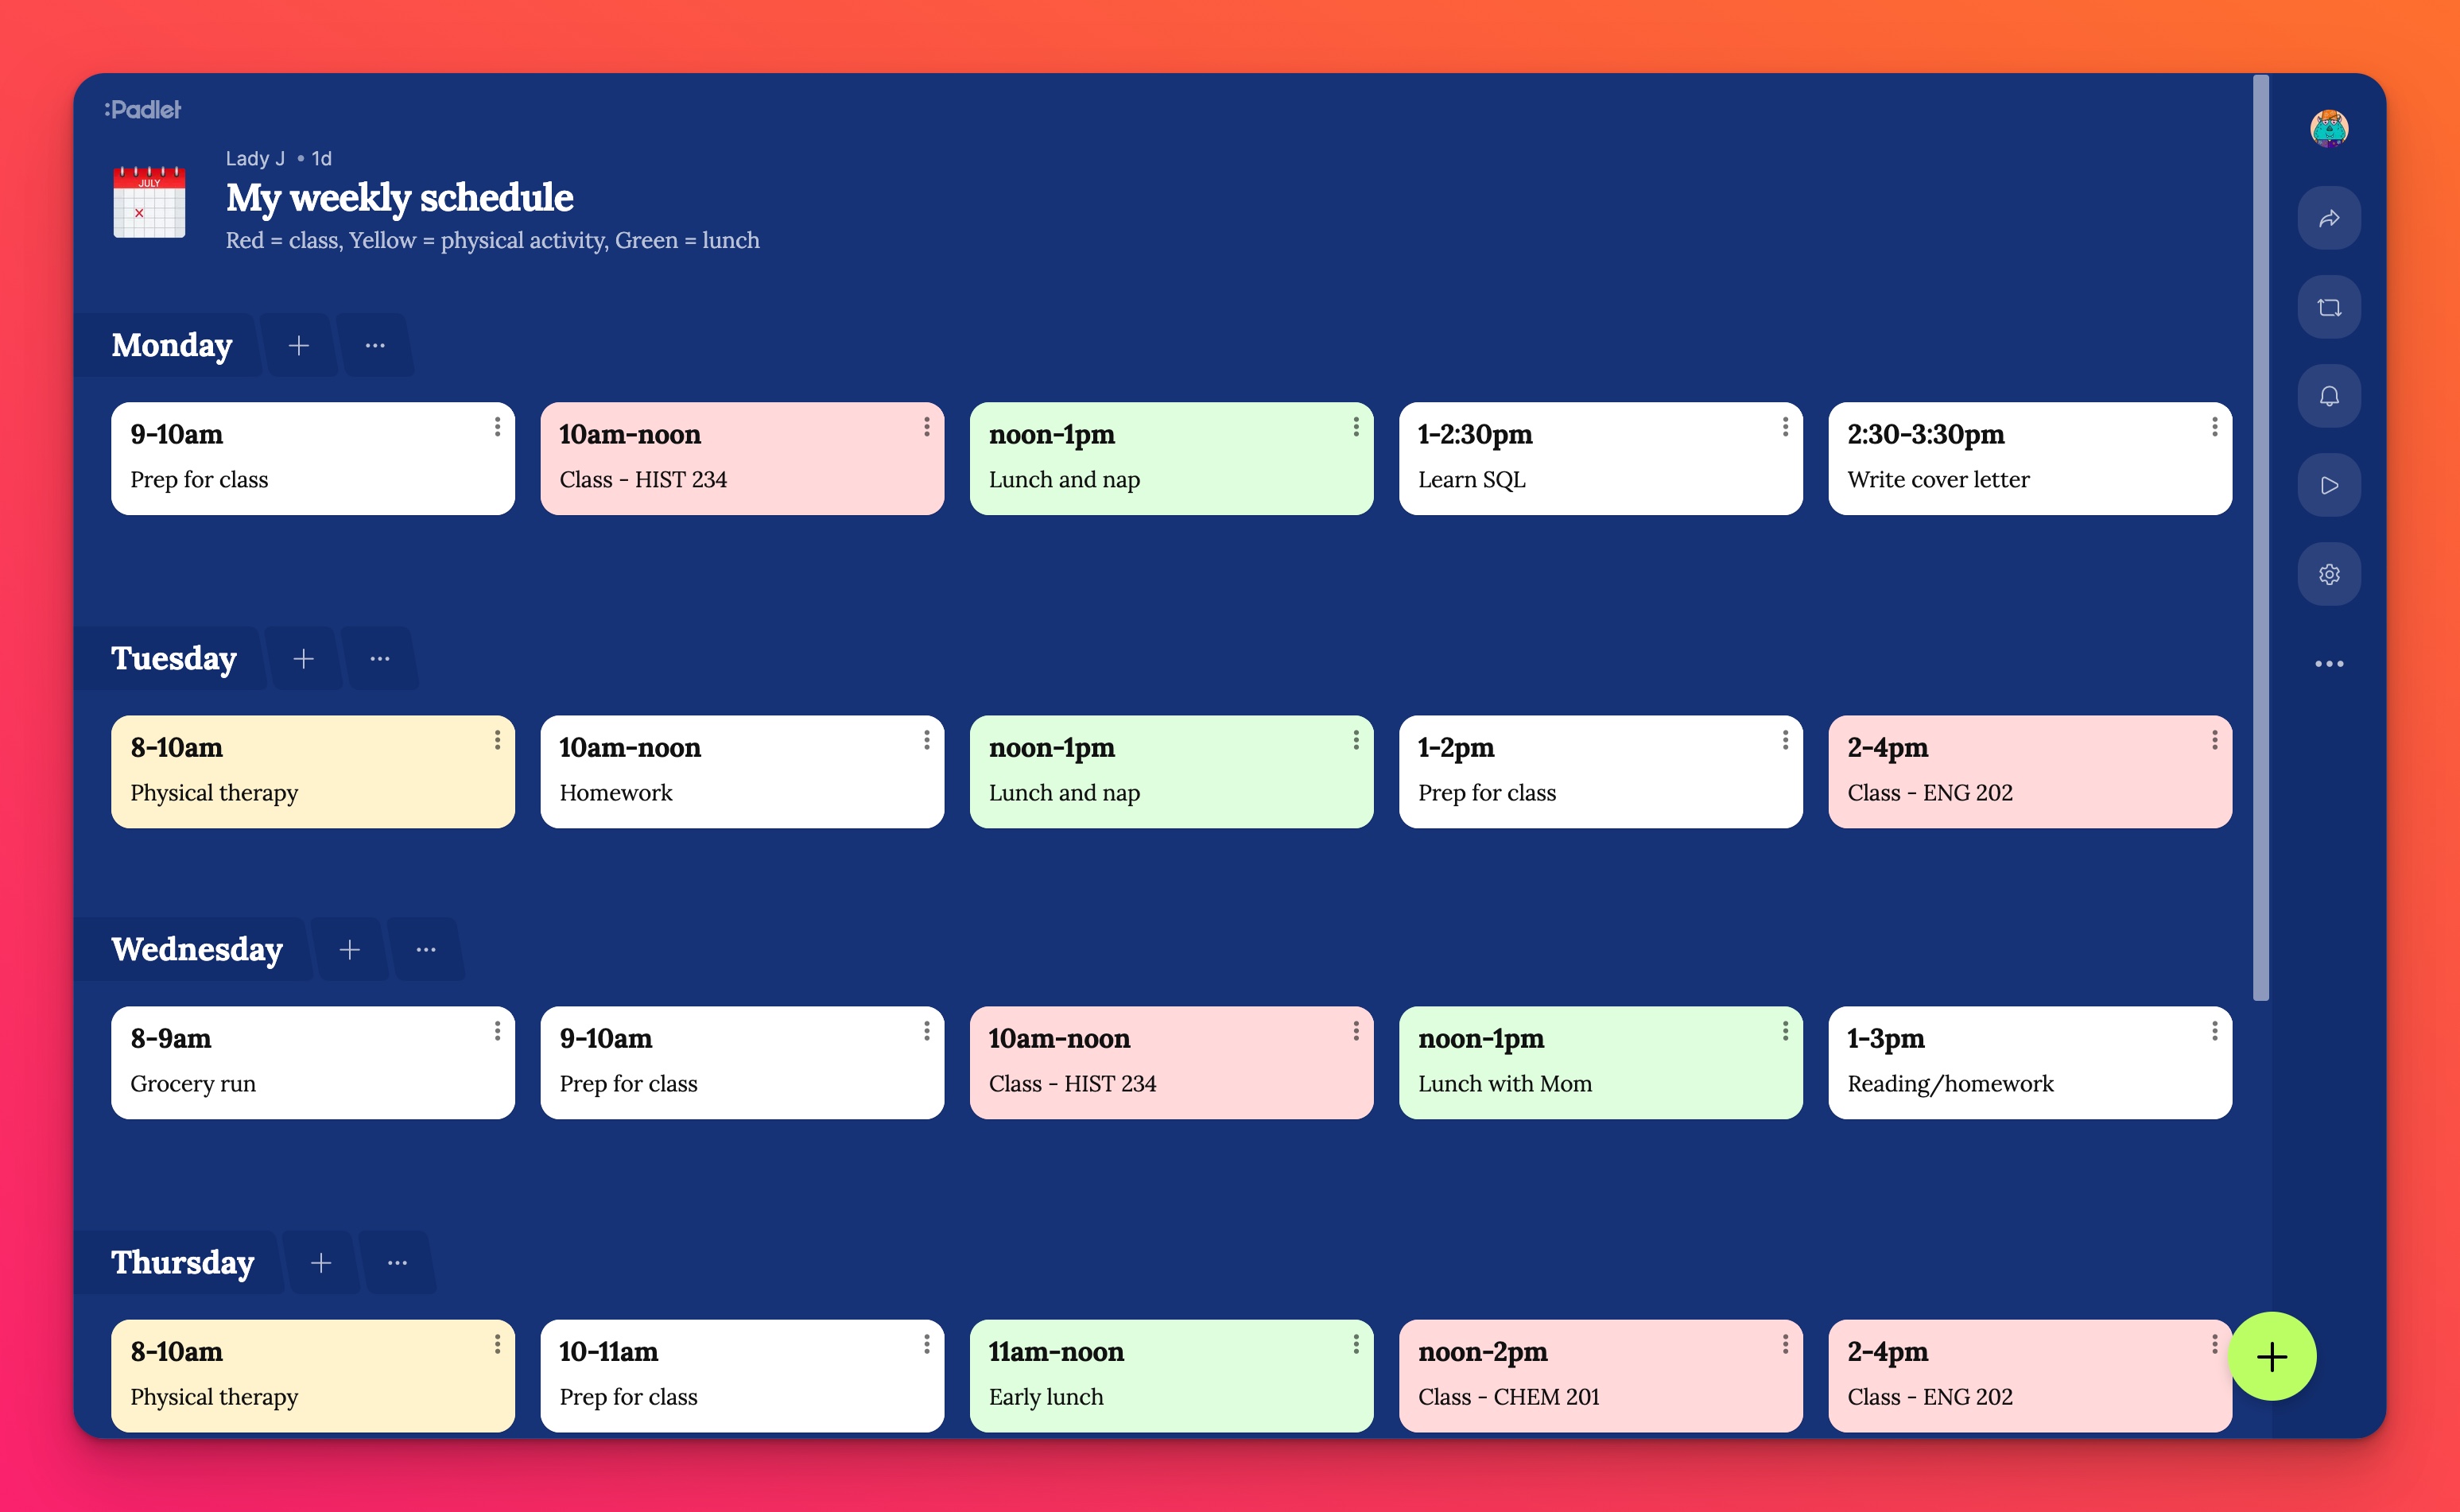
When you use Sections, you can group your posts to organize your board. For example, you can make a board with the Timeline format and add a section for each day of the week to create a weekly schedule.
If you want to take structured notes, you can make a Stream board with sections.

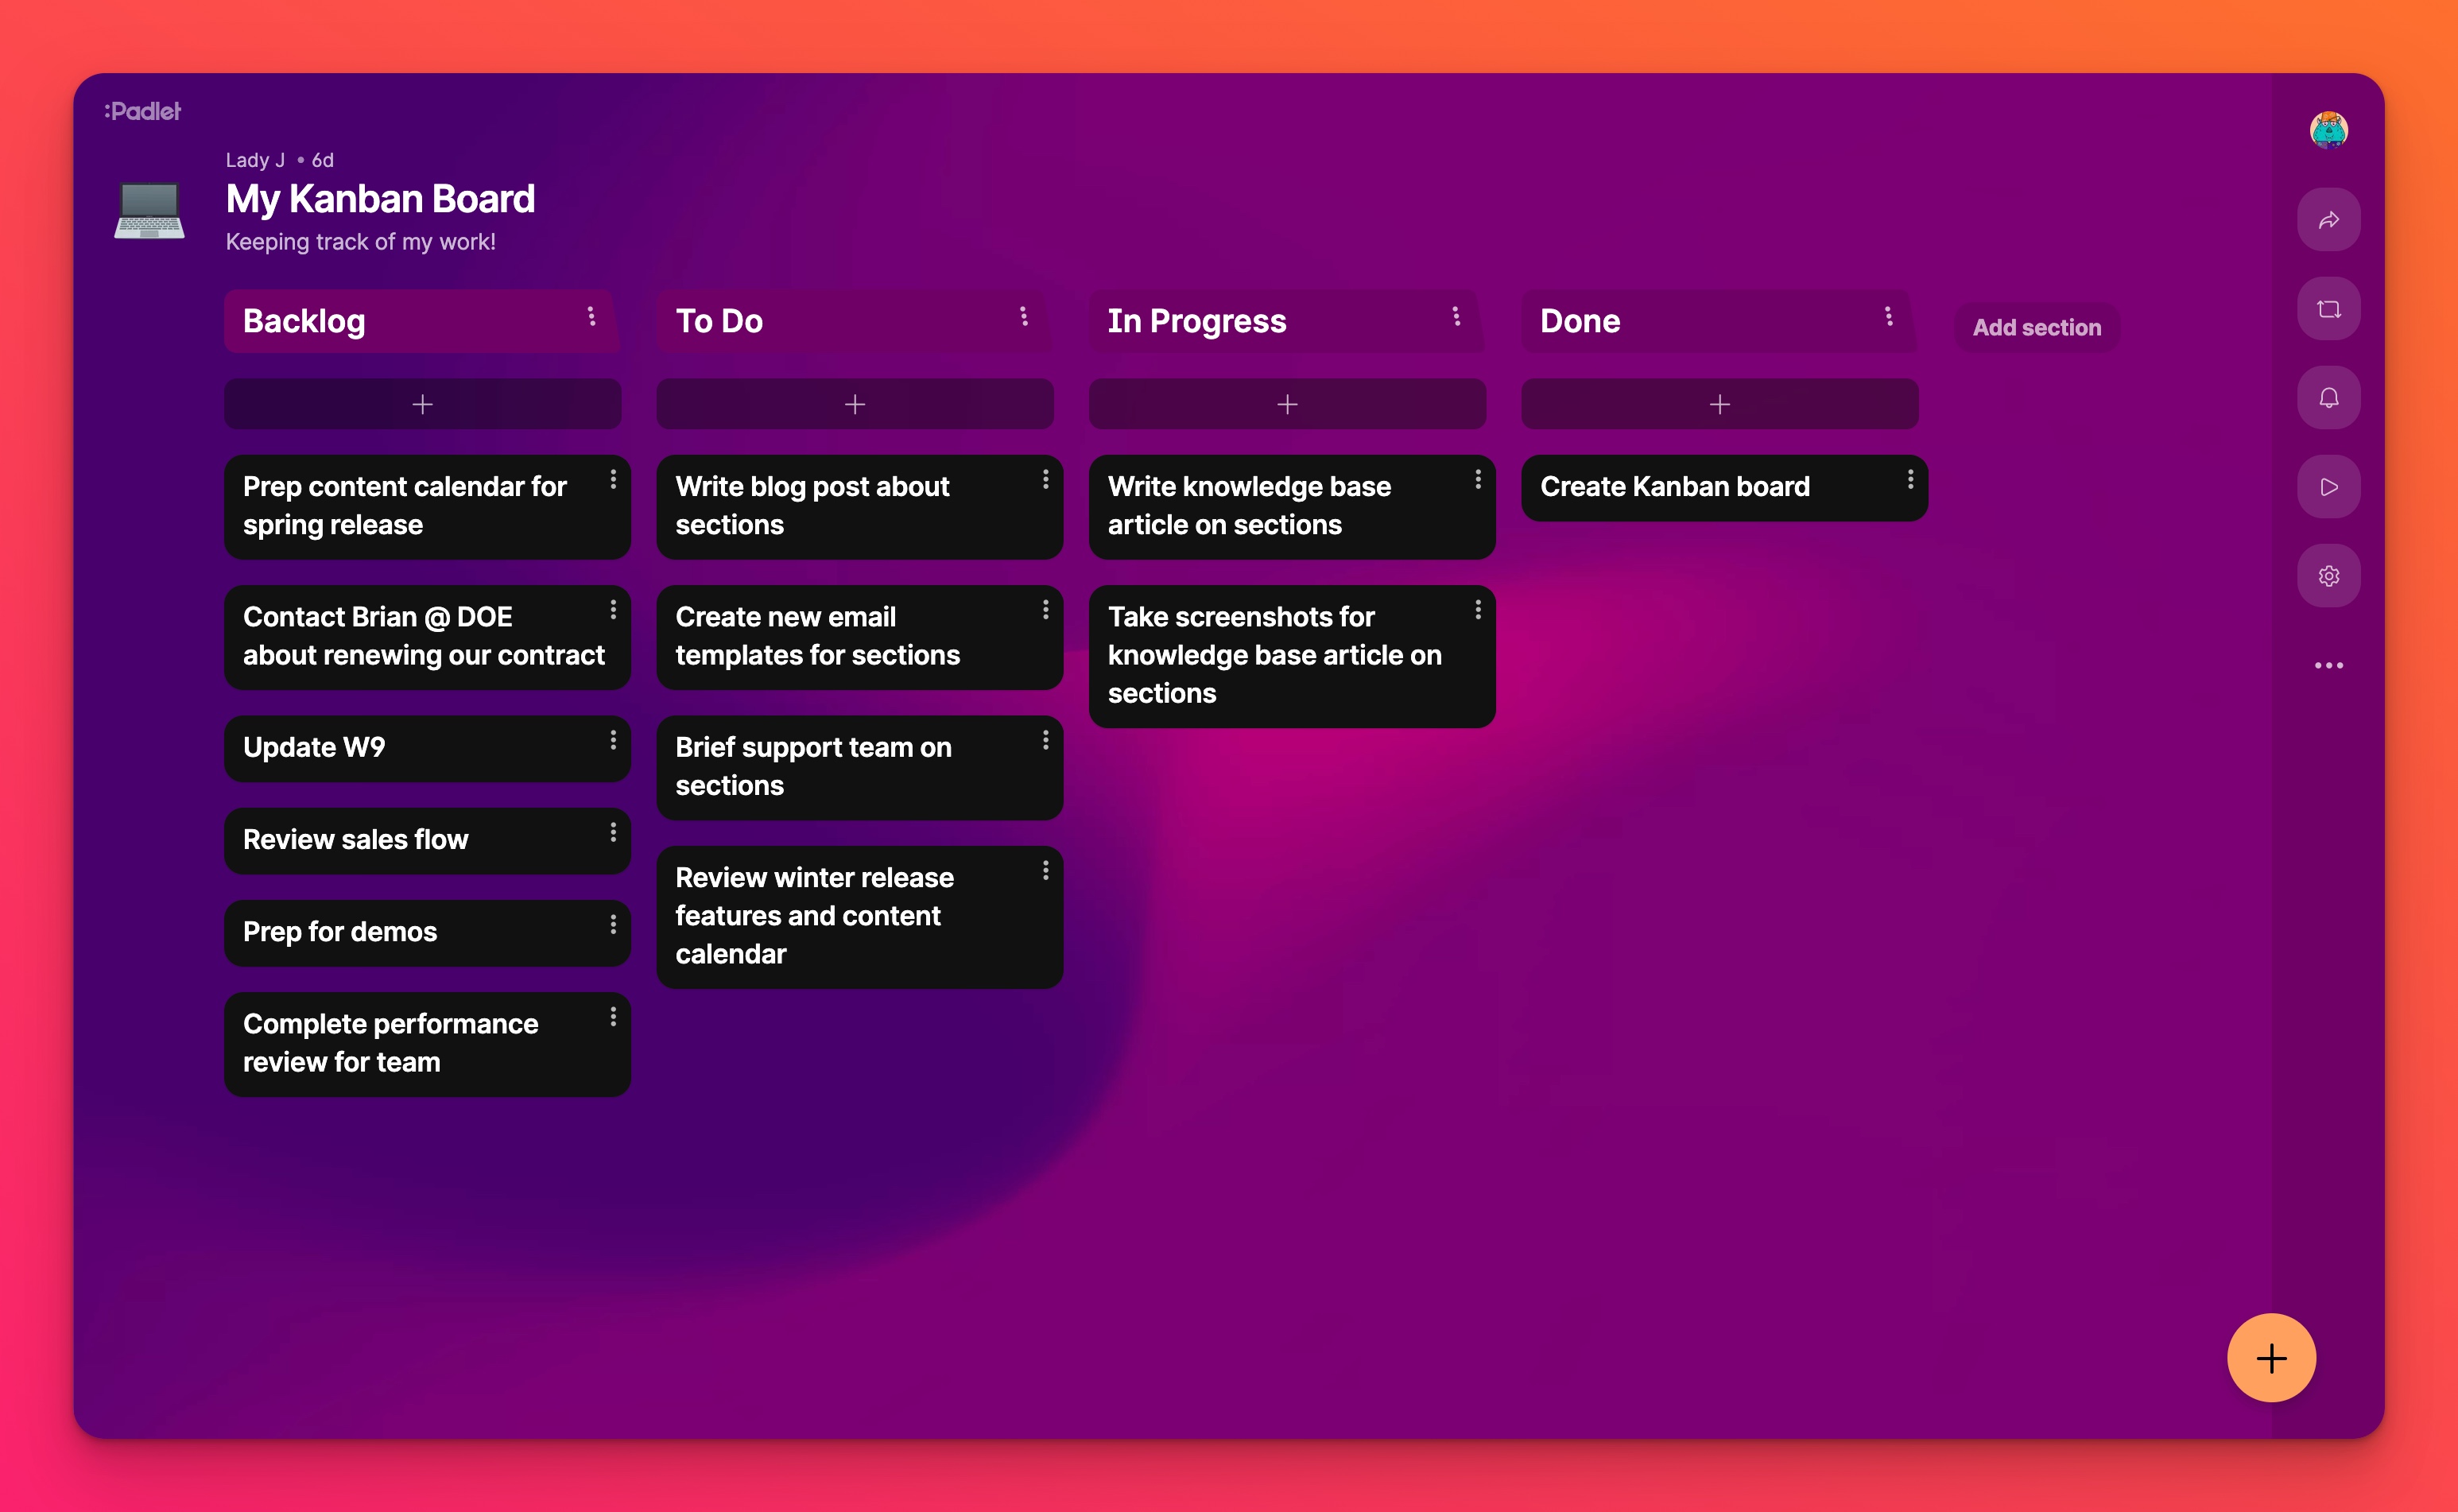
If you want to be really organized, you can make a board using the Columns format. This format will always have sections enabled! In the Columns format you can create unlimited columns with your posts underneath like a shelf.
Enable sections
New boards
When creating a new board, choose a format from the menu to start.
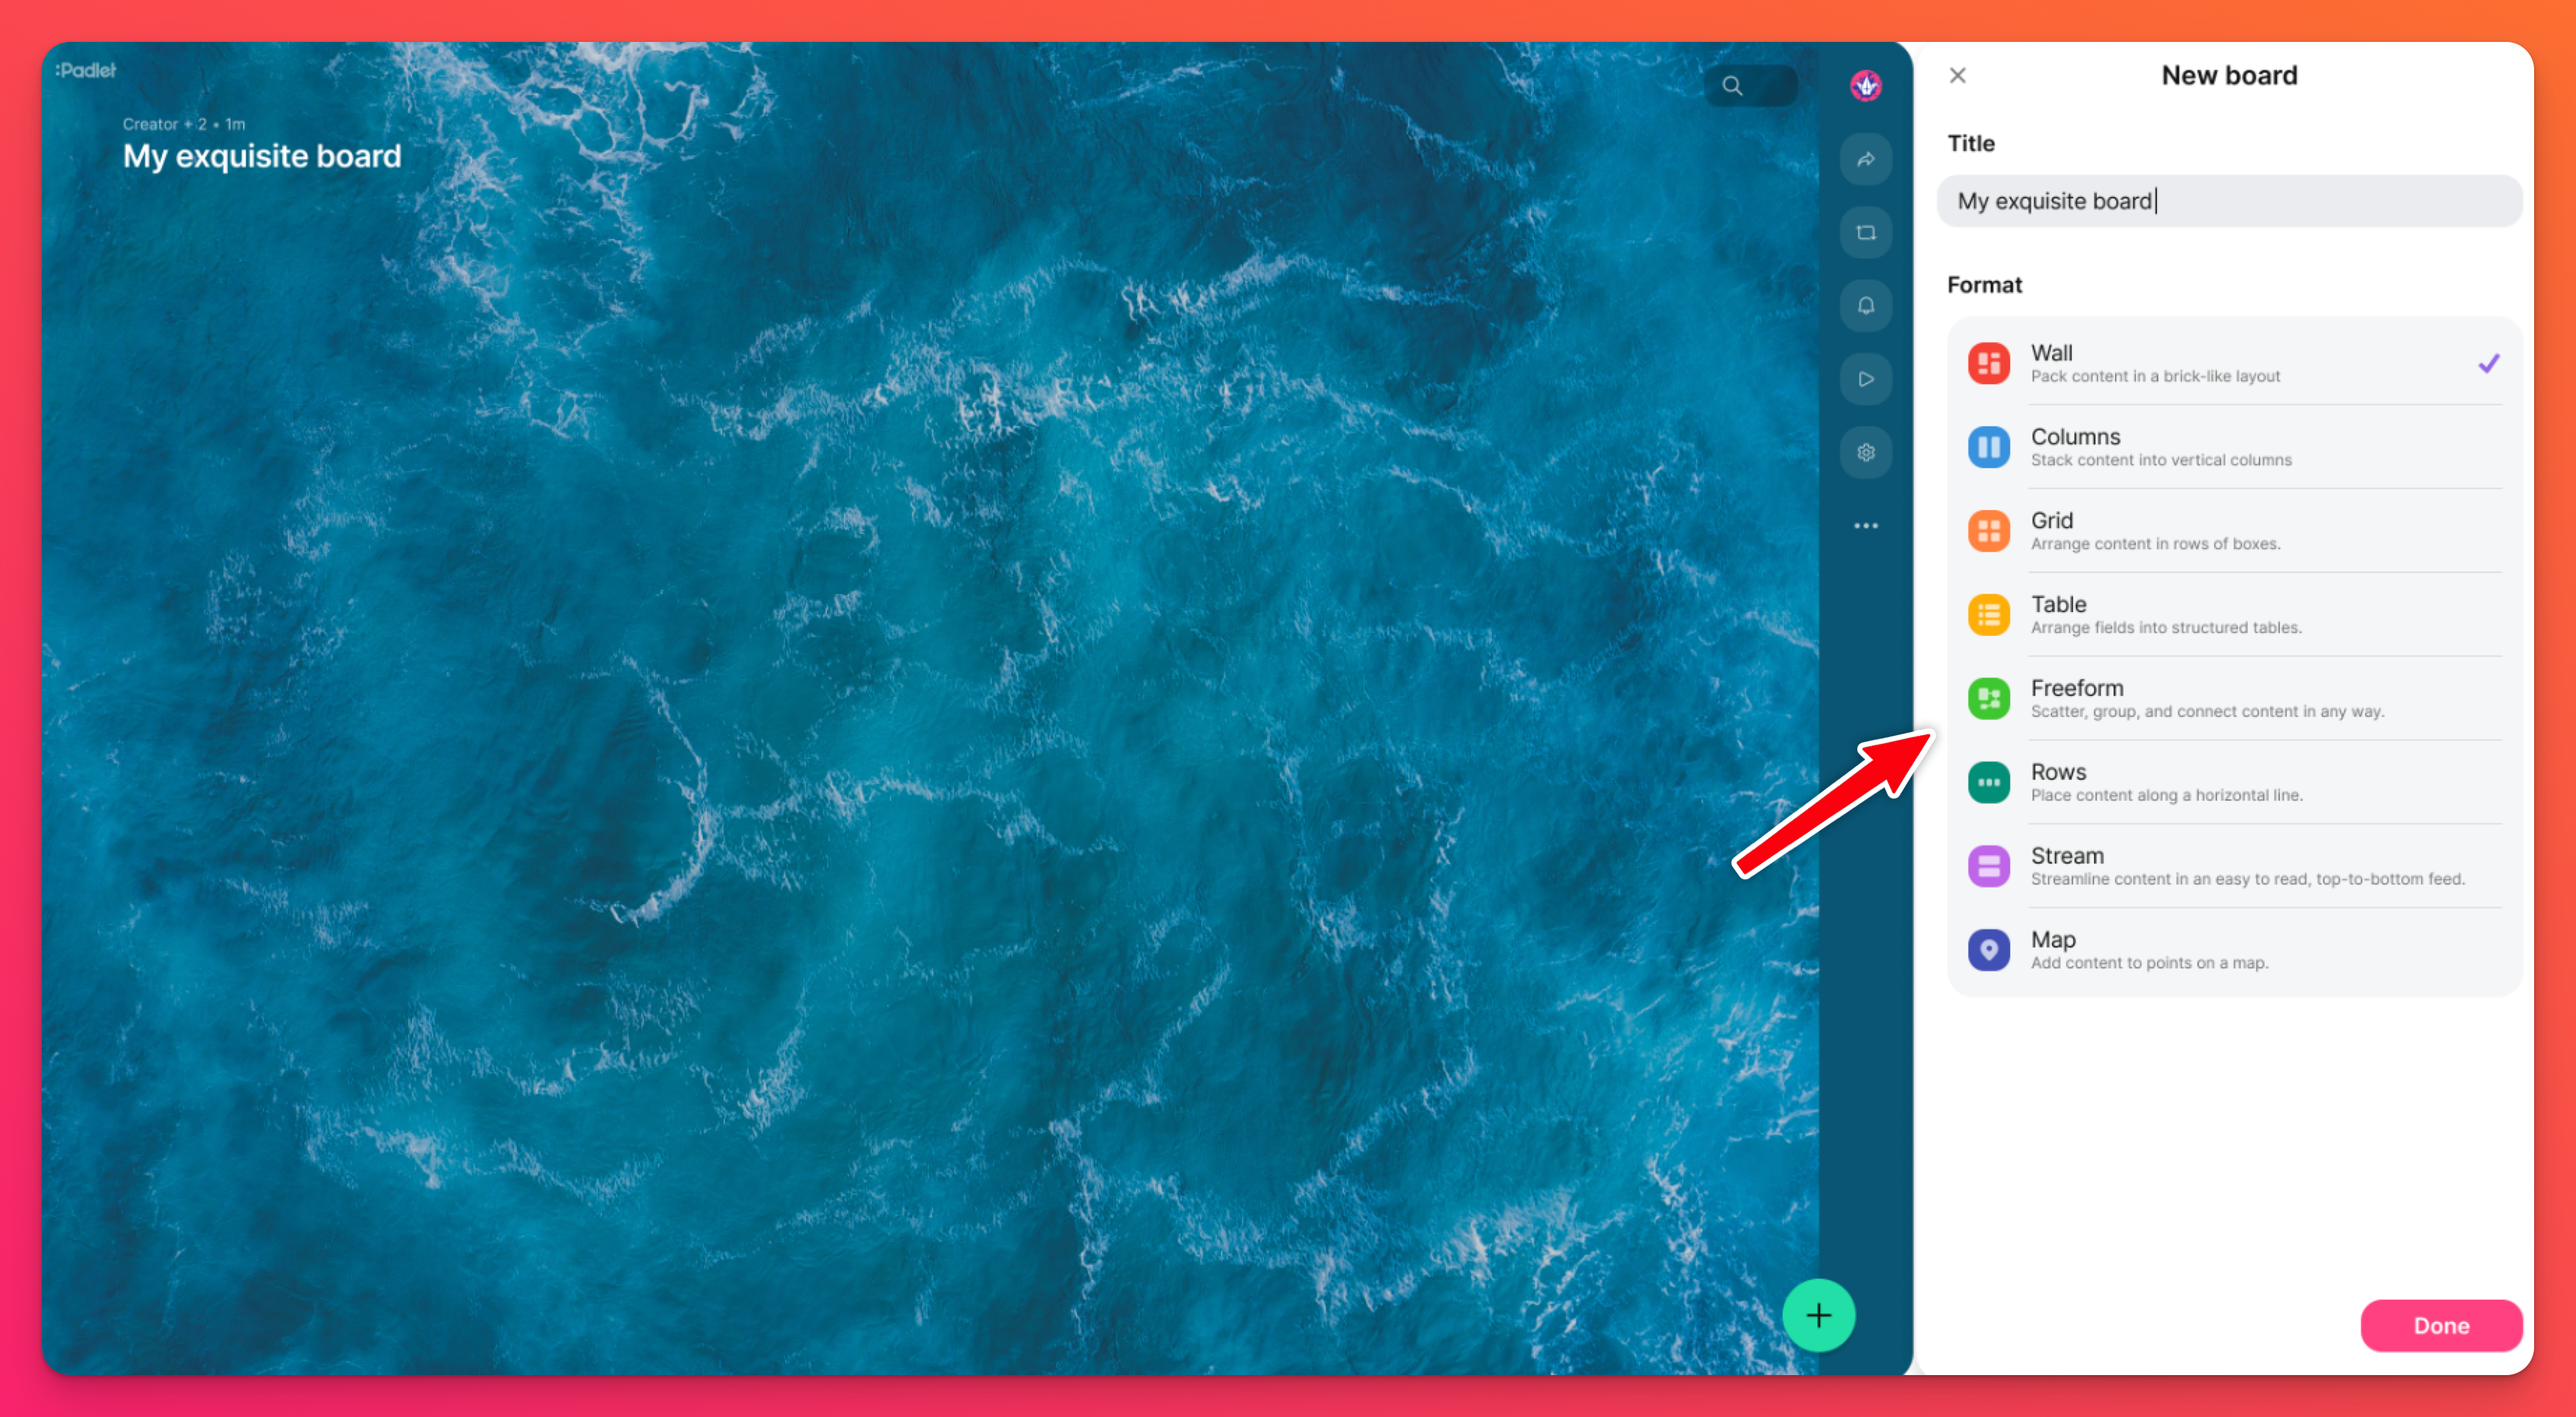
Choosing the Columns format will automatically enable sections and no further steps are needed to turn these on. Sections are not available for Wall and Freeform. All other formats have the option to toggle sections on and off, as needed!
Existing boards
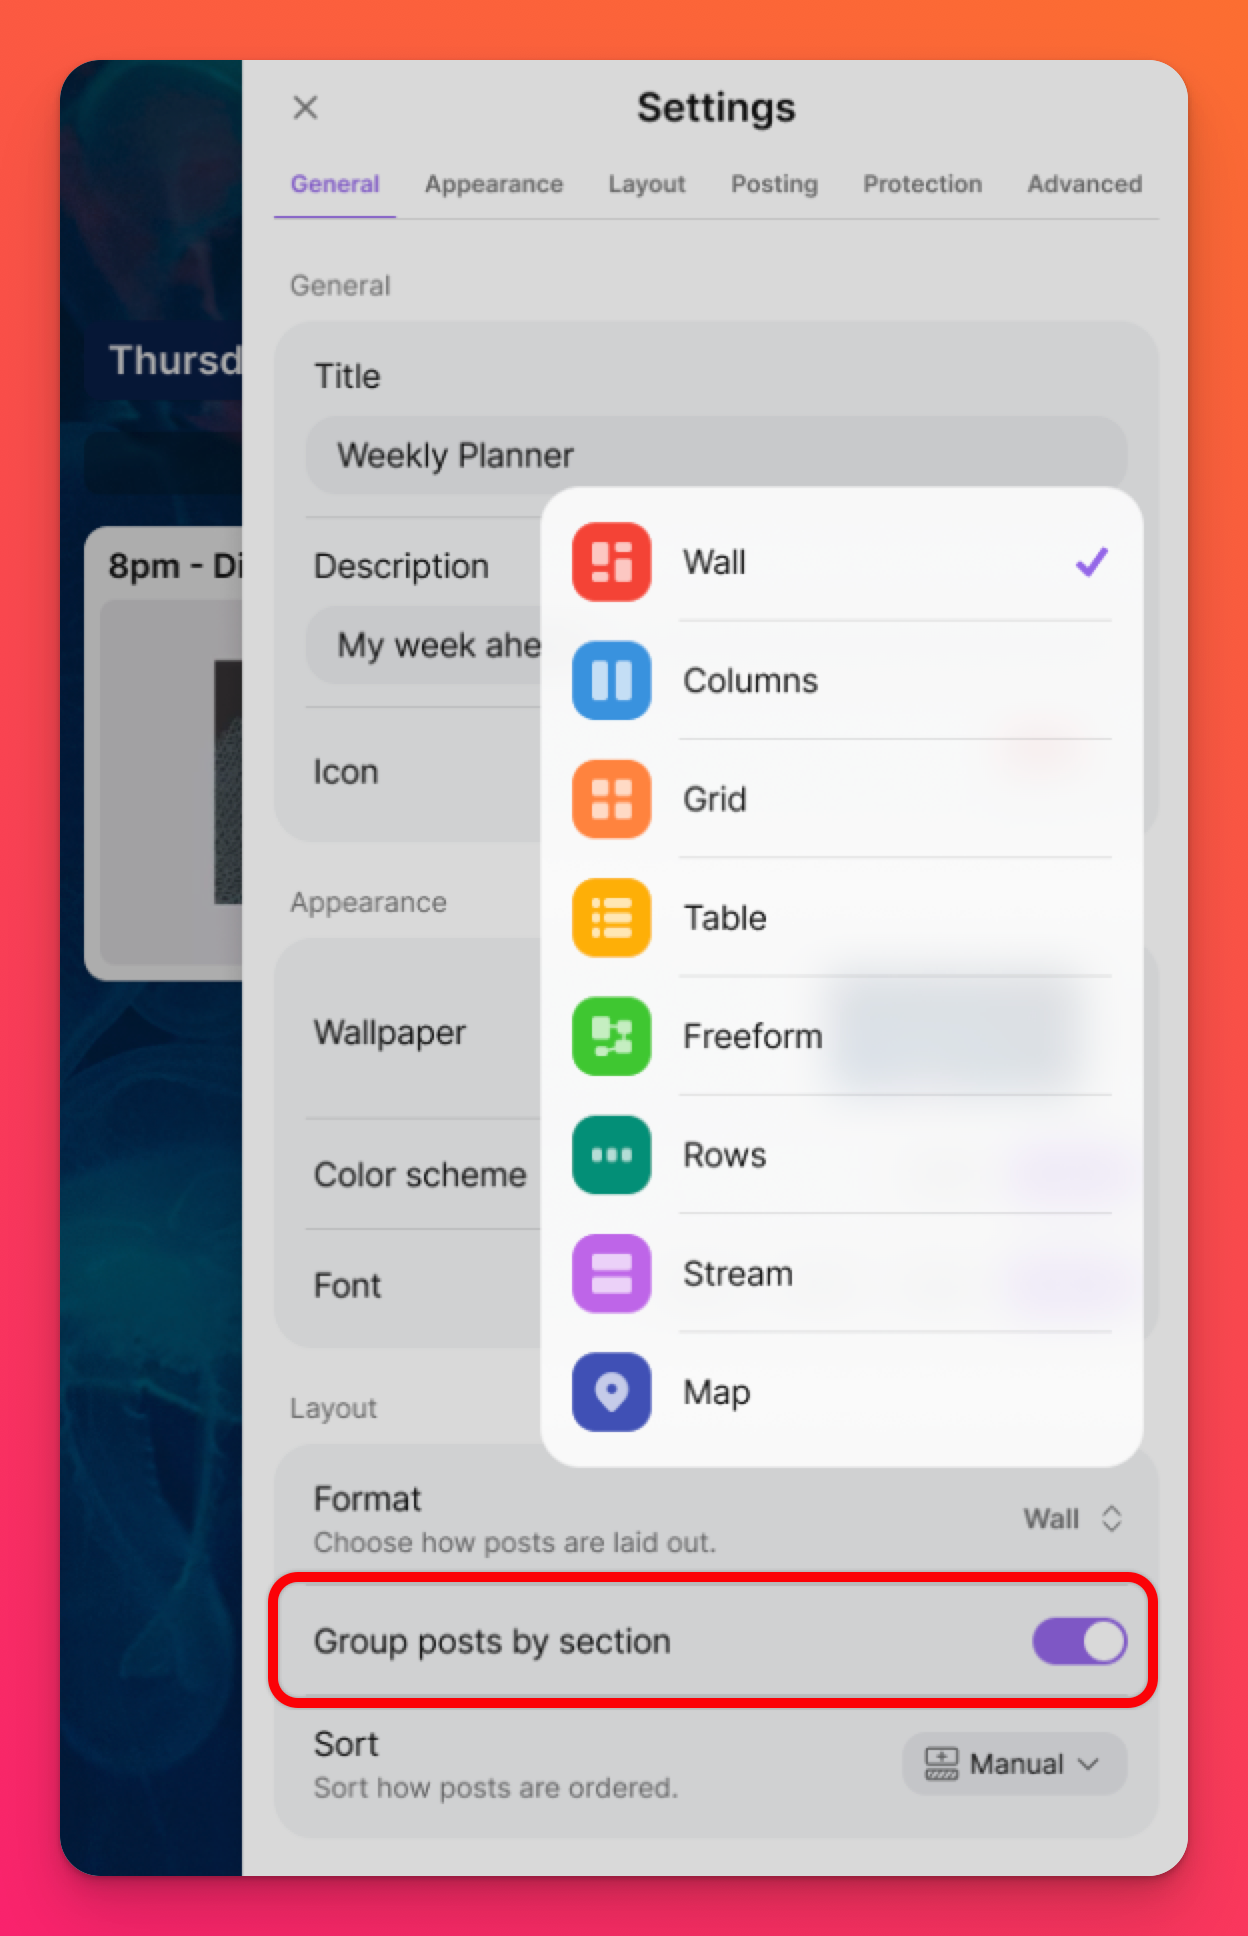
To add or remove sections from an existing board, click the Settings cog icon (⚙️) in the action bar and go to the Layout section. Toggle 'Group posts by section' ON/OFF to add or remove sections on your board. If you add sections to an existing board, we will put all of the posts into one section by default.
Using sections
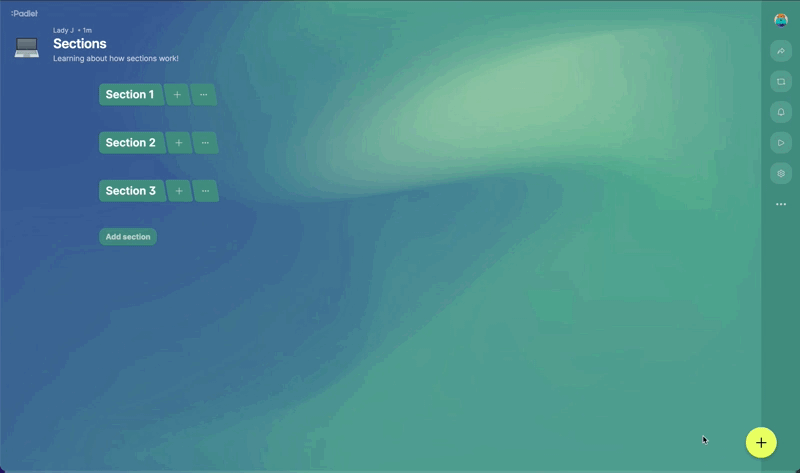
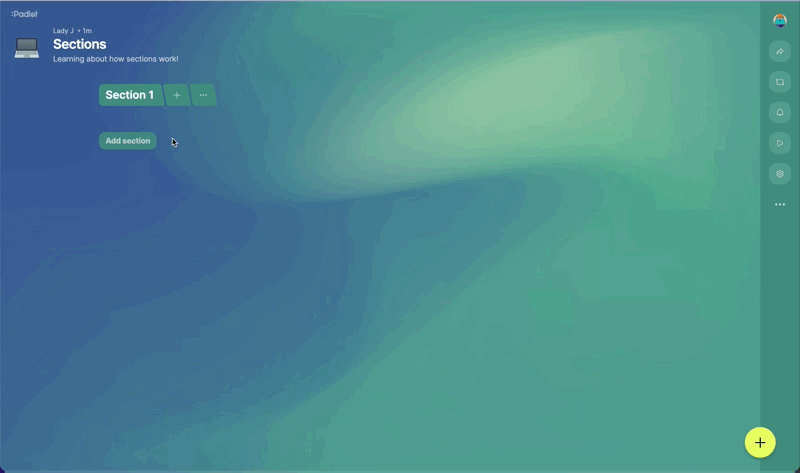
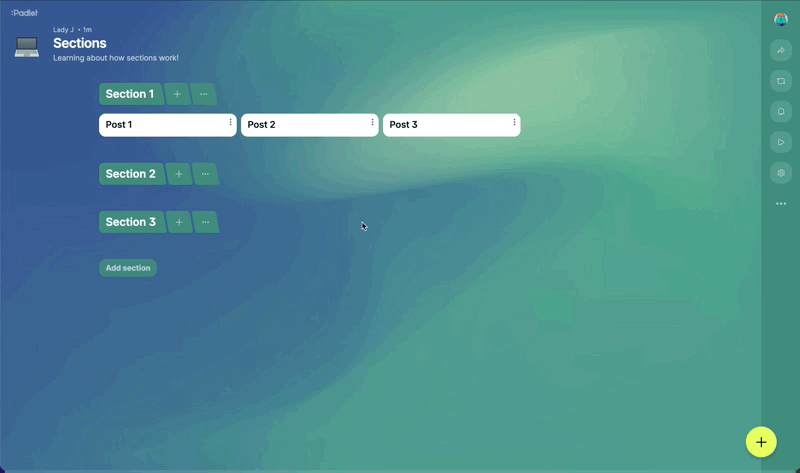
When you enable sections on a board that has never had them, we will only add one section, but you can add as many as you want. On desktop, each section has three components:
- A section title
- A (+) button
- An action menu -- indicated by the three-dot ellipsis button (...)
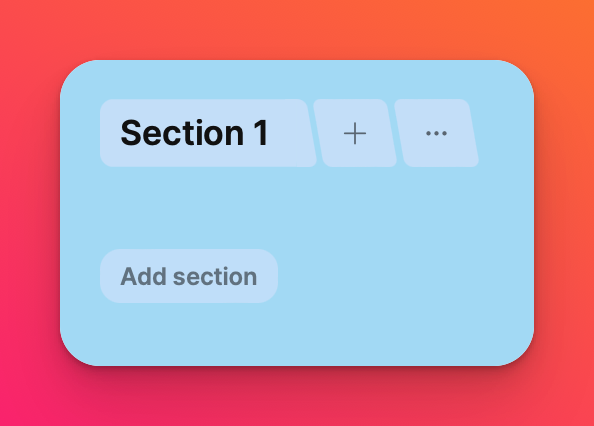
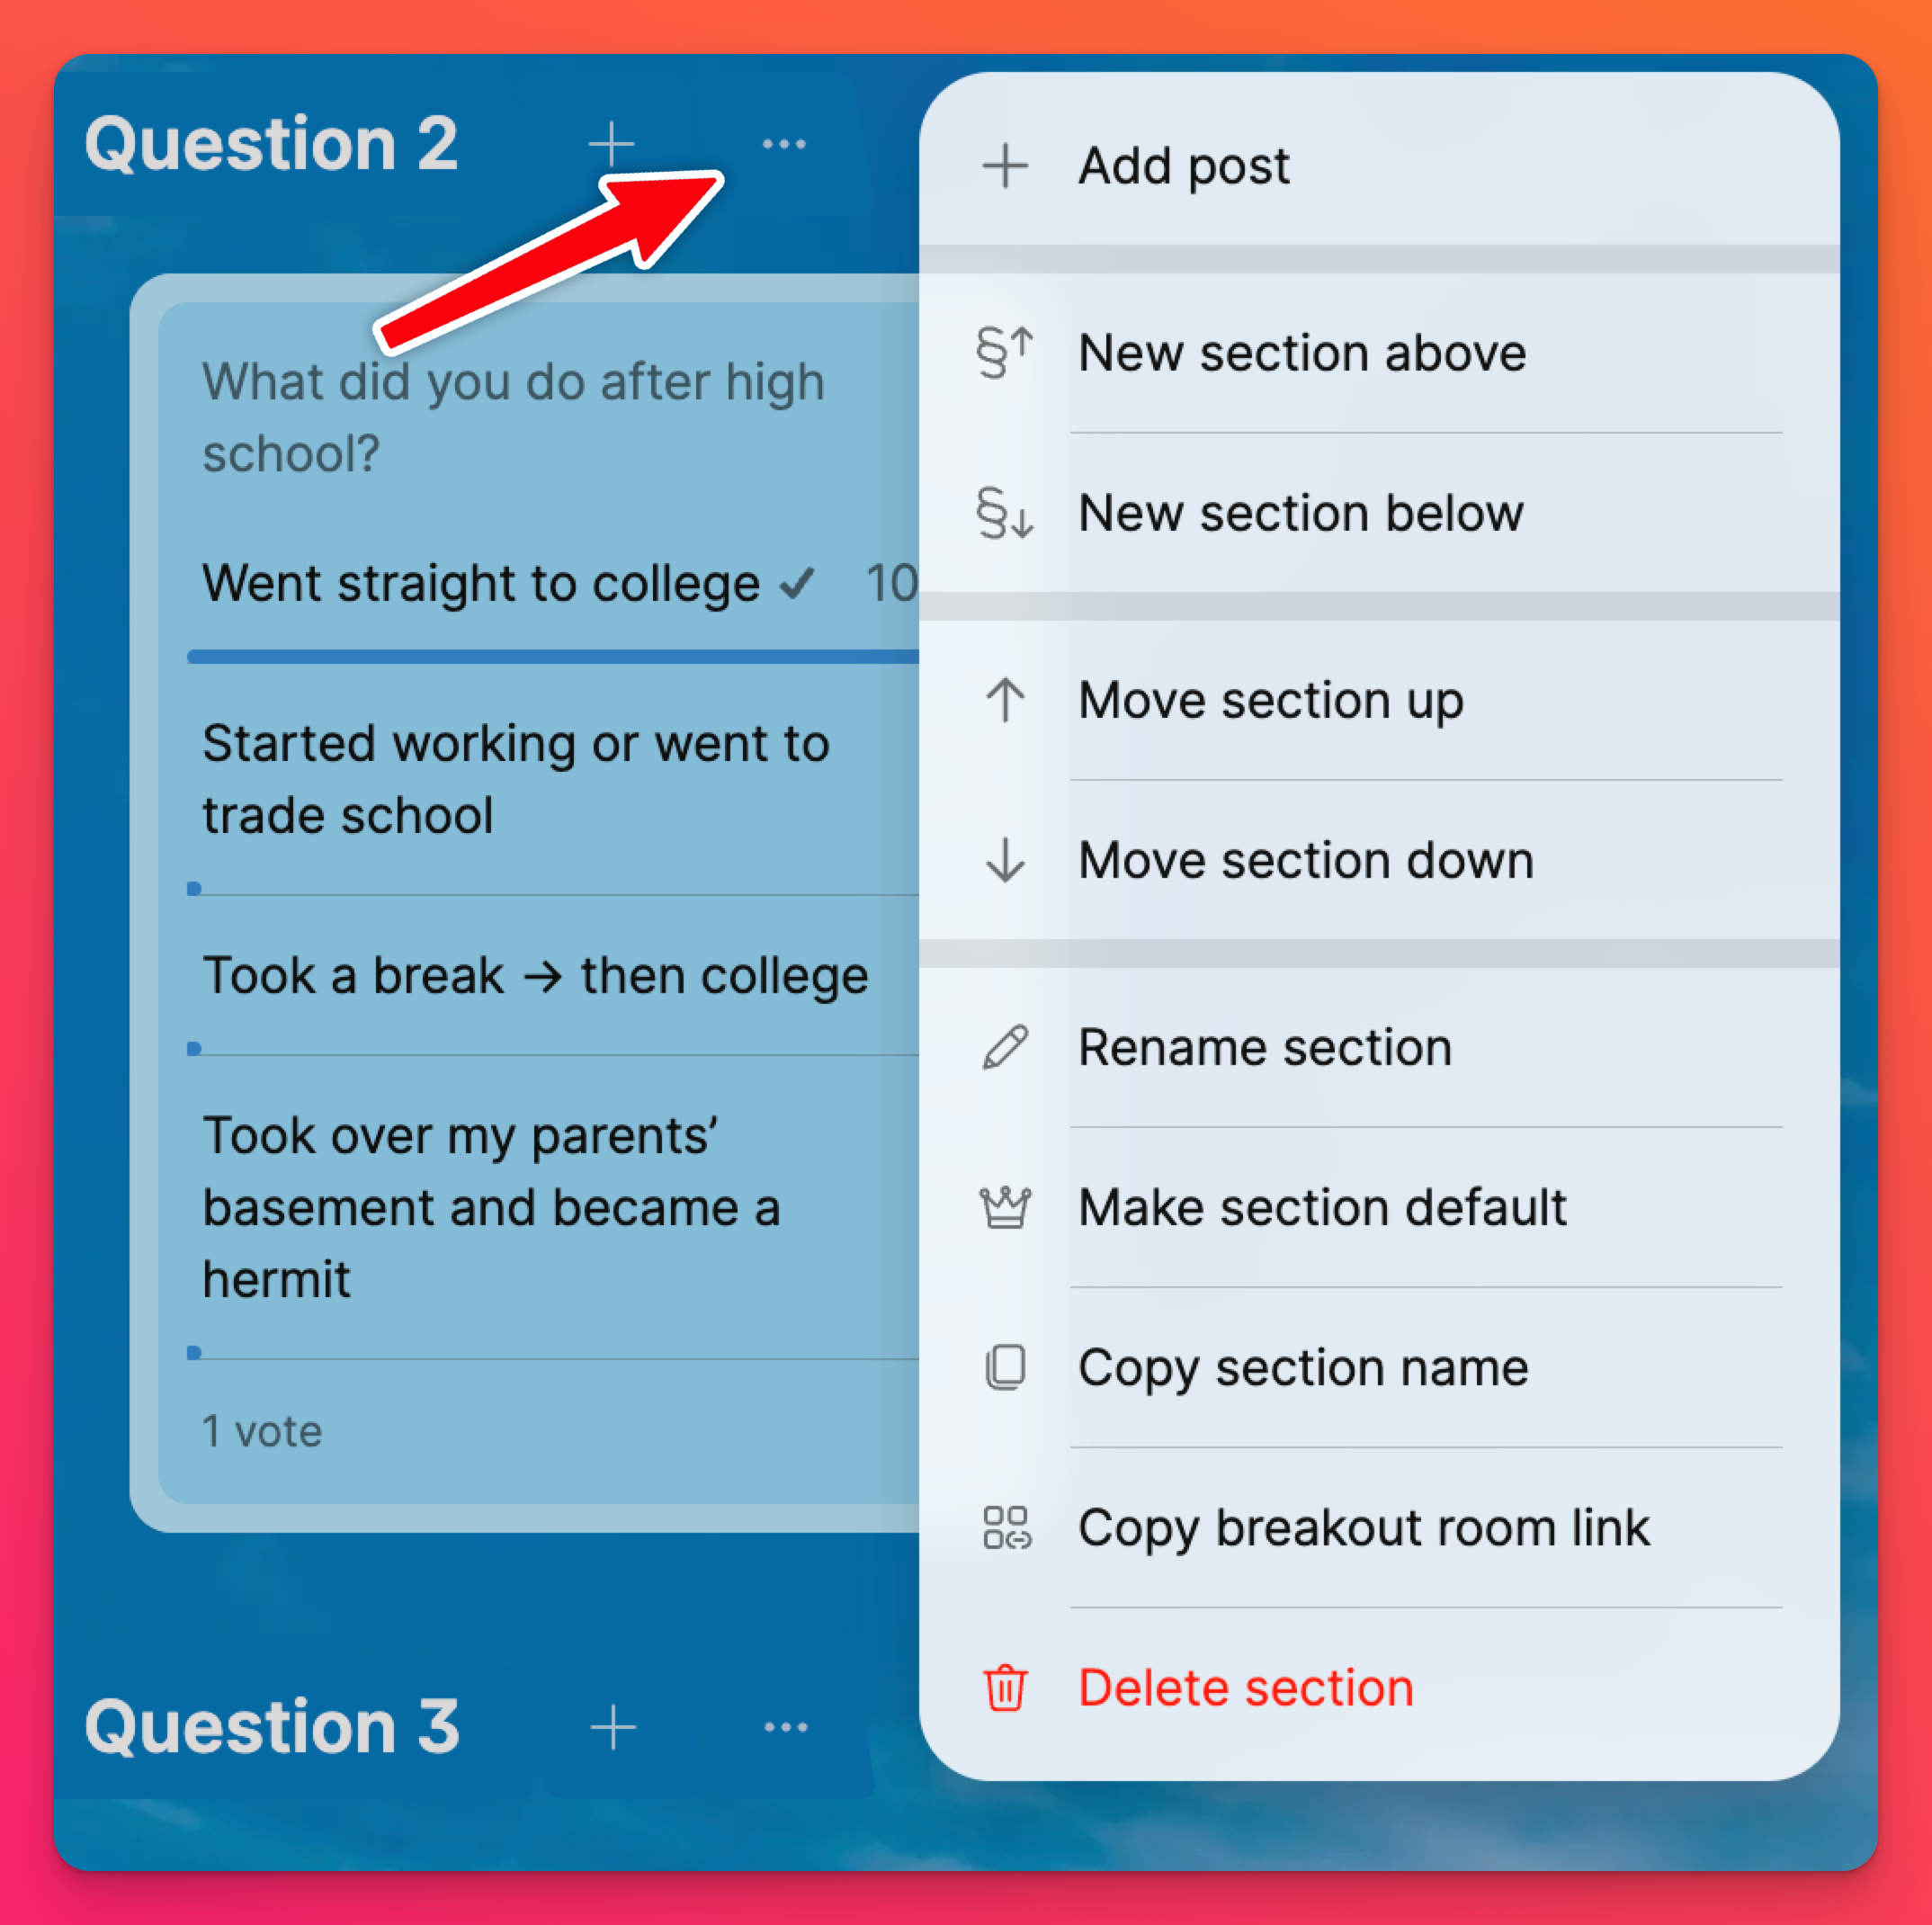
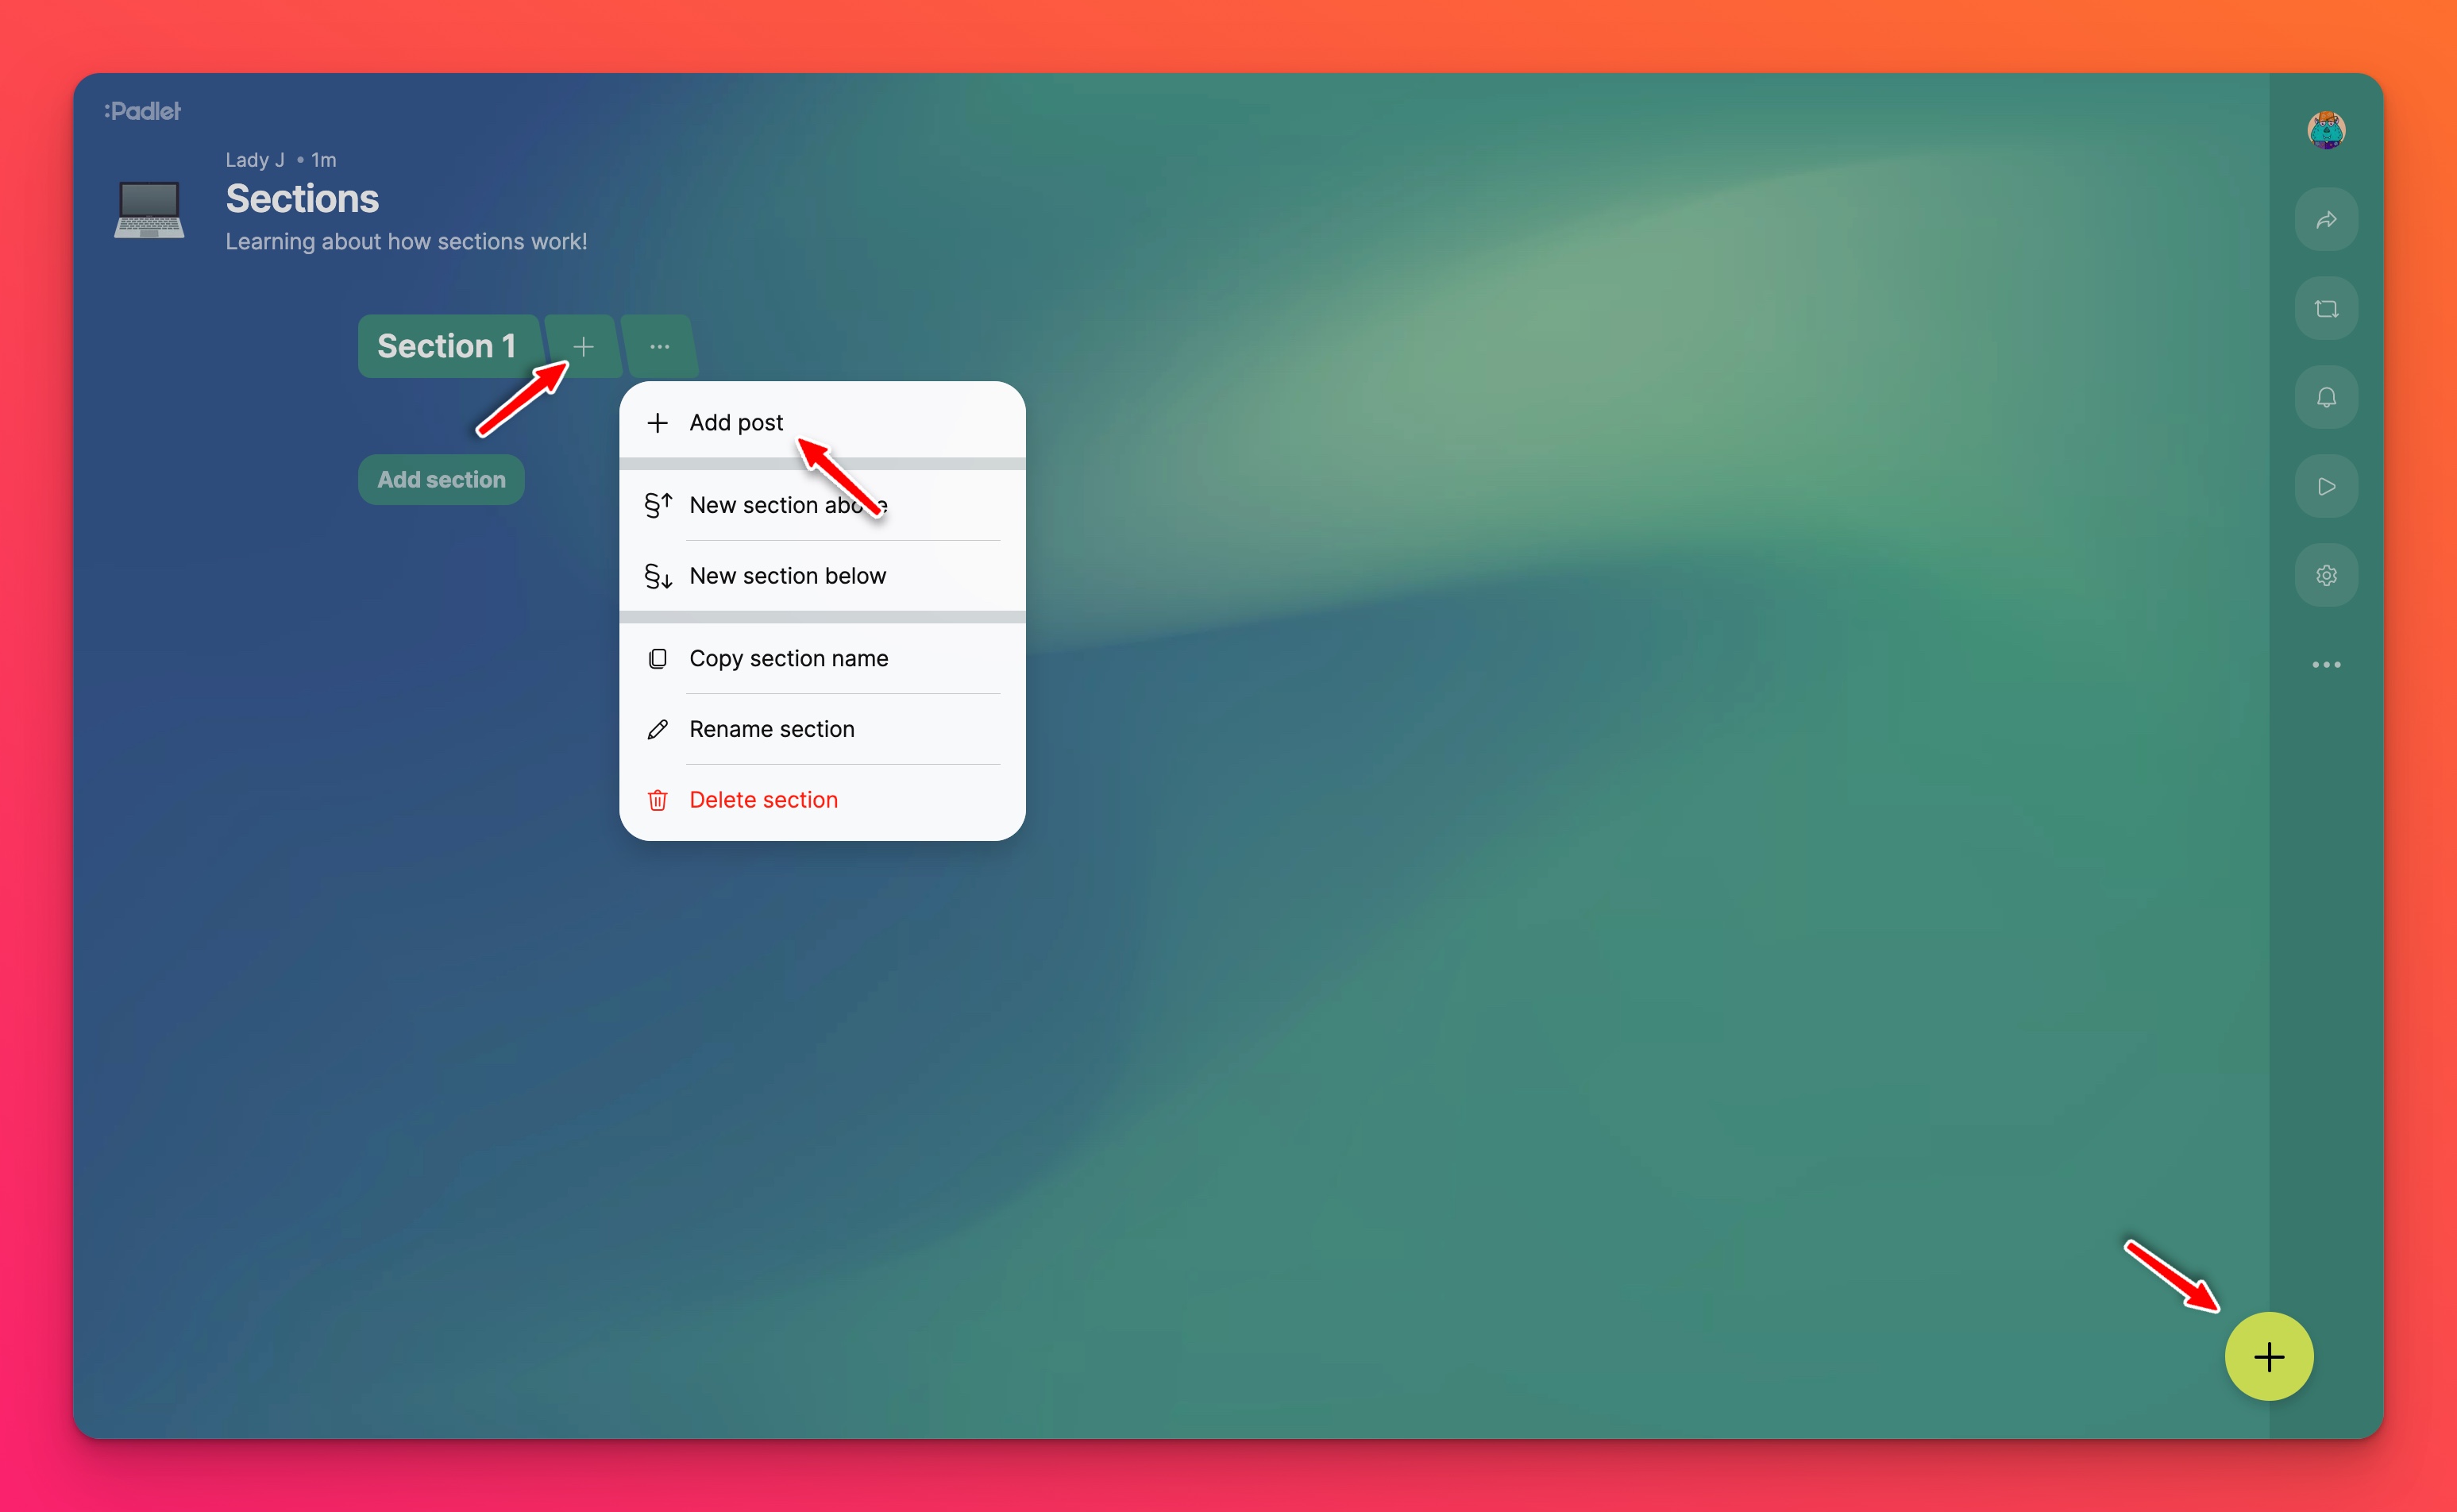
Click the three-dot ellipsis button (...) on the right side of the section header to open the action menu and reveal all of the ways to interact with your section.
Posting in sections
Add a post
Outside of the section action menu, you can add a new post by clicking on the (+) button next to the section header. You can always use the (+) button in the bottom right corner of your board to add a new post, too.
Add a section
Add a new section to your board in one of three ways:
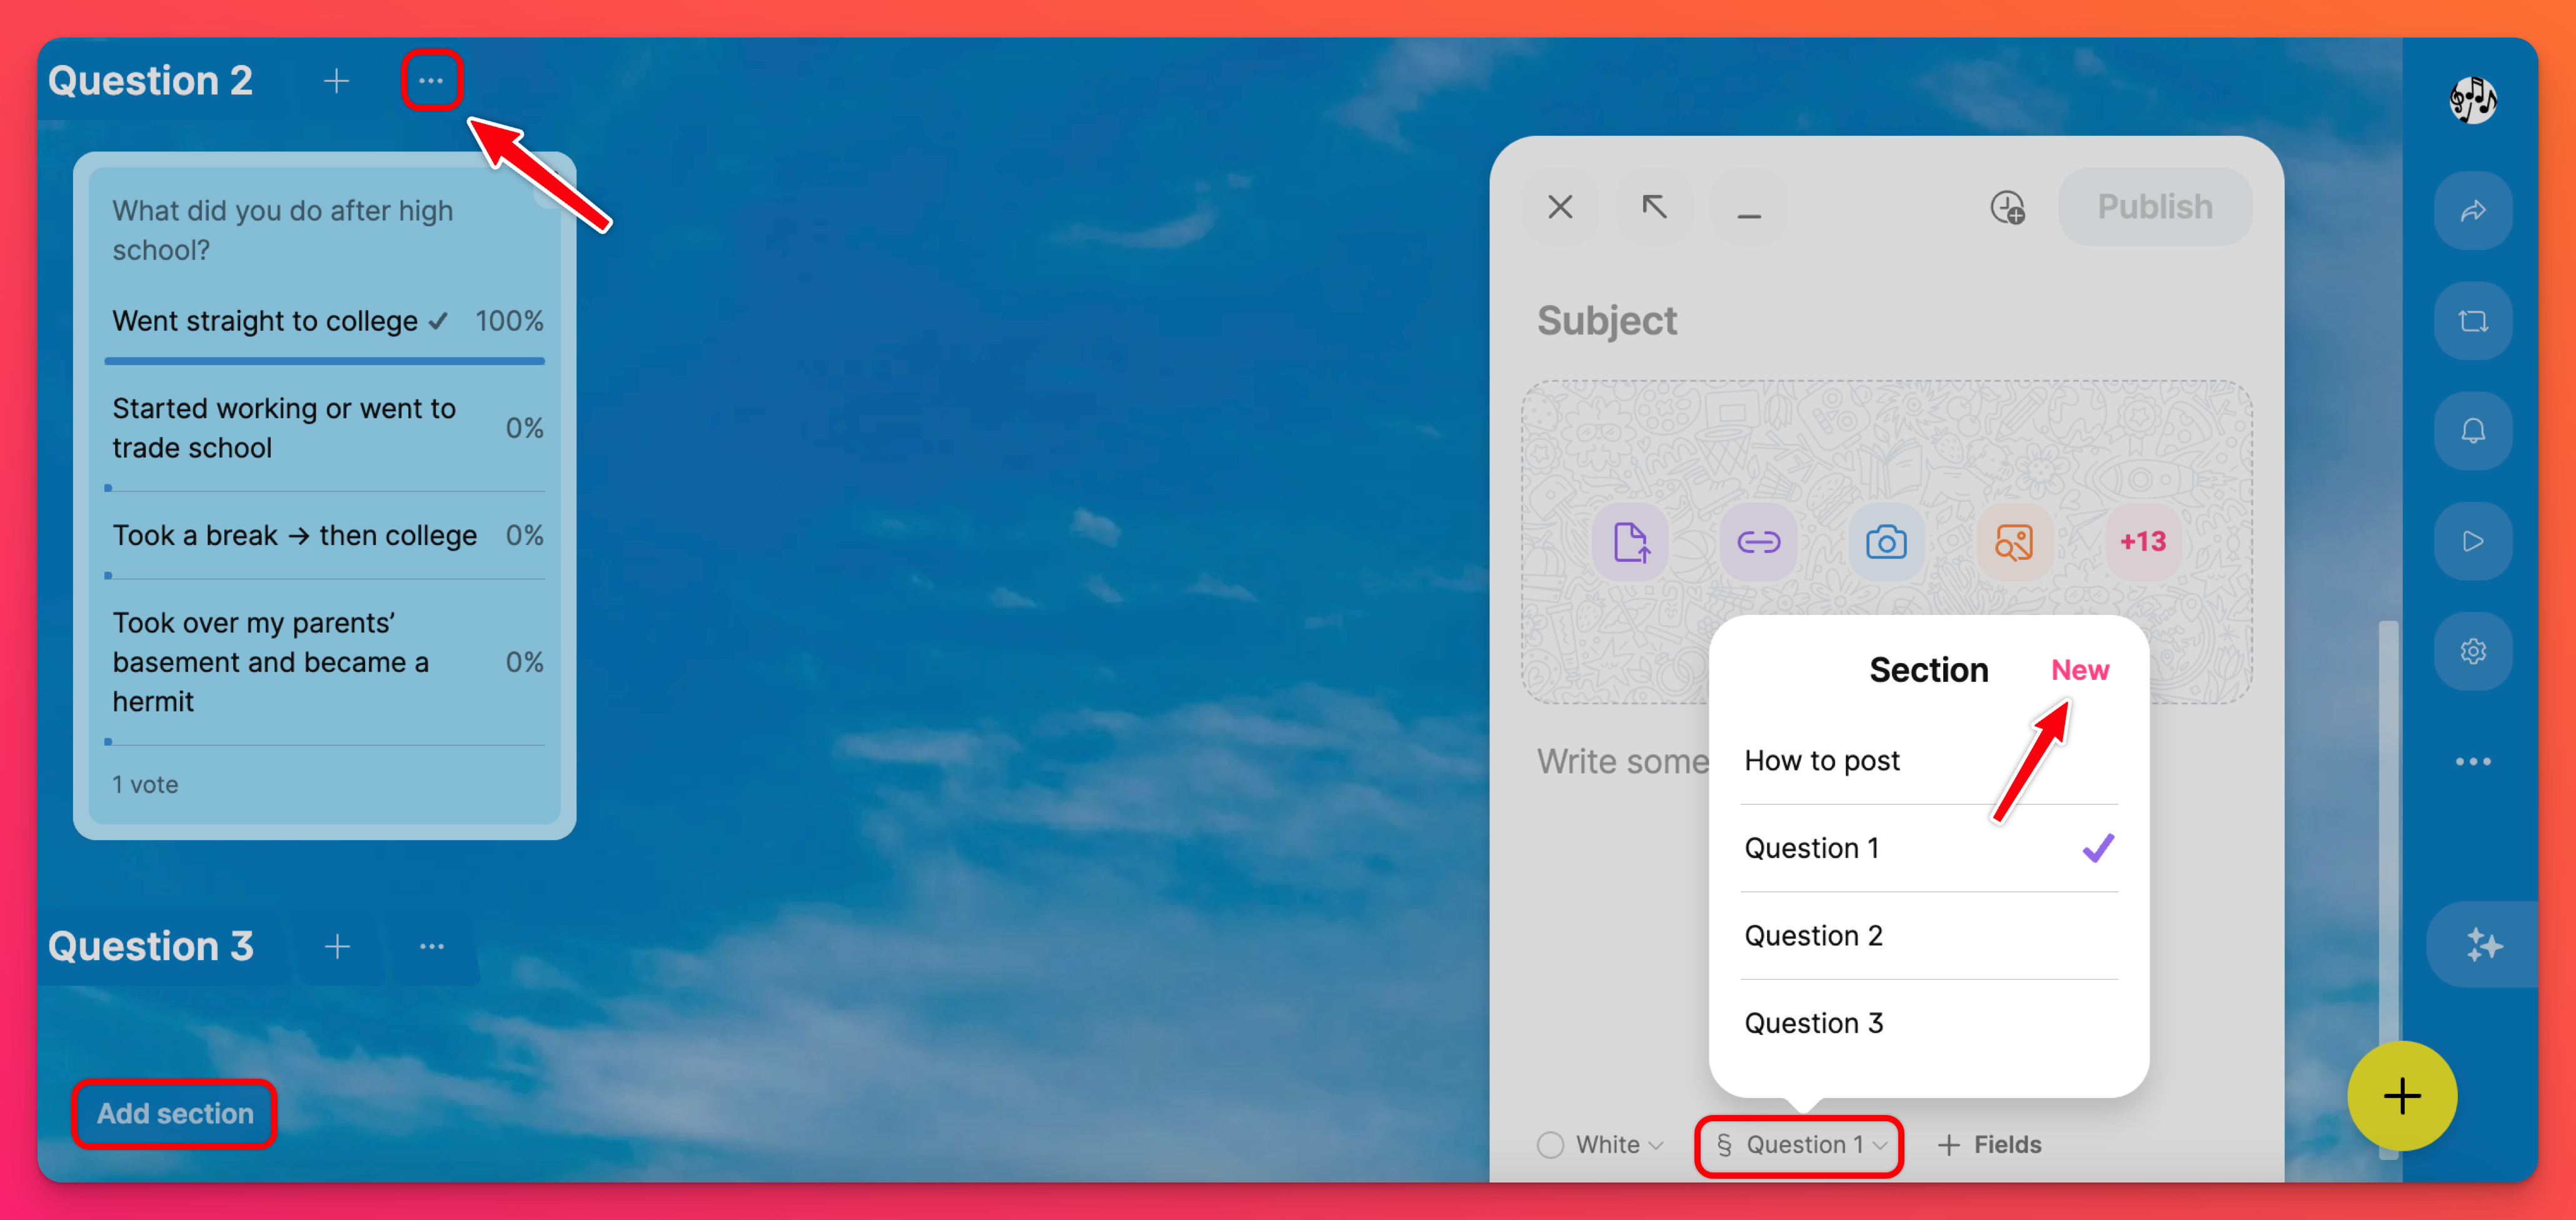
- Click the Add section button at the bottom of the last section created
- Click the (+) button to add a new post and then click the name of one of the existing sections shown at the bottom of the post composer. A menu will pop up where you can click New and create a new section to publish your post to.
- Create a new section using the action menu (...) next to an existing section on your board
Rename a section
To quickly rename a section, you can double-click the existing name. Otherwise, you can use the action menu (...). Once you have renamed your section, click Done or click outside of the text box and it will save automatically.
Move a section
If you want to rearrange your sections, just drag and drop them into the right order! Similarly, if you want to move a post into a different section, just drag and drop it into the correct section.
Default sections and assigning sections
Boards with sections always have a default section. If you add a new post through the (+) button at the bottom of your board, it will be added to the last section you posted in. But if you haven’t posted yet, the post will be added to your default section.
When you add a new post by clicking the (+) button in the bottom corner, you can see which section it will be posted in. Click the name to reassign the post to a different section. You can also use the (+) button in a section to add a post directly to it.